Friday, November 28, 2008


What are the best food sources for iron?
VegetablesIron (in milligrams)
Beans (1/2 cup)2.0
Chick peas (1/2 cup)2.0
Artichokes (1/2 cup), raw2.0
Beet greens (1 cup)2.7
Potato (with skin, 1)2.5
Potato (without skin, 1)0.6
Pumpkin (4 oz)1.7
Sauerkraut (4 oz)1.7
Peas (4 oz)1.0
Spirulina (1 tsp.)5.0
Lentils (4 oz)3.0
Barley (4 oz)2.0
Jerusalem artichokes (4 oz)2.5
Sweet potatoes (4 oz)1.7
Tomato paste (4 oz)3.9
Tomato puree (4 oz)1.1
Tomato sauce (4 oz)0.8
Grains and CerealsIron (in milligrams)
Pasta (4 oz)1.0 - 2.0
Bagel (1 oz)1.8
Bread (white, one slice)0.6
Bread (whole wheat, one slice)1.0
Cream of Wheat (4 oz)5.0
Breakfast cereals (iron-fortified, 1 oz)4.0 - 8.0
Grains for baking (amaranth and Quinoa)8.0 - 9.0
Fruits and JuicesIron (in milligrams)
Apricots, dried (10 halves)1.6
Figs (5)2.0
Peaches, dried (6 halves)3.1
Prune juice (8 oz)3.0
Raisins (4 oz)1.5
OtherIron (in milligrams)
Nuts (1 ounce almonds, peanuts)1.0
Tofu, firm (3 ounces)2.0-7.0
Brewer's yeast (1tbsp.)1.4
Infant formula (iron-fortified, 8 ounces)3.0
Blackstrap molasses (1 tbsp.)3.5
Chili con carne with beans (1 cup)4.0
Sunflower seeds (1 ounce)1.9
Pumpkin seeds (1 ounce)4.0


HOW MUCH IRON YOU NEED EACH DAY

Children, 1-10 years10 mg
Teen males12 mg
Adults males10 mg
Teen and adult females18 mg
Pregnant women30 mg
* Average RDA for iron..

Sunday, October 26, 2008

Call Me Cauliflowah Soup

Rating: If you can chop, and watch, this soup is yours.

Dang y'all, it's been a while. Apologies for my lengthy hiatus, but I'm back in style with something AMAZING. I made this for orphan Thanksgiving a few weeks back, and it was a crowd pleaser. I'm glad I doubled the recipe. This one's inspired by a recipe found in the LCBO's Food and Drink magazine, that has been modified to be vegan and even more warm, spiced and cozy. Perfect for an autumn day watching the leaves fall.

Call Me Cauliflowah Soup (Serves 2-6, depending on how many people go back for seconds)


Ingredients
1 medium head of cauliflower, cored and divyed into florets.
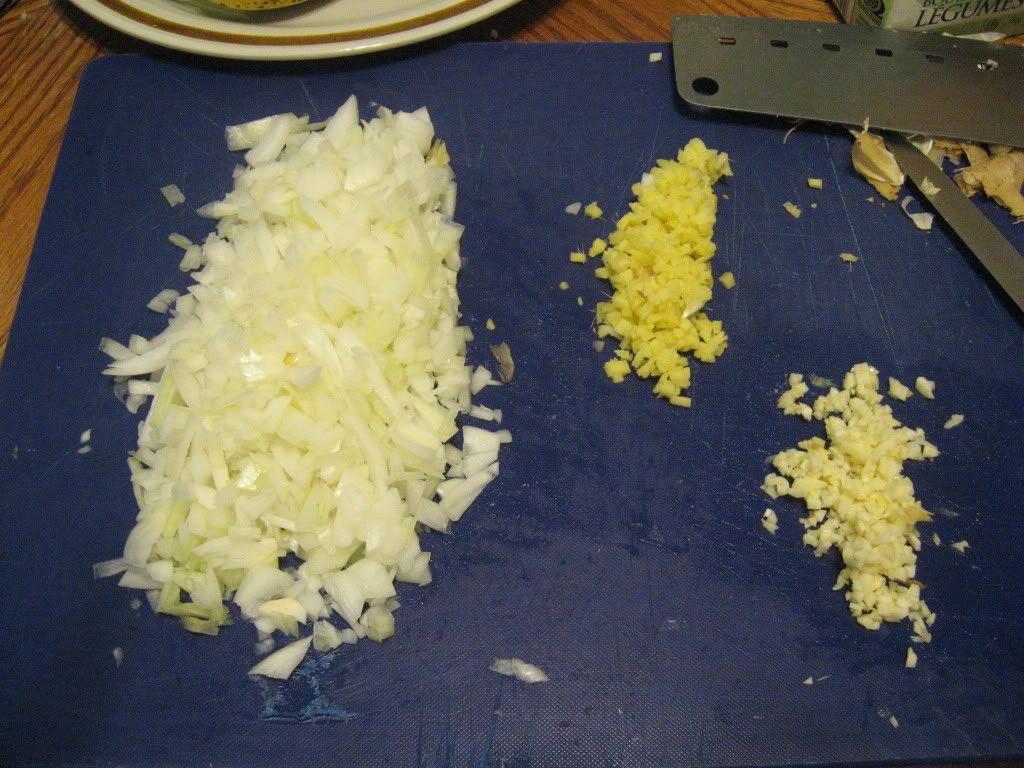
1/2 sweet onion (approximately 1 cup), chopped
4 tbsp olive oil
1 tsp salt
2 cloves garlic, chopped
1 tbsp ginger, freshly chopped
1 tbsp hot curry paste (adjust according to tastes)
1 L (or 4 cups) vegetable broth
1 tsp lemon juice


1. Prehead the oven to 450 degrees Farenheit.
2. Line a baking sheet with parchment paper.
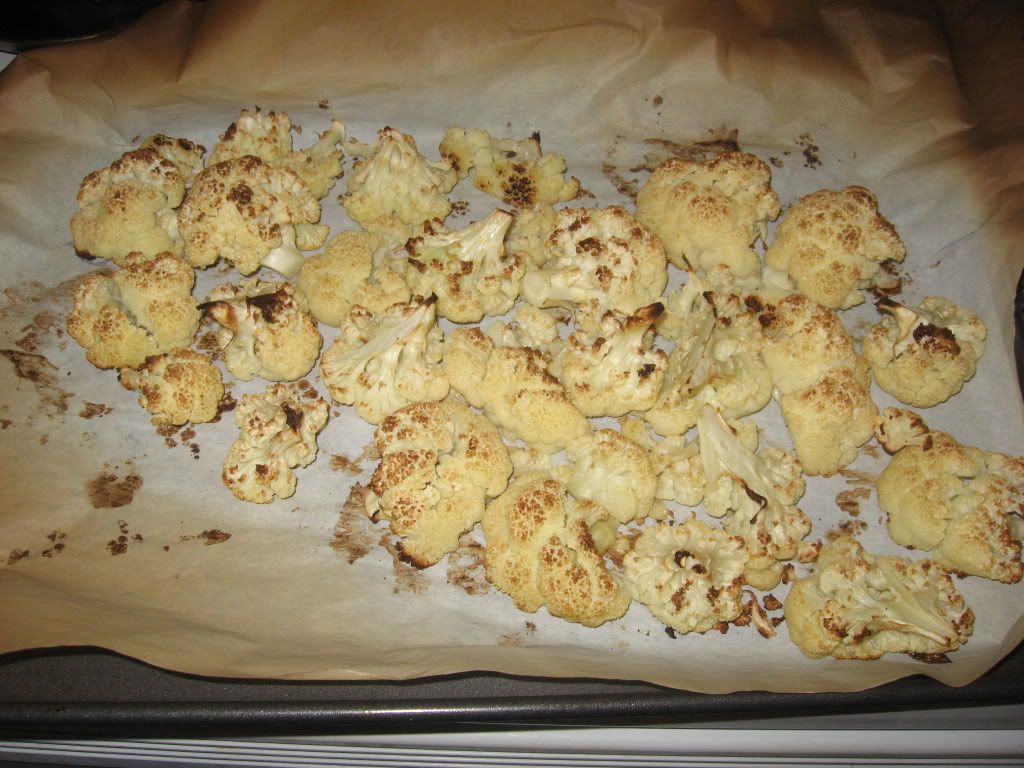
3. Putting the cauliflower florets into a large bowl, add 2 tbsp of oil and salt. Using your hands, toss lightly until all the cauliflower is coated. Place on baking sheet, and put it in the oven to roast. Roasting the cauliflower enhances the flavour. It'll take about 30-40 minutes to roast. Occasionally, shake your baking sheet. The cauliflower will be done when it's brown. If some bits are burnt, that's okay! It just means the sugars in the cauliflower have caramelized for extra deliciousness.
4. Add the remaining 2 tbsp of oil to the bottom of a big soup pot, heat to medium. When it bubbles, add onion and saute for a minute. Stir frequently to prevent the onions from sticking to the bottom of the pot.
5. Add ginger, garlic and curry paste. Saute for a minute.
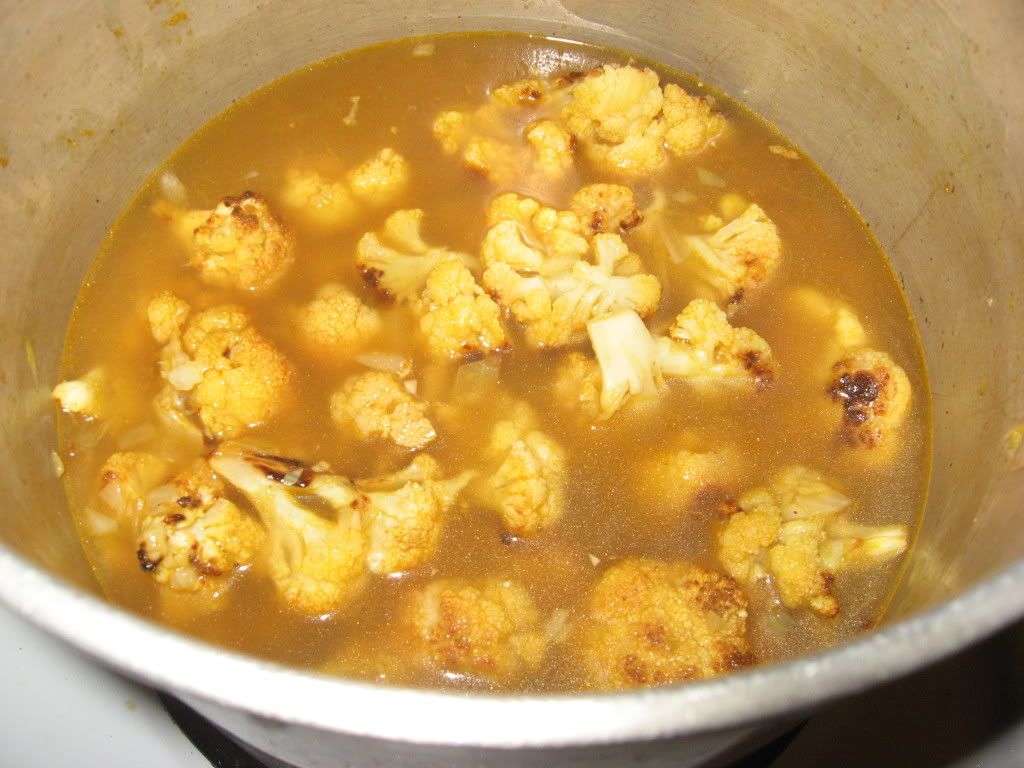
6. Add roasted cauliflower and coat with spices. Pour in the broth, and bring the soup to a boil.
7. Reduce heat to a simmer and add lemon juice, cover and let it get all roasty warm and spicy for 10-15 minutes, depending on how big your cauliflower florets were. When the florets are tender, remove from heat.
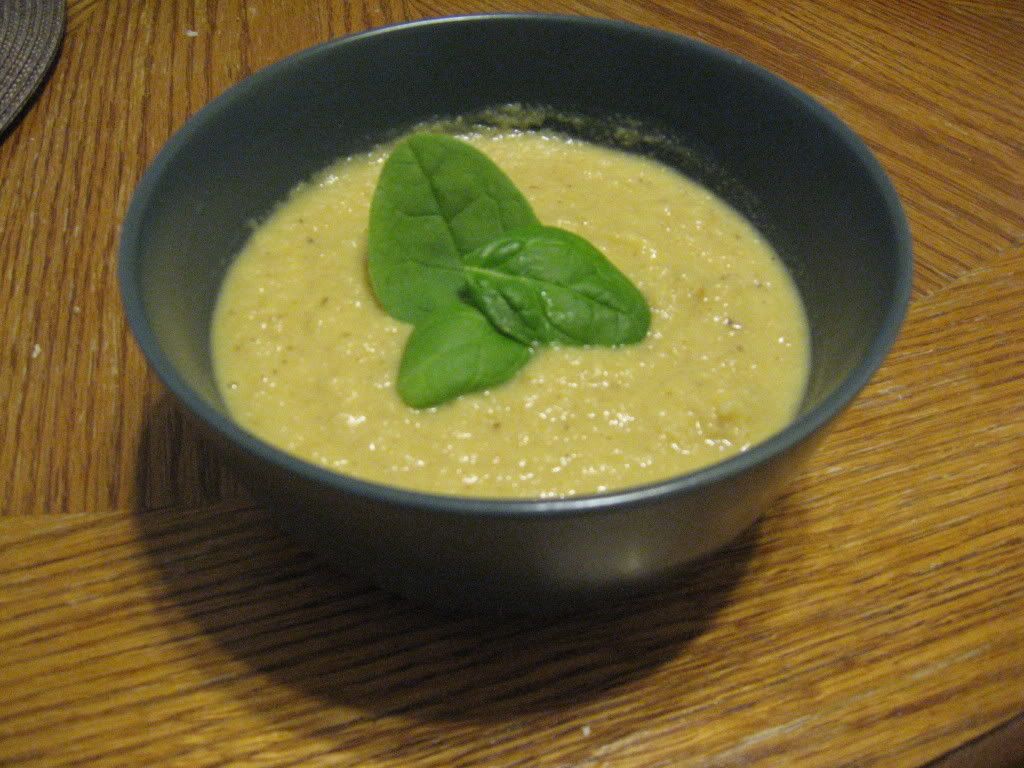
8. Last step, using an immersion blender or a food processor, pulverize your soup until it's a smooth consistency. I garnished mine with some fresh baby spinach leaves. Enjoy!


Saturday, October 18, 2008

Fresh and Home-made "Chicken"-Caesar Sammiches!

Rating: Intermediate and not-so-quick.. but worth it!

This sandwich is time-consuming if you consider it is all made from scratch. I'd advise making the bread ahead of time, or making a double batch of the bread to save it for later, and use the fresh portion for the sandwich. The baguette-style bread is best made a bit soft, and served fresh. I'd recommend doing the bread much earlier in the day, and then preparing the seitan and dressing just before serving it to friends! It's not something you whip up in a hurry, but you can make the sandwich, wrap it up, and eat it for lunch the next day and it will still be delicious! This sandwich is worth it's time! Trust me! Best served fresh!

Chicken-Caesar Sammich! (2 medium loaves - about six servings)
the bread 1
1 packet of yeast
1 tsp sugar
1 1/2 cups warmed water
4 cups unbleached flour
2 tsp salt

the chicken 2
1 cup instant wheat gluten flour
1 Tbsp nutritional yeast
1 Tbsp poultry spices
1 tsp sea salt
1/2 tsp cayenne


1/2 cup water
just less than 1/4 cup soy sauce
1 Tbsp olive oil

3 cups vegetable stock


the caesar 3
1 cup vegenaise, nayonaise, or other vegan mayo*
1 Tbsp lemon juice
1 Tbsp soy creamer/soy milk
1 Tbsp olive oil
1 Tbsp nutritional yeast
1 tsp soy sauce
3 garlic cloves, minced

salt and pepper

additionally
slice up a few cucumbers to put in the sandwich, and sprinkle on some vegan parmesan cheese!

1.
1. Add sugar and warmed water to a large mixing bowl.
2. Sprinkle yeast over the bowl and let stand for 5 minutes until foamed.
3. Stir in half of the flour.
4. Stir in remaining flour with salt until dough becomes firm. Add more flour in small portions if dough is still sticky until firm.
5. Knead dough until smooth and stretchy, but do not over-knead.
6. Place dough in lightly oiled bowl, then turn over dough so it's surface area oiled and will not dry and crack in rising.
7. Cover the bowl and let the dough rise for 1 1/2 hours.
8. Preheat the oven to 475 degrees.
9. Cut your dough in half, and form into two loaves that will have a best fit for a standard baking sheet.
10. Place your loaves on a parchment paper over the baking sheet and punch down on the loaves. They should be about a couple inches wide.
11. Let them rise, uncovered, for 30 minutes.
12. Make several diagonal slashes with a knife on the top of your loaves, and then lightly brush them with cool water.
13. Bake on middle rack for 15-20 minutes (or longer if you like yours crispy), and then transfer to wire rack to cool.

2.
1. Add gluten flour to small bowl.
2. Mix remaining dry ingredients with flour.
3. Add wet ingredients (minus stock) and stir until single mass. Add more water if necessary.
4. Add gluten mass to saucepan with vegetable stock. There should be enough stock to cover your gluten blob! Otherwise, add more water to the saucepan! Remember to use a saucepan large enough for the gluten to double.
5. Simmer for 45 mins to 1 hour.
6. Remove from heat and strain stock.
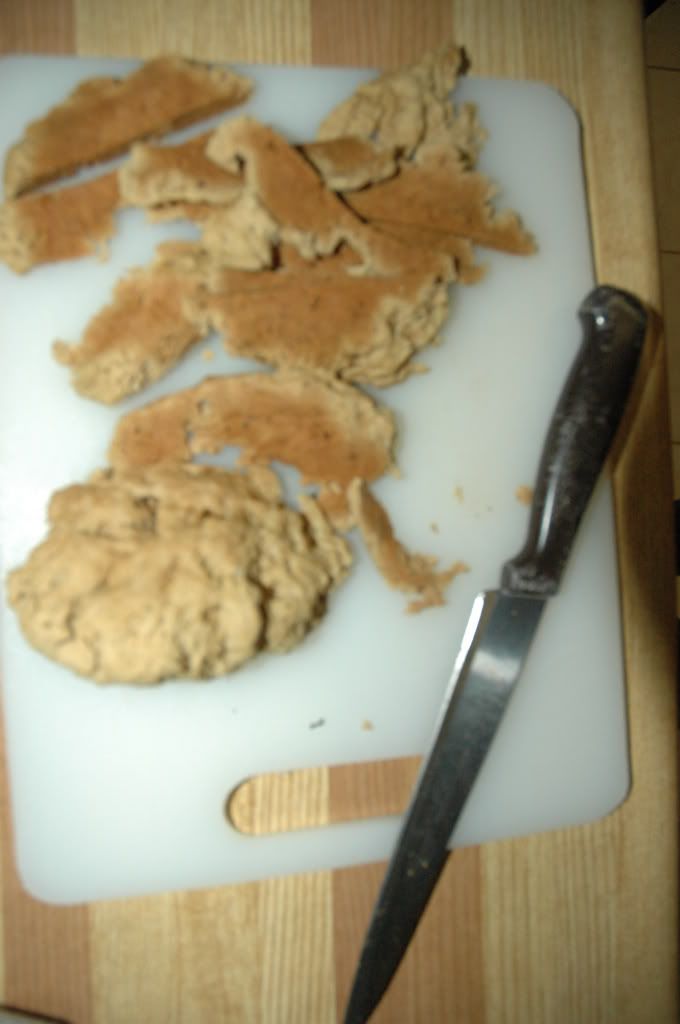
7. Cut in strips and lightly heat on frying pan with a small amount of oil. (I recommend sesame.)
8. Salt to taste. Set aside for sammich!

3.
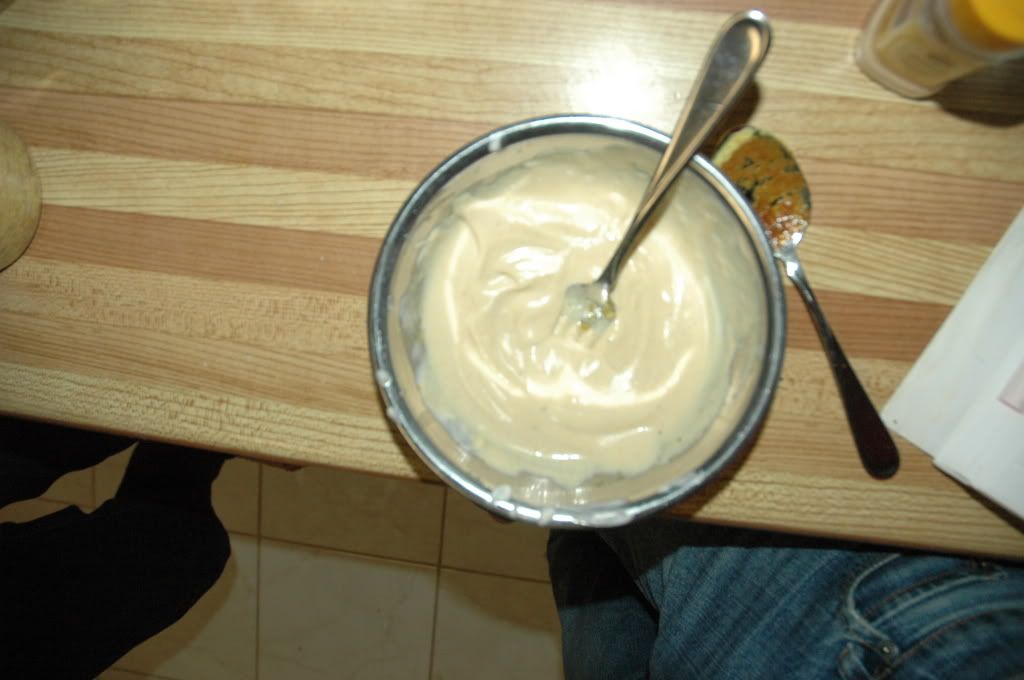
1. Add all ingredients to small bowl and mix well!
2. I recommend doubling this part of the recipe and saving it for salads and quick-fix sandwiches.


Assemble your sammich! I tend to cut each loaf into thirds and then put them together as sandwiches. Add some cucumber slices, and sprinkle some vegan parmesan for a damn fine sandwich! Enjoy!

Photobucket Photobucket Photobucket Photobucket

"The Best" Chocolate Chip Cookies

The standard: chocolate chip cookies. Dunk them in your almond milk, or serve them on a platter to friends. No matter how you spin it everyone is happy with choc chip cookies! They are the standard best cookie. This recipe may not be the best you've tried, but maybe it is? They come out soft and chewy, just the way I love them! Enjoy!

Chocolate Chip Cookies! (about 3 batches)
1/2 cup sugar
1/2 cup brown sugar
1/2 cup soy margarine, softened
1 tsp vanilla extract
1 whole banana, peeled and mashed
2 Tbsp applesauce
2 cups unbleached flour
1 tsp baking powder*
1/2 tsp baking soda
1/4 tsp salt
6 oz dairy-free chocolate chips

*If you prefer your cookies a bit less fluffy omitt the baking powder but leave the baking soda.

1. Preheat oven to 375 degrees
2. Beat both sugars with margarine in large mixing bowl until light and fluffy.
3. Add vanilla extract, mashed banana, and applesauce. Blend together.
4. Add flour, baking powder and soda, and mix well. If the mixture is too moist, then add a bit more flour. If the mixture is too dry, add small amounts of water or additional Tbsps of applesauce until desired consistency.
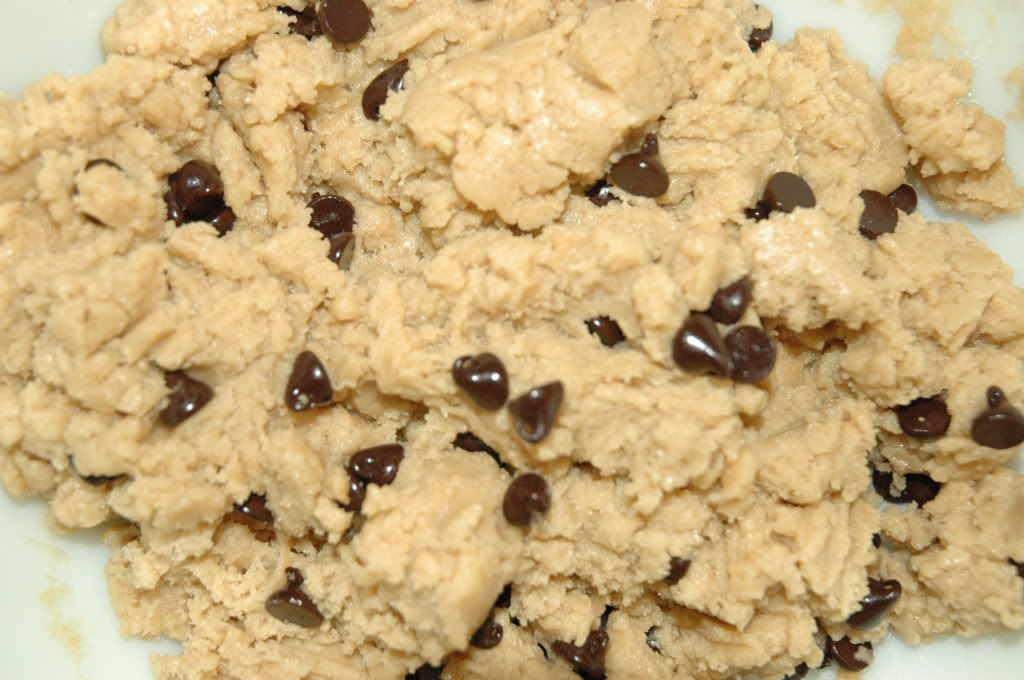
5. Stir in chocolate chips.
6. Detach balls of cookie dough from the mix at desired sizes and place on parchment paper over baking sheet.
7. Bake for about 8-10 minutes or until a golden brown color.

Photobucket Photobucket Photobucket Photobucket

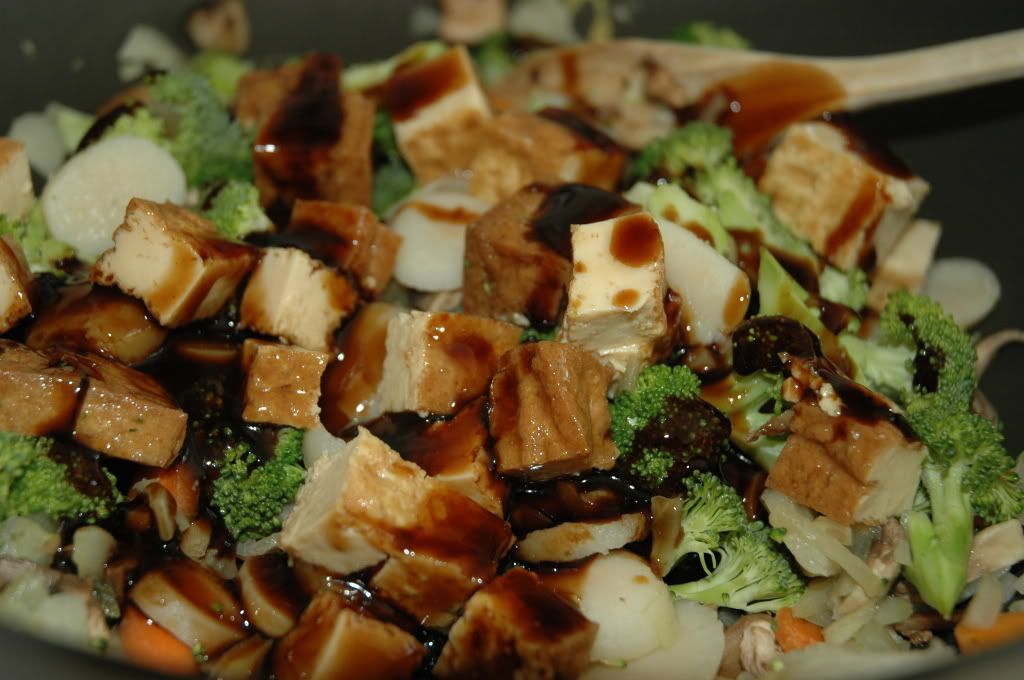
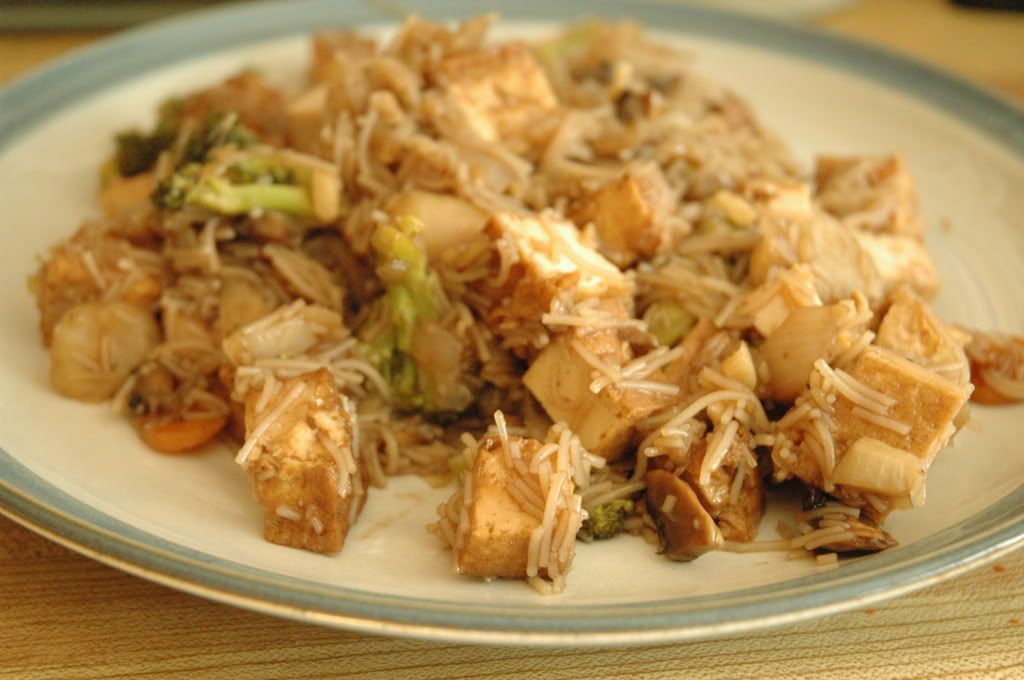
Simple Tofu Stirfry with Noodles

Rating: Quick, easy, and painless!

This is a favorite of mine. It's a very quick to prepare meal, and very flavourful. It's usual a guest favorite too!

Black Bean Stirfry (about 3 servings)
2 cups vermicilli noodles, boiled then chopped
1 cup firm tofu, chopped *and pre-fried
2 Tbsp olive oil
1 large onion, chopped
1 large carrot, chopped
6 white mushrooms, chopped or sliced
1 bunch broccoli, chopped
1 bunch green onions, chopped
1 Tbsp fresh ginger root, finely chopped
2 garlic cloves, finely chopped
2 Tbsp coriander

black bean sauce
*I suggest lightly pre-frying your tofu for about 3 minutes in blackbean sauce before adding to the stirfry.

1. Boil noodles with water in saucepan, drain and cool, chop and set aside.
2. Heat oil in pan or wok for 30 seconds, then add onion, mushrooms, and garlic.
3. Simmer on medium-low until soft and onions begin to lose opaqueness. About 3-5 minutes.
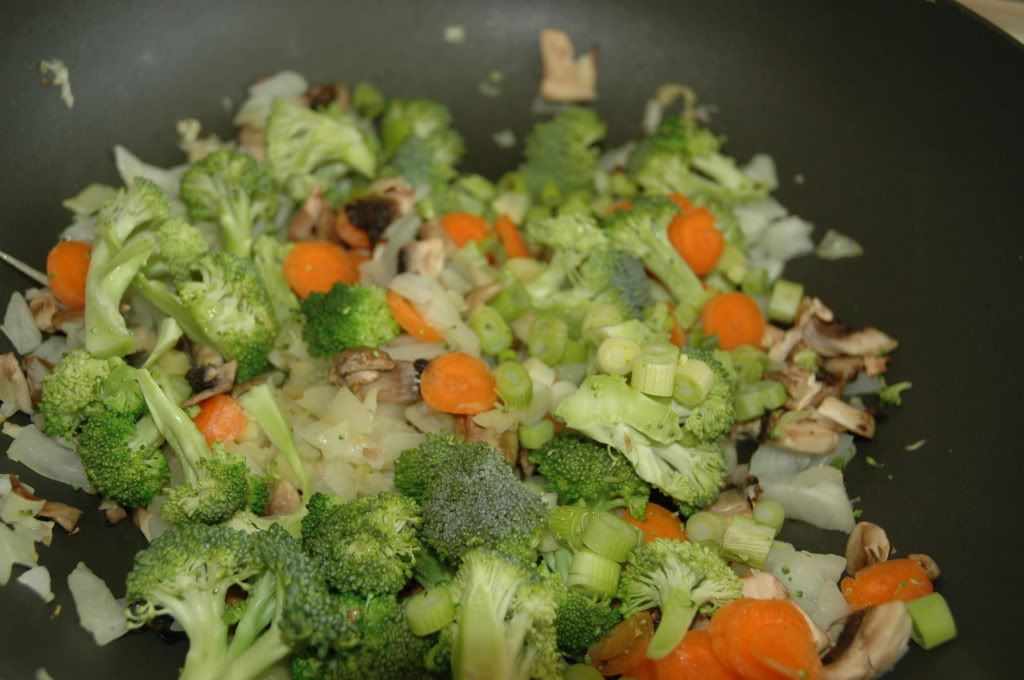
4. Stir in carrot, brocolli, green onion, ginger, and any other fresh veggies you have chosen.
5. Change heat to medium. Add a good amount of sauce into the pan and stir well. Cook for 3-5 minutes.
6. Stir in tofu, noodles, and coriander. Cover the pan, and lower heat to low and cook for 5 minutes.
7. uncover pan, and optionally feel free to cook for a few extra minutes to lose some of the extra moisture.

Serve warm and enjoy!

Photobucket Photobucket Photobucket

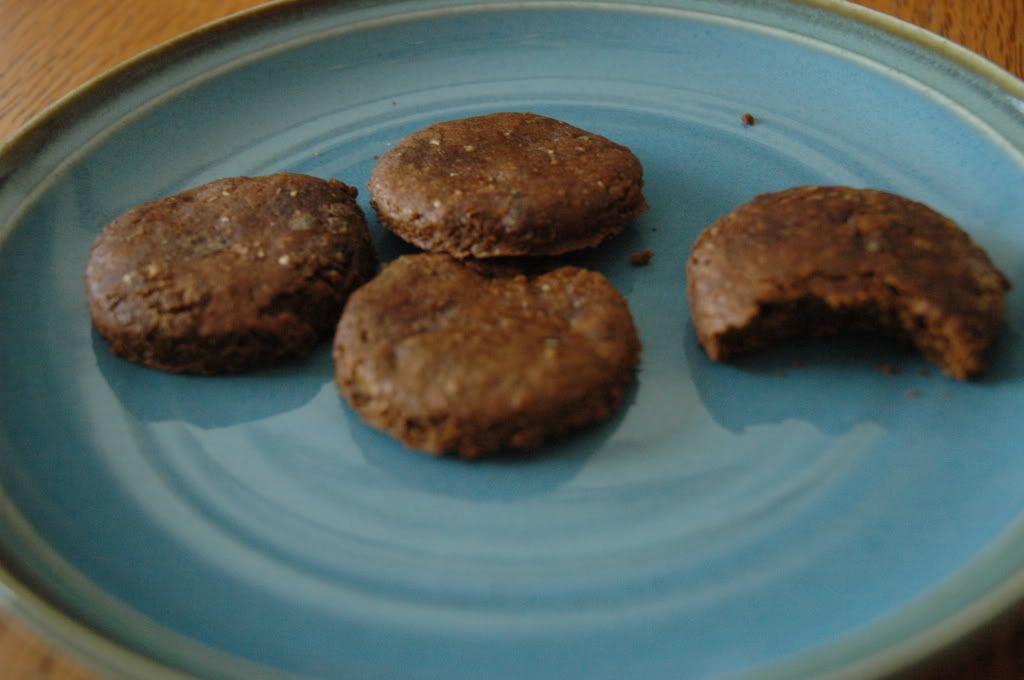
Ginger Cookies!

Rating: Easy!

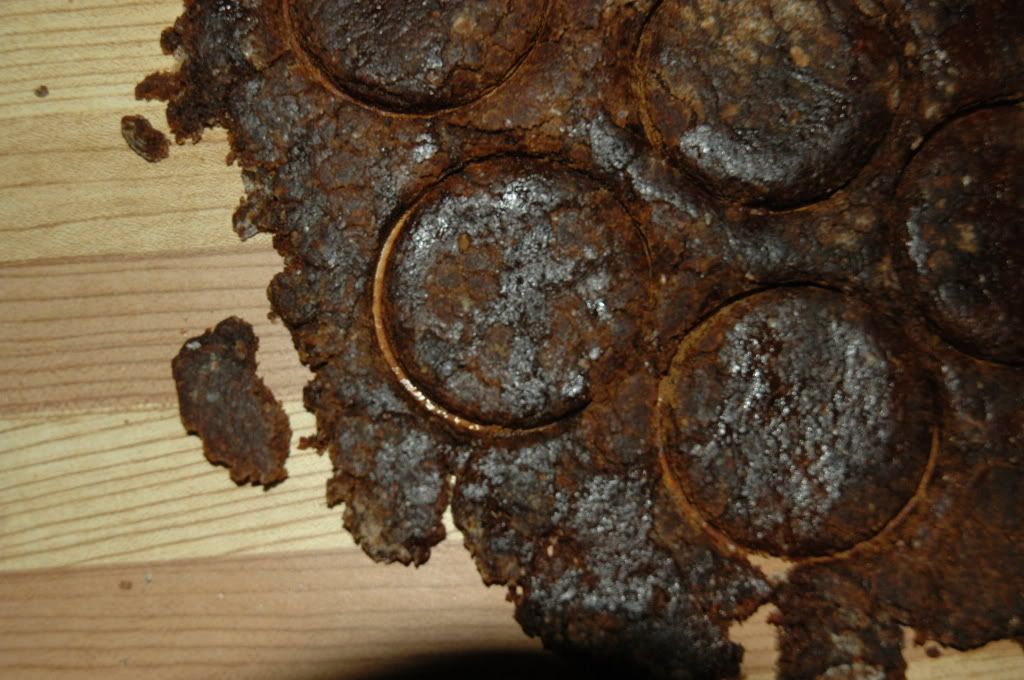
I, admittedly, found the original of this recipe on the net a long time ago and have not had to make thorough changes to it. The balance of spices is very crucial, but you will have to be careful with the flour and the molasses. I find more often than not, my mixture used to be too dry and required additional moisture. Using a lighter molasses will also definitely make your cookies a nice lighter tasting snack. I have made them with darker molasses and they still turn out nice, but have a more noticable malt taste. Also, make sure you are NOT generous with the whole-wheat flour amount as you want to attempt to have the cookies a bit light and soft. These are not hard cookies to make! You will need a rolling pin, and some kind of cookie cutter. I cheat and use the bottom of a shot-glass to make quick and easy small circular cookies. I have tried to make small changes since I have found this recipe to make them softer, and yummier! Enjoy!


Ginger Cookies
1 1/2 cups whole-wheat flour
1 cup unbleached flour
1 cup brown sugar
1 1/2 tsp baking soda
3 tsp ground ginger
2 tsp cinnamon
1/2 tsp nutmeg
1/4 tsp ground cloves
1/2 tsp sea salt
1 tsp baking powder
1/2 tsp baking soda


1/2 cup fancy molasses (preferrably light)
1/3 cup olive oil
1/3 cup and 4 Tbsp water

1. Prepapare dry ingredients together in large mixing bowl.
2. In a small saucepan lightly warm molasses, oil, and water together until mixture seems to homogenize.
3. Pour saucepan ingredients into mixing bowl with the dry ingredients.
4. Mix together until stiff dough forms. If at this stage the mixture is far too dry add small amounts of water. The dough should still remain firm but workable.
5. Preheat the oven to 350 degrees.
6. Roll out the dough with a rolling pin, but not too thin. Have about 1/4" thickness otherwise your cookies will not be thick enough to rise and be soft.
7. Cut out your cookies and re-roll dough scraps until you have used as much as possible. Be careful to not overwork your dough. Overworking any dough can harmfully thicken your treats.
8. Place your cookie cuts on a baking tray lined with parchment.
9. Bake for 8-10 minutes or under a nice goldened brown.

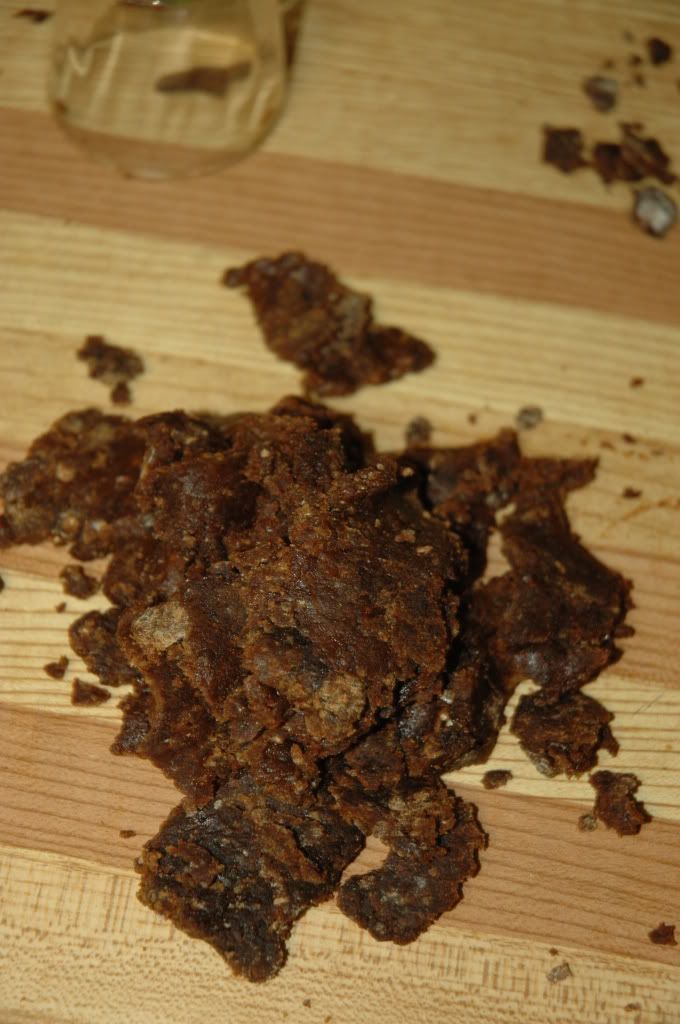
When you take out the cookies they will appear 'too-soft' but after leaving them to cool for a few minutes they will harden up to a very enjoyable softness! If you like your cookies a bit less soft then feel free to leave them in the oven for a few extra minutes. The pictures that follow were not using a light molasses. Your light molasses cookies will be a slightly different colour. Enjoy!

Photobucket Photobucket Photobucket Photobucket


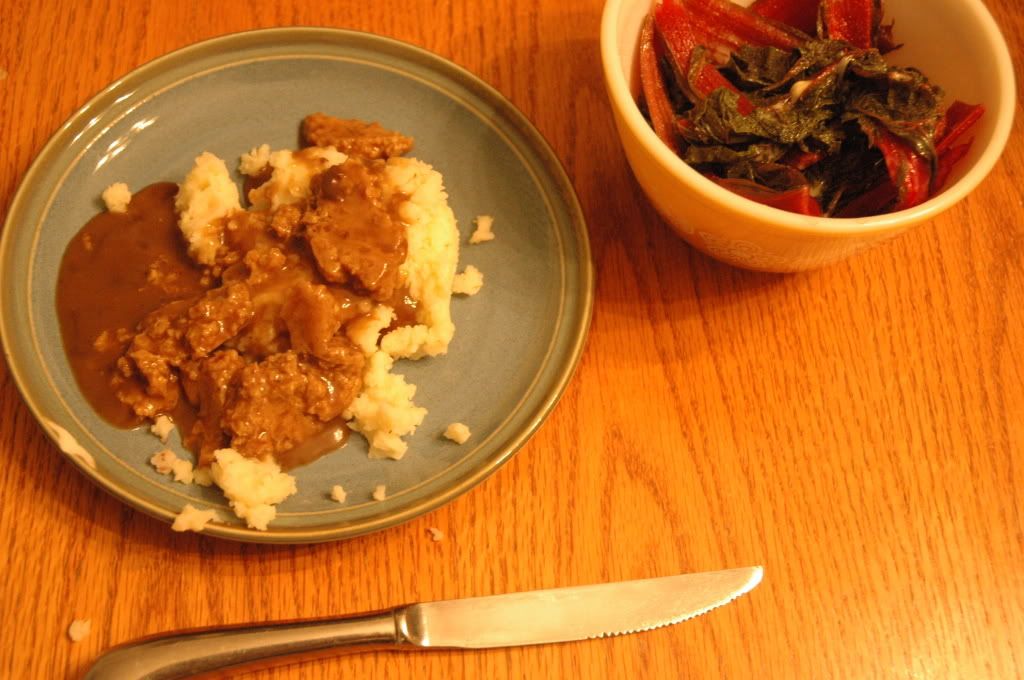
Quick-Fix Chunky Seitan, Potatoes, and Swiss Chard

This isn't much of a strict recipe, becuase you have pretty much free-reign on making your seitan a bit beefier, your potatoes smoother or less, and your swiss chard less french-canadian. The key to juicing up your seitan is the pre-mixing rather than texturizing it after you have boiled your gluten. The potatoes I always love smoothing out with margarine and soy-milk and adding just a couple spices. The Swiss Chard is a nice addition and I tend to dress them as I grew up doing to most of my vegetables: vinegar, margarine, and salt. Use your own tastebuds though, people! This is mostly just a quick-fix idea!

Chunky Seitan and Mashed Potatoes
1.
1/2 cup instant wheat-gluten flour
1/8 cup soy sauce
2 Tbsp olive oil
1 Tbsp sesame oil
1/4 cup water
1/2 tsp ginger
1 tsp sage
1 tsp allspice or choose-your-own-adventure
2 cups vegetable or vegan-beef-stock

1 can mushroom gravy

*The seitan may not stay together and be as thick as it is sometimes. I tried to make it a bit softer and it tends to stay together in chunks.
IF you want a thicker and rougher seitan, remove some of the oil and put water in and possibly a slight bit more gluten flour. Also letting the seitan boil for less time may also keep your 'meat' a bit thicker if desired. I tends to like mine a bit more soft.

2.
8-10 larger red potatoes (or about 5 large baking potatoes.. since they are plenty larger!)
1/3 cup soy margarine
1/4 soy milk
2 tsp garlic salt
2 tsp dill


3.
1 bunch swiss chard boiled and lightly dressed

1.
1. (Also, begin step 1 of List 2) Prepare wet ingredients and spices together in small bowl.
2. Add mix to gluten-flour and stir until thick mixture (should be single mass) forms.
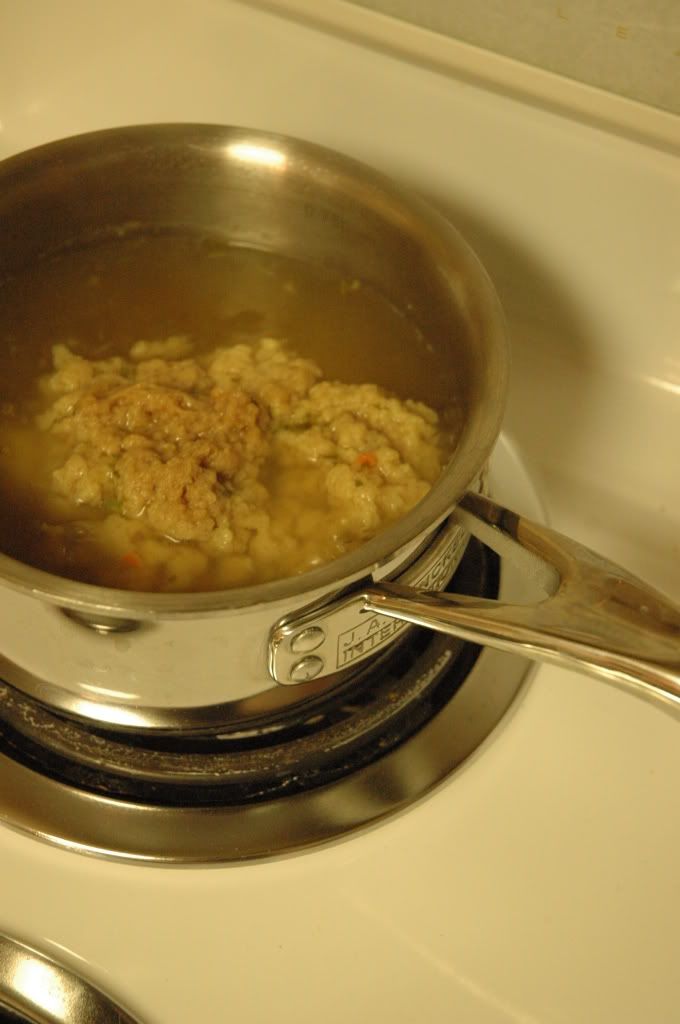
3. Add gluten-'ball' to saucepan with 2 cups of stock. Bring to a boil then immediately cover, reduce heat to low, and simmer for 30 minutes.
4. Remove gluten-'ball' and strain. Optionally, press out liquid as you would with tofu to dry with a cloth.
5. Cut into strips as desired.
6. At this stage, I like to begin heating the mushroom gravy on a gentle heat in a seperate saucepan, but add the seitan-strips to the gravy so you can heat them together adding the flavour of the mushroom gravy into your seitan.

2.
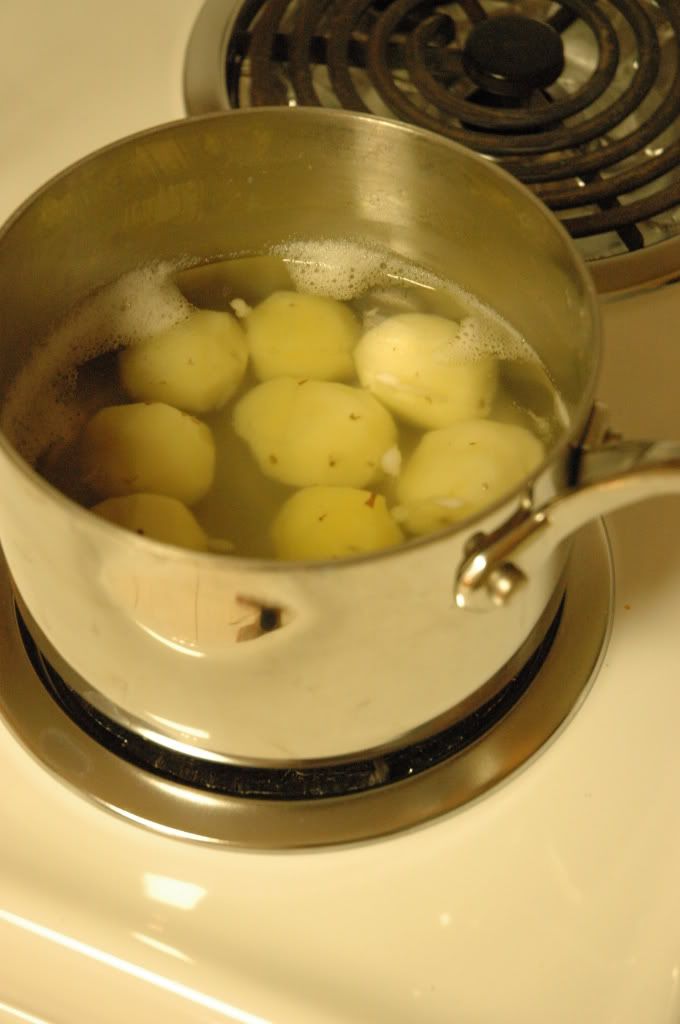
1. Peel and then begin boiling your potatoes in large saucepan as this takes quite a while.
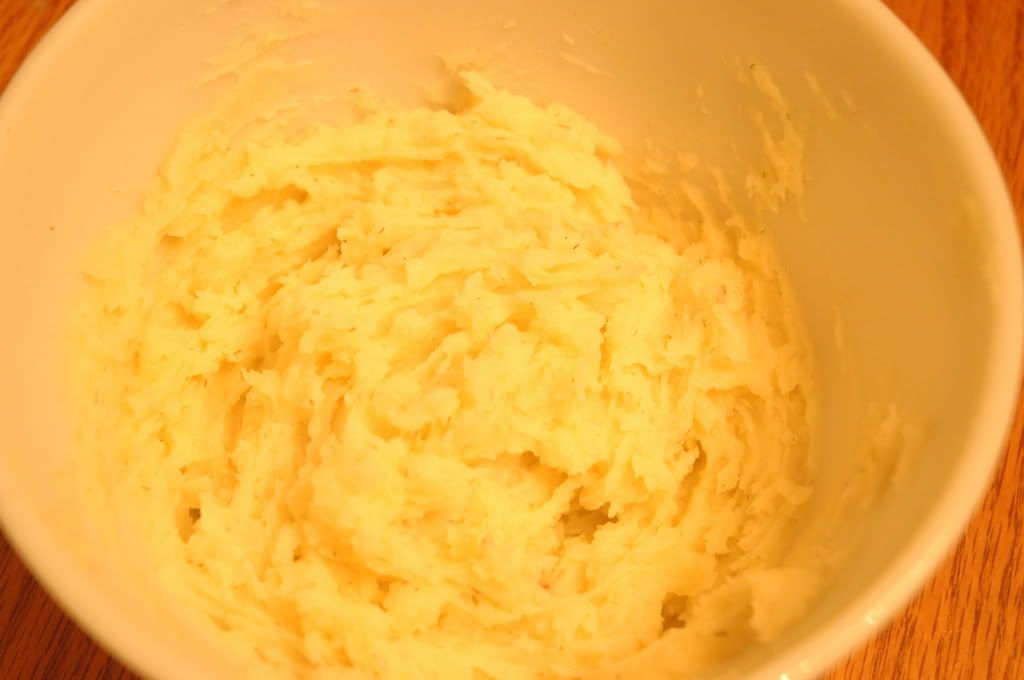
2. Occassionaly test potatoes with a fork. When they are soft enough to mash with a fork strain/remove and begin mashing in a large bowl.
3. Add the margarine and cream into your potatoes until smooth and then mix in the soy-milk until your potatoes are smooth and fluffy.
4. Add garlic and dill and mix.

3.
1. Boil swiss chard and lightly season in seperate bowl as a side.


Serve your gravy and seitan-strips over your potatoes and enjoy your swiss chard as a side. Makes for a nice warm quick-fix meal!

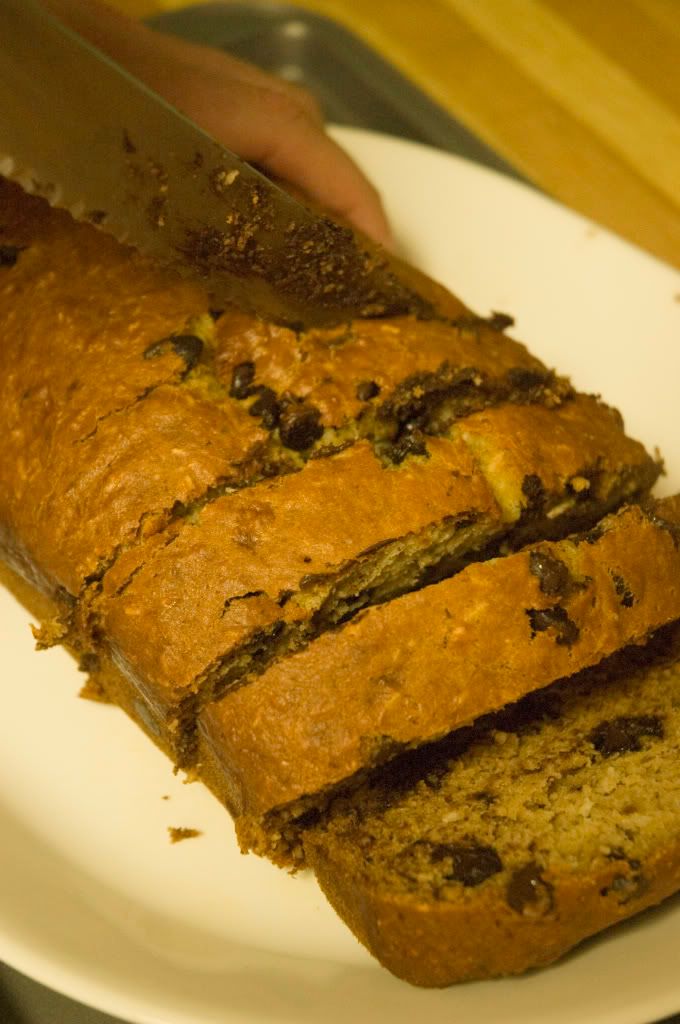
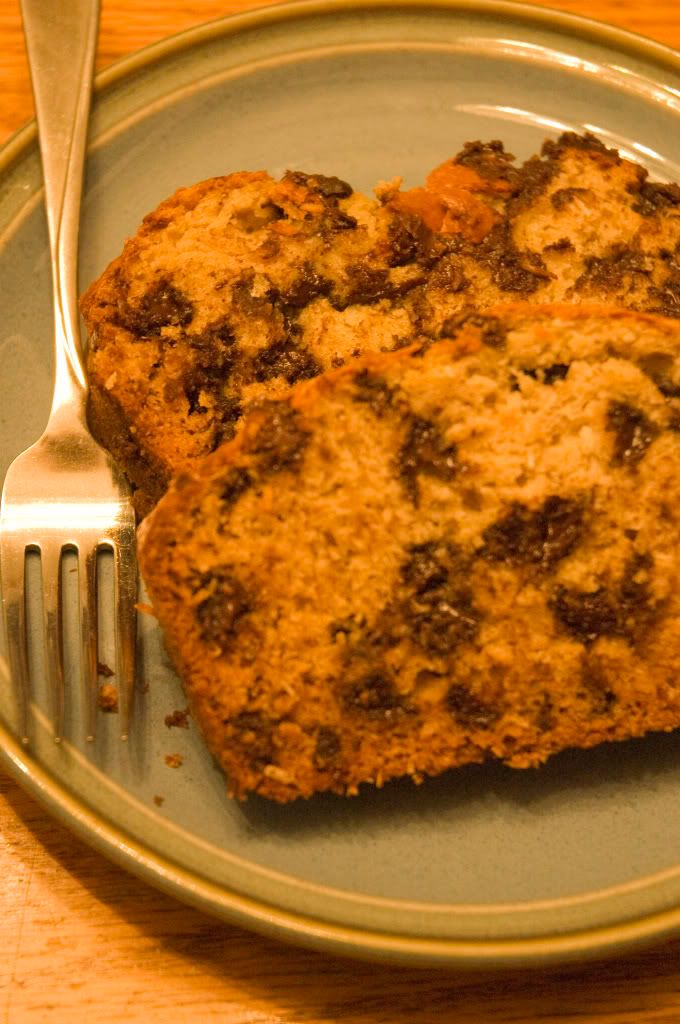
Everyone and Their Mum's Fav Choc Chip Banana Bread

Rating: Easy and delicious!

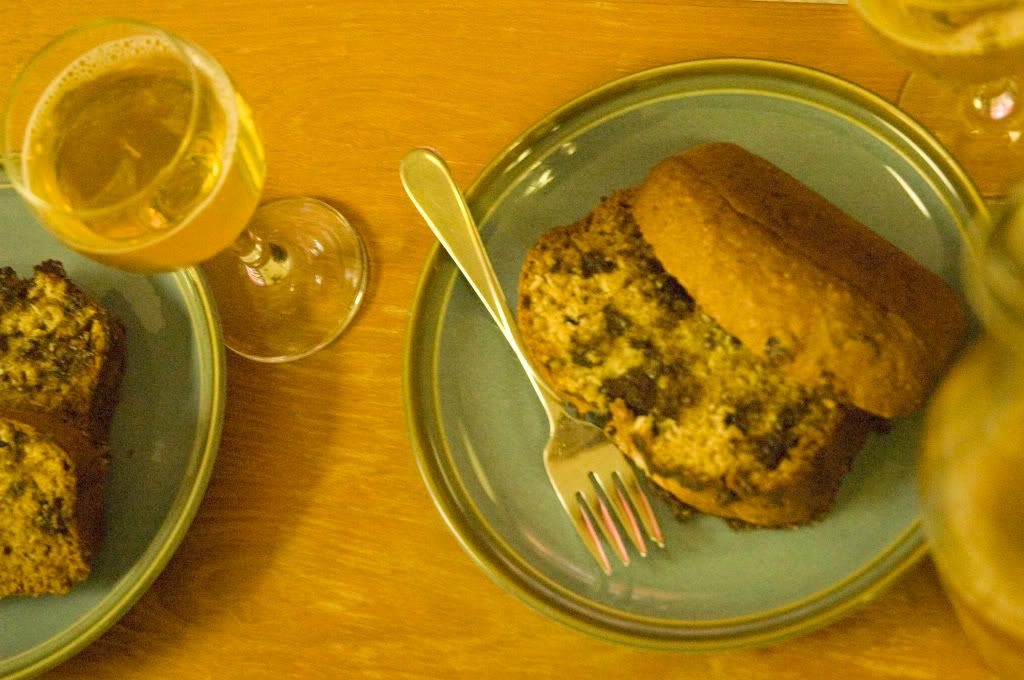
I love this recipe. This combination is an experimented version that I made one day with my school chum Alex. This original recipe comes from a family recipe that required eggs. The use of the eggs allows a bit of experimentation for replacing it with combinations of applesauce, banana, or even egg replacer. For this version we're going to cut into it with a bit more banana to have a thicker loaf. Use your discretion and even play around with the applesauce/banana content on your own to make your own version!

We found the best way to enjoy the loaf was with my new favourite non-alcoholic treat! Hall's Apple Farm from just outside of Ottawa creates beautiful ciders, including beautiful sparkling ciders! We enjoyed our loaf with a lovely mulled cider. They participate during the in-season farmer's markets and have an all-season store at their location in Brockville. http://www.hallsapplemarket.com/

Choc Chip Banana Bread with Coconut

1/2 cup soy/vegan margarine
1 tsp vanilla extract
3/4 cup dry sweetener
2 cups mashed banana
3 Tbsp apple sauce
2 cups unbleached flour
1 tsp salt
1 tsp baking soda
6 oz dairy-free choc bits/chips
*1/3 cup coconut flakes

1. Preheat oven to 350 degrees.
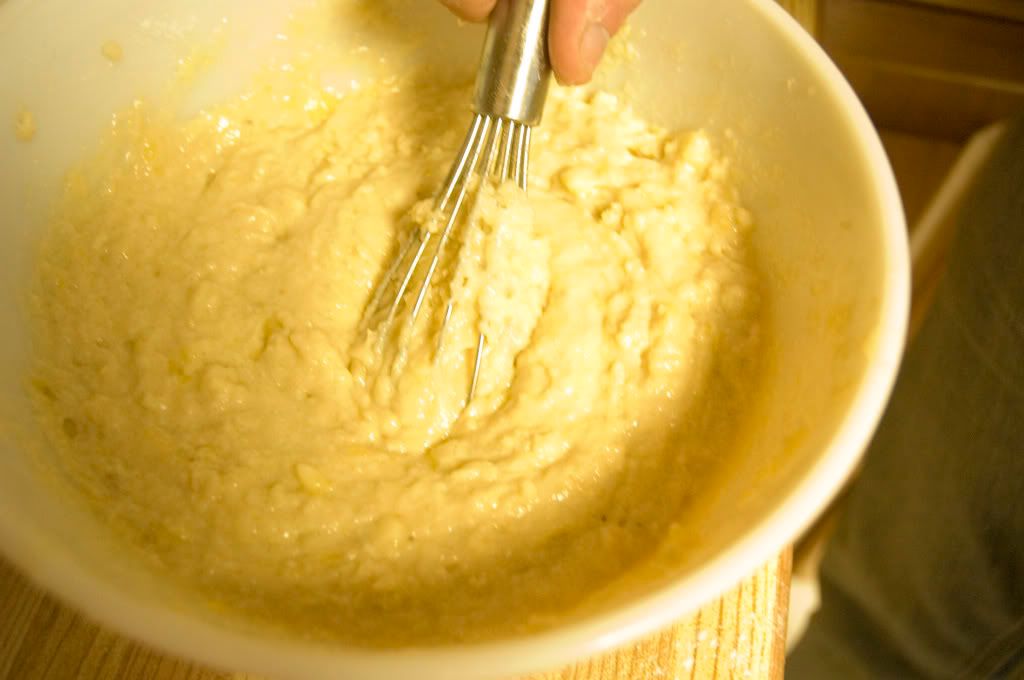
2. Cream together the margarine, extract, and sugar until fluffy and light.
3. Beat in 1 cup of banana and the applesauce.
4. Sift together the dry ingrediants (not chocolate)
5. Blend in (portions at a time) dry ingredients with the mixture alternating and adding in portions of the last cup of mashed banana.
6. If at this point the end batter does not seem thick enough add small amounts of flour to compensate, similarly if it seems too thick add a bit of water, or slightly more applesauce.
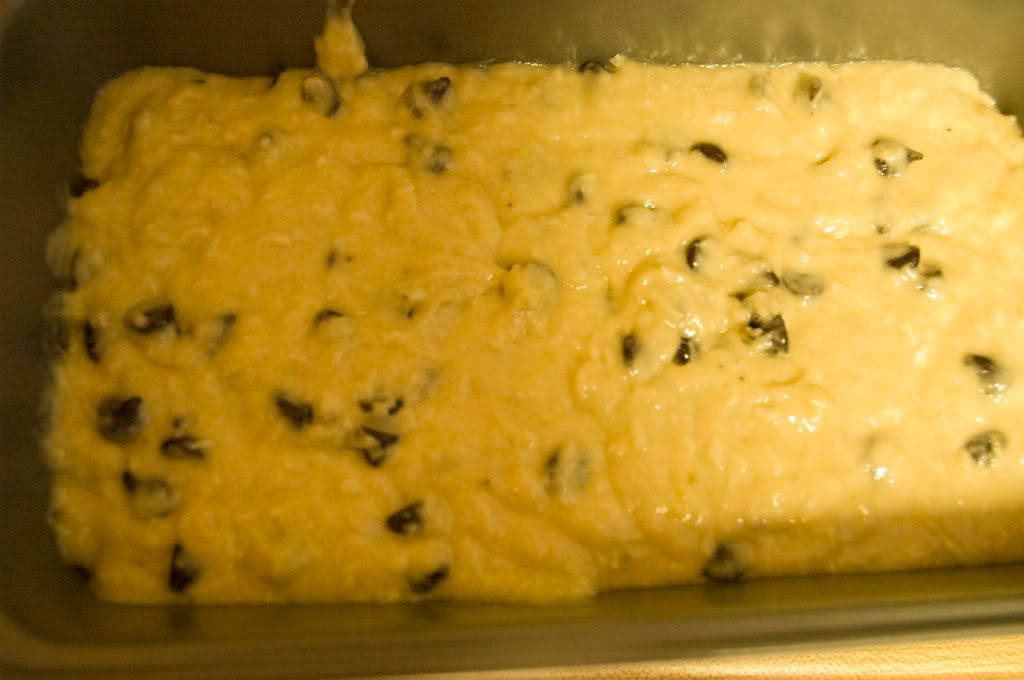
7. Stir in chocolate and optional coconut. Add to greased and floured loaf pan (or non-stick).
8. Bake at 350 degrees on middle rack for approximately 50 minutes or until toothpick comes out clean.

Share with people you love!

Friday, April 25, 2008

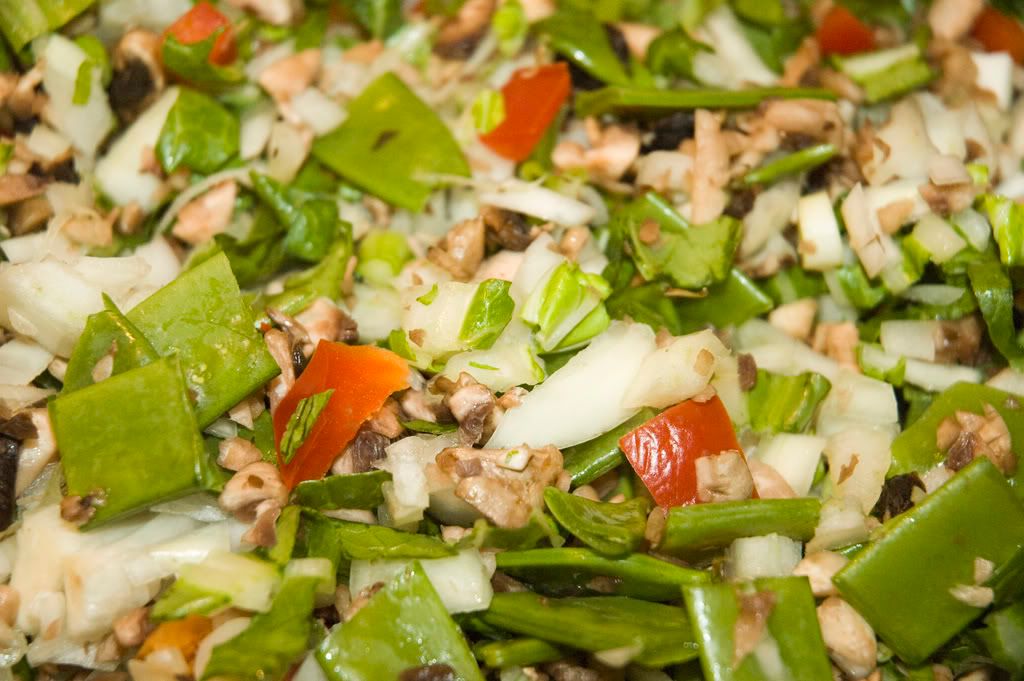
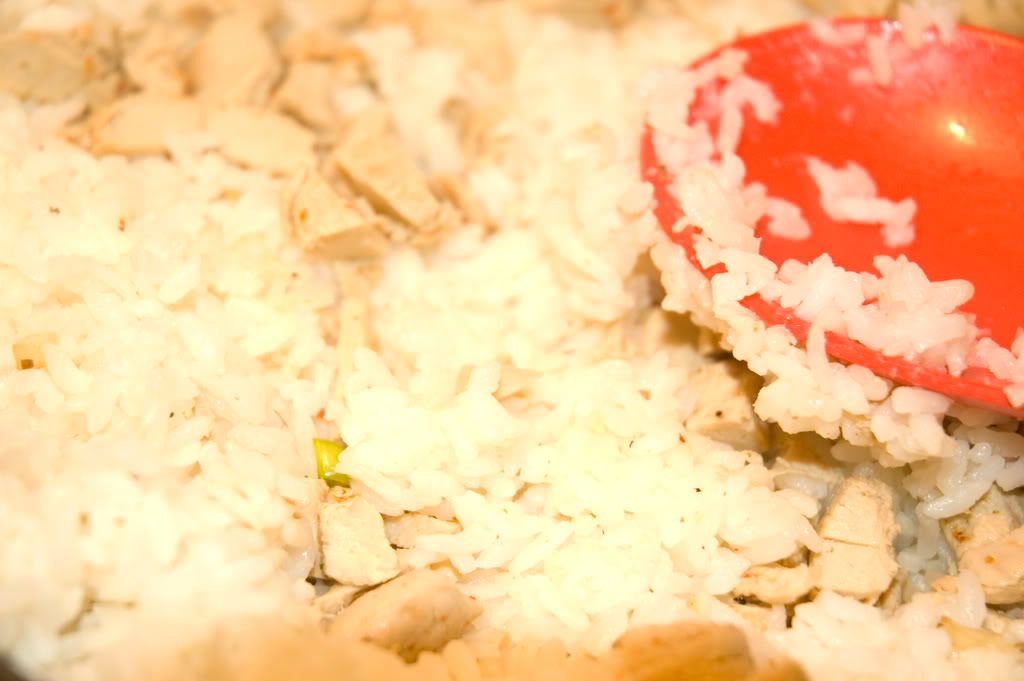
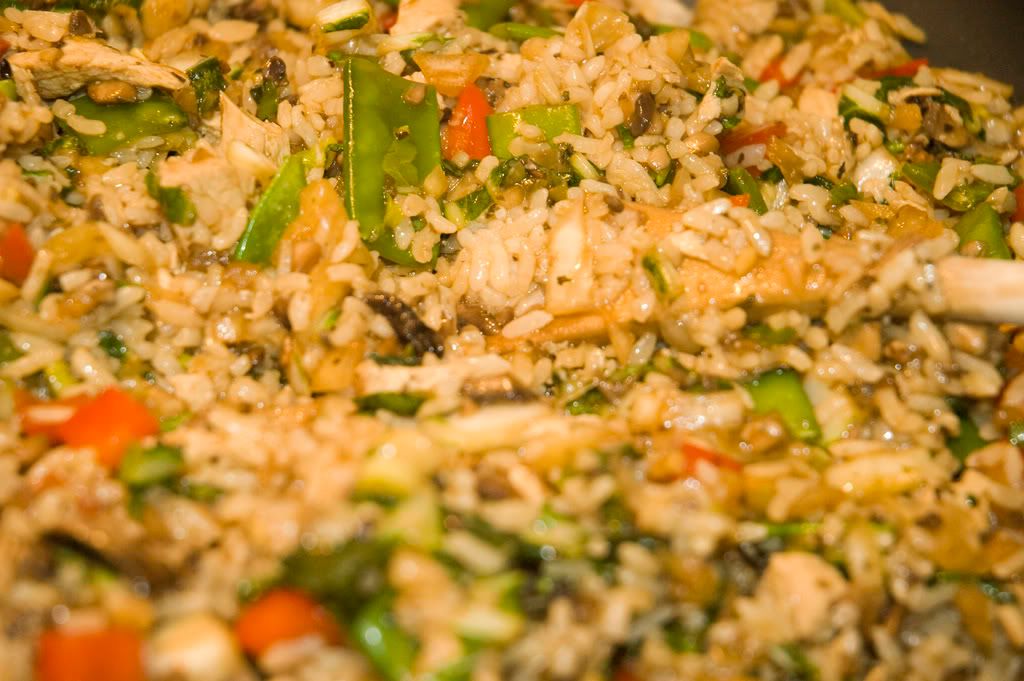
"Chicken" Fried Rice

Rating: Intermediate.

This is one of my friend Brandon's favourite meals that I make. I tend to make this for company, so the size is rather large. Feel free to cut down the ingredients for small serving numbers. This meal does keep well for several days and is still great re-heated and re-served.

'Chicken' Fried Rice (serves 6-8 large portions)

1.
2 cups white rice*
5 Tbsp oil
2 large onions, chopped
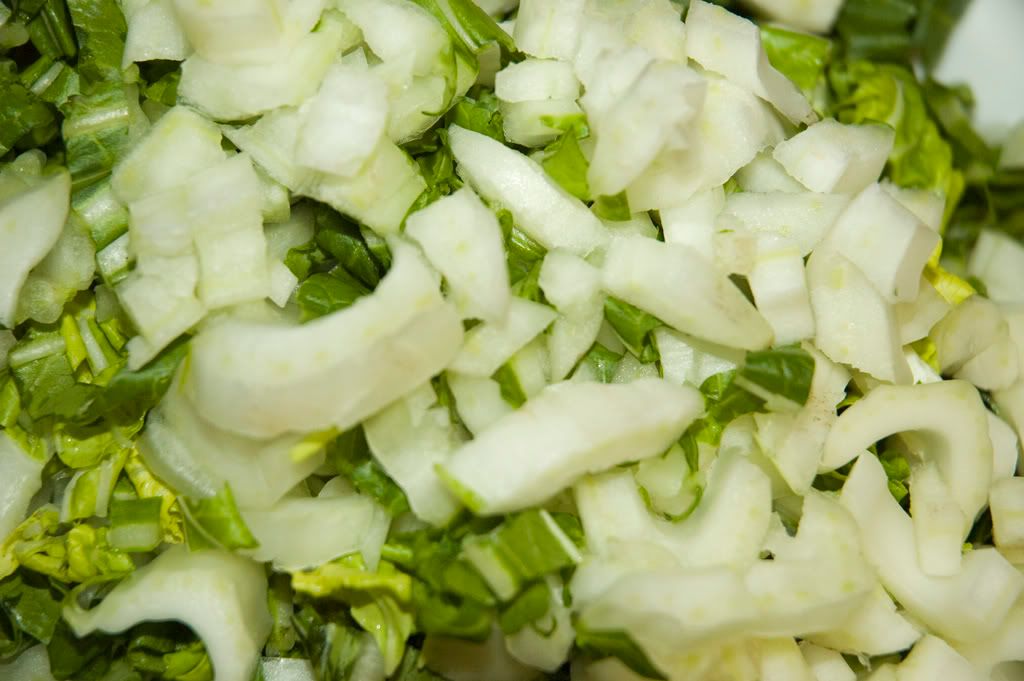
5 cups bok choy, chopped
2 cups sugar snap or snow peas, chopped
1 red bell pepper, chopped
2 cups chopped green onion
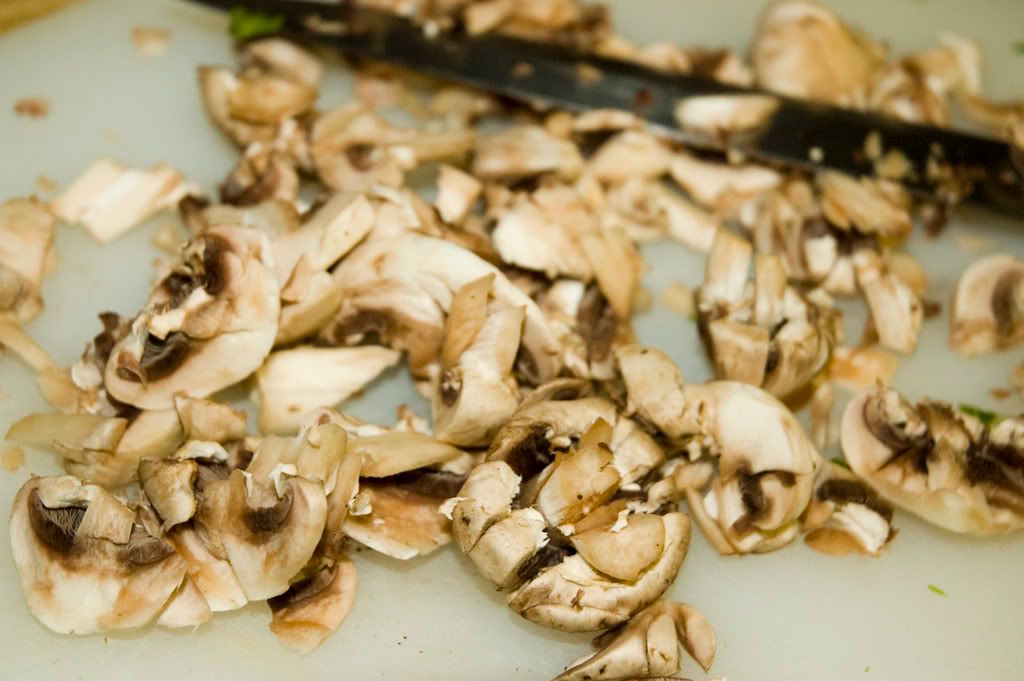
4 cups mushroom, finely chopped
1/2 cup basil
1 1/2 cups of 'chicken' seitan, roughly chopped**

*You may want to avoid using extra sticky rice, or washing the starches from white rice if you usually do this in your prep. You may even enjoy this with a parboiled rice. There is nothing wrong with using a sticky rice, but you will want to cook it well in the later stages, because the fresh stickiness will clump and not leave you with the easy mix you should be aiming for.

**You may prepare this yourself with instant wheat gluten flour (found in health food and bulk shops) or purchasing ready made 'chicken' strips found in regular supermarkets and health food shops. If you prepare it yourself you may want to spice and cook it as large strips and then chop it into smaller pieces for the dish. If you try to 'roughly chop' the seitan before it has been cooked it will be very sticky and give you quite a hard time.

2.
1 teaspoon sesame oil
1 cup soy sauce
4 Tbsp white vinegar
3 garlic cloves, minced
1 Tbsp sugar

1. Cook rice in rice cooker or saucepan and set aside.
2. Prepare sauce (using ingredients from #2) in medium sized bowl and set aside.
3. (Using ingredients from #1) Add 3 Tbsp of the vegetable oil, onion, and mushroom to a wok, large pan, or skillet and heat until soft for a couple minutes.
4. Add bok choy, peas, pepper, and green onions.
5. Cook on medium-low for about 5 minutes until they are beginning to crisp.
6. Mix in about half of the sauce with the vegetable and cover with a lid. Let cook for about 10-15 minutes to absorb the flavours.
7. Remove the vegetable-sauce mixture to a large bowl and set aside.
8. Add 2 Tbsp of vegetable oil to your new empty pan and cook on high, adding the rice and pushing down evenly around the pan to ensure all of the rice is further cooked. The rice may be slightly discoloured but this does not mean it is burnt. I usually add the 'chicken' in with the rice at this stage.
9. After about five minutes stir in vegetables with the remaining sauce and basil.
10. Cook for another several minutes to lose some of the extra moisture.

There is a lot of sauce, so mix it well and don't be afraid to let it cook (without being covered) for extra time to lose some of that moisture. Much of the moisture will be absorbed by the rice, but I find the recipe does really well after re-heating because of the additional moisture being absorbed or evaporated.

Serve warm and enjoy!

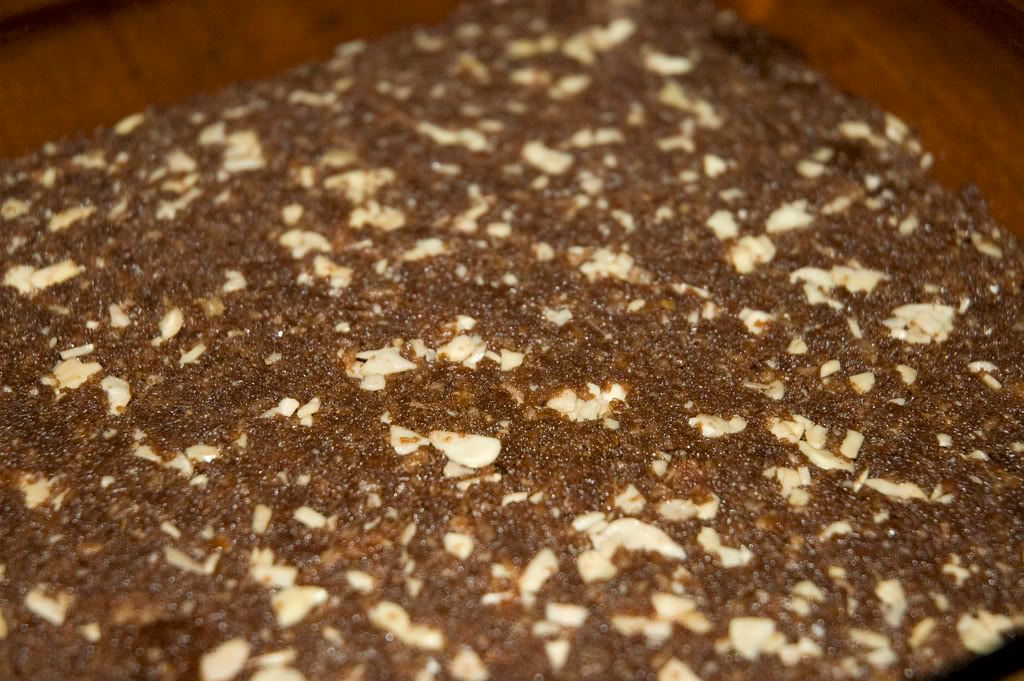
Nanaimo Bars

Rating: Easy to intermediate!

There are a few ways of doing this classic treat. You can substitute other types of crumbs in the bottom layer, or even use oats (as my good friends Melinda and Spencer did for me once as they made me a batch). Other alternatives, like oats, may leave your mixture a bit dry; however, you can experiment using another few Tbsps of soy margarine or another Tbsp of apple sauce to create a better consistency.

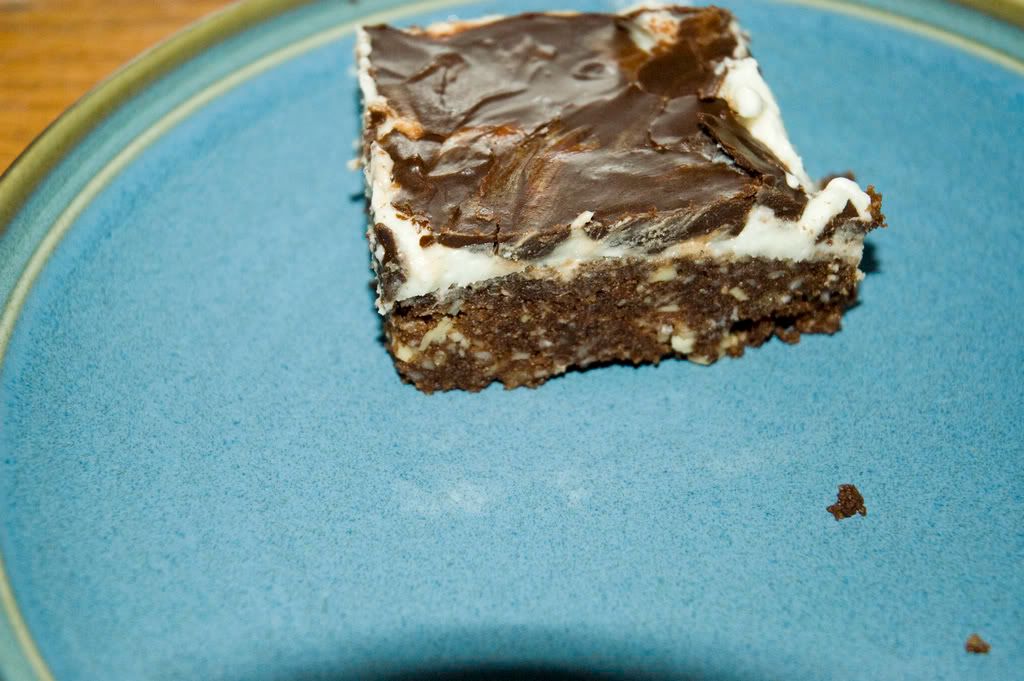
You can also add more chocolate to the final/top layer to create a thicker bar. The chocolate, as is, leaves you with a fairly thin and crisp top layer. You could double the chocolate in this layer, but I would recommend adding more margarine or even a small portion (try 1-2 Tbsp) of warmed soy milk to ensure you won't just end up with a heavy and thick layer of really hard chocolate - that's not what you want, trust me!

This is a great dessert. Don't be afraid to experiment with this.


Nanaimo Bars
1.
1/2 cup unsalted soy margarine
1/2 cups sugar
3 Tbsp apple sauce
1 1/2 cups prepared bread crumbs*
1 cup coconut
1/2 cup almonds, finely chopped
5 Tbsp cocoa powder

*This step is optional. Prepare the bread crumbs by mixing them with a sweetener. Original Nanaimo Bars use graham crumbs, but honey is not a vegan ingredient. To get that added sweet-crumb taste: mix about 1/4 cup (or to taste) of corn syrup or brown rice syrup with the crumbs. You may need to do a bit of hand mixing.

You can use home made bread crumbs, or use any similar consistency 'crumbs' that you can find. You can also find them in some varieties in health or bulk stores. Just check the ingredients as some 'plain' crumbs may contain egg and dairy.

2.
1/2 cup unsalted soy margarine
2 1/2 Tbsp soy creamer/milk
2 Tbsp corn starch
2 teaspoons vanilla extract
2 cups icing sugar

3.
1/2 cup chocolate*
2 Tbsp unsalted soy margarine

*Read the introduction to this recipe for comments on this step.

1. (Using ingredients from #1) Melt margarine, applesauce, and sugar together in a double boiler. 2. Add crumbs and cocoa to the pan, mixing thoroughly to absorb all of the cocoa powder.
3. Take pan off the of the heat and stir in the coconut and nuts. If you want the coconut to be more melted in with the mixture then do this step with the saucepan still over the element.
4. Press the mixture firmly into an ungreased 8x8 sized pan.
5. (Using ingredients from #2) In a medium sized bowl, cream together the margarine, corn starch, soy creamer/milk, and icing sugar. Add the vanilla and mix well.
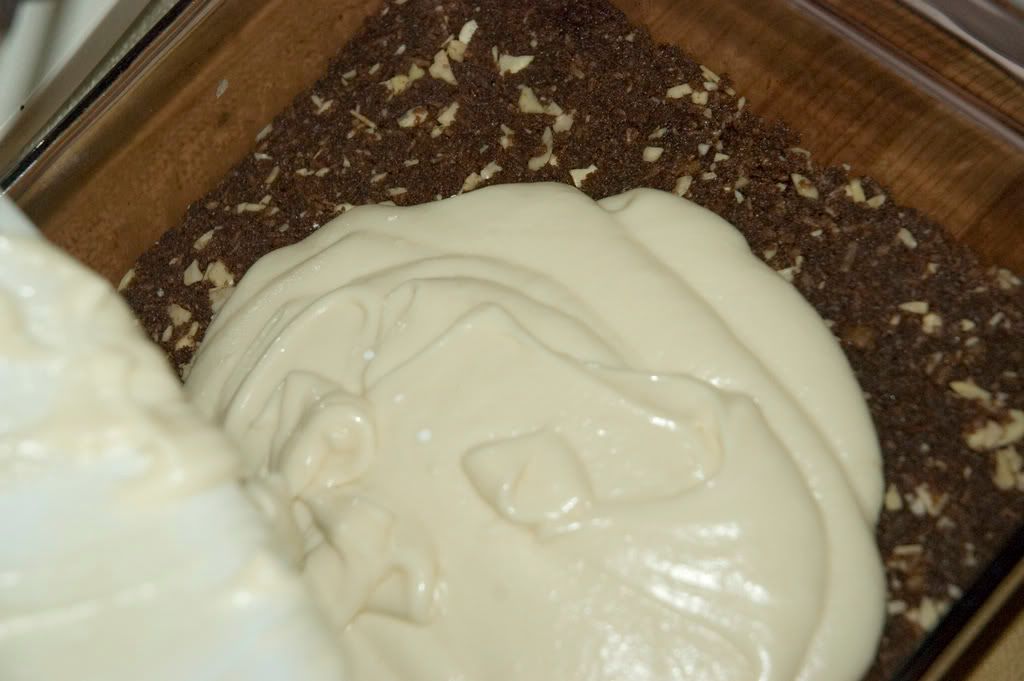
6. Pour 'custard' layer into the pan over the first layer and spread until even. At this stage you may want to consider refrigerating the two layers for a short amount of time to help prevent the chocolate layer from bleeding into your 'custard' layer. This will also make it easier to spread the chocolate; however, this is still optional and not completely necessary.
7. (Using ingredients from #3) Melt the chocolate in a double boiler or in a regular pan over low heat, mixing in the margarine (and optional soy milk if you desire). Take pan off of the heat. Let the mixture cool down slightly (tepid and still liquid enough to pour), and pour over the second layer.

Refrigerate to chill and then enjoy!


Hearty Vegetable Soup with Noodles

Rating: Easy.


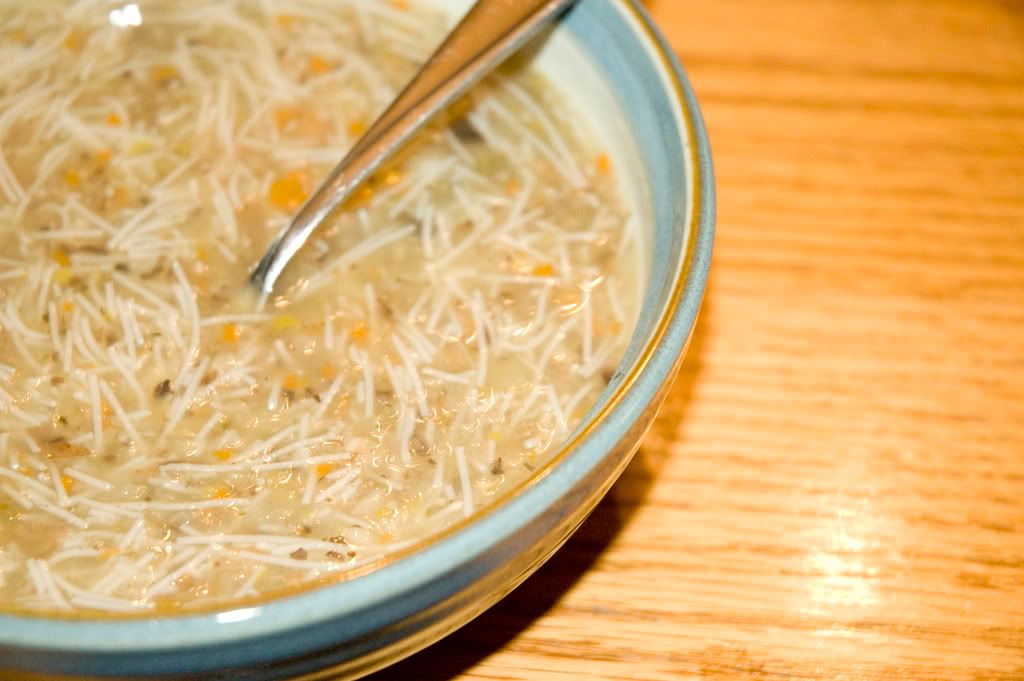
You're right! I love soups! This is one of my favourites that I have made and experimented with. It is hearty soup and great for when you want a bit more substance in a soup or when you feel a bit under the weather. This soup is wonderful served fresh or saved - for the flavours to absorb a bit longer.

This soup can be done two ways. You can keep to the instructions, as I have most vegetables finely chopped or you can put the soup in a food processor for a few seconds before the final stage of adding the noodles.

Hearty Vegetable Soup with Noodles (serves six or more)

2 Tbsp oil
1 large onion, well chopped
5 large mushrooms, finely chopped
2 medium or large carrots, sliced then roughly chopped
2 large radishes, sliced then roughly chopped
2 celery stalks, well sliced
1 green onion BUNCH, sliced
1/4-1/2 red onion, sliced separated and roughly chopped
3/4-1 LB red potatoes, diced
4 1/2 cups vegetable stock
1 ginger root, minced
4 Tbsp coriander or to taste*
salt and pepper to taste

1-2 cups of vermicelli noodles, cooked then chopped


*I end up adding extra coriander, but it will be hard to assess the potency of your spices until the soup has set. You may want to refrain from adding too much until after it has simmered to cook and set.


1. Prep vegetables and set aside.
2. Prep the vegetable stock in an appropriate saucepan (for 4 1/2 cups) and set aside.
3. Add the onions and mushroom to oil and cook in large saucepan on medium-low, about 4 minutes until softened.
4. Add the vegetable stock to the large saucepan with the onions and mushrooms.
5. Add all the vegetables including potatoes, bring to a boil OR if you want the potatoes to be extra soft and won't be processing the soup then you may simmer the potatoes for a while before adding this second batch of vegetables.
6. After mixture is boiling, add ginger and spices, quickly cover and reduce to a simmer. You may let it simmer anywhere from 15-25 minutes, but keep in mind you may not want some of the vegetables to become too soft. You may also want to simmer for another 10 minutes with the noodles, so use your discretion. Check the soup around 15 minutes, especially the potato softness, and be prepared to let it simmer longer if necessary. Add more spices to taste if necessary.
7. Process in food processor if desired, then pour back into saucepan.
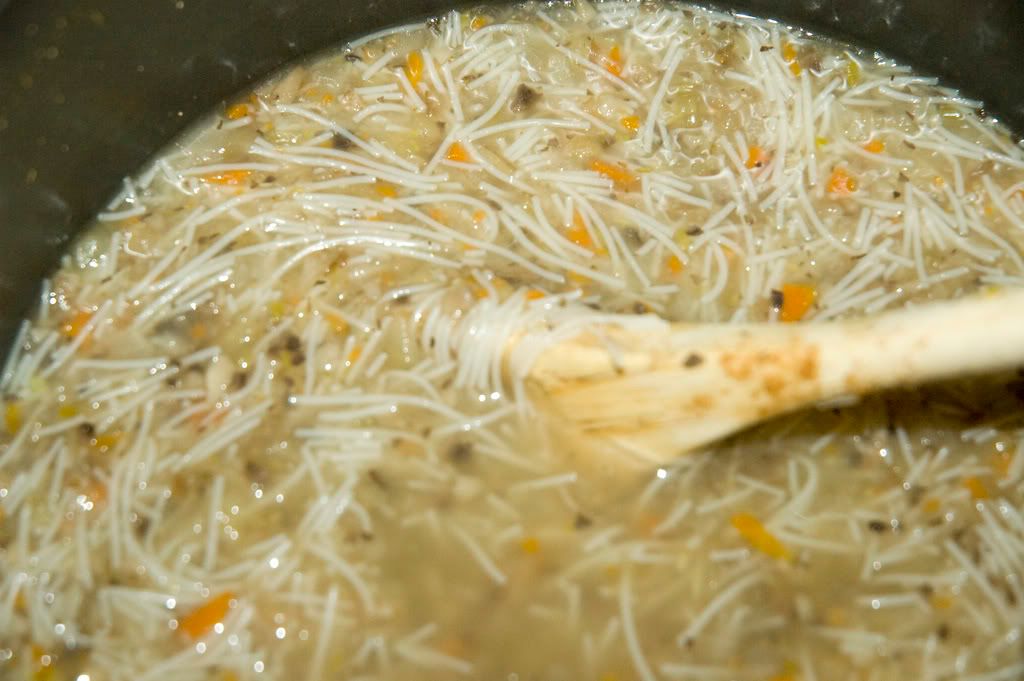
8. Add the noodles, and simmer for another 10+ minutes if desired.

Now serve fresh or let the soup settle for a couple hours and reheat later! This soup makes good leftovers for a few days if desired! Delicious.


Saturday, April 5, 2008

"IT Crowd" Peanut Butter Cocoa Oat Cookies

Rating: Easy.

These cookies are chewy with subtle chocolate peanut butter flavour. Jon and I whipped them up on Thursday afternoon while streaming the IT Crowd from my laptop on the kitchen table, and they were perfect served warm with funny television.

"IT Crowd" Peanut Butter Cocoa Oat Cookies (yields around 48 2-inch cookies)


Ingredients
1/2 cup margarine
1/2 cup peanut butter
3/4 cup brown sugar
1/2 cup sugar
3 tbsp apple sauce
1 tsp vanilla extract
1/4 cup chocolate soy milk
1 1/2 cups all-purpose flour
1 tsp baking soda
1 tsp salt
3 cups rolled oats
1/2 cup cocoa powder


1. Prehead the oven to 375 degrees Farenheit.
2. In a large bowl, beat peanut butter, butter and sugars until fluffy.
3. Add applesauce, vanilla and soymilk. Stir until well blended.
4. In a separate bowl, combine flour, baking soda and salt. When well mixed, combine with wet ingredients.
5. Add cocoa powder and oats. Stir!
6. Drop spoonfuls onto a cookie sheet covered in parchement paper.
7. Bake for 10-15 minutes: Jon and I found that 13 minutes was perfect.


Friday, April 4, 2008

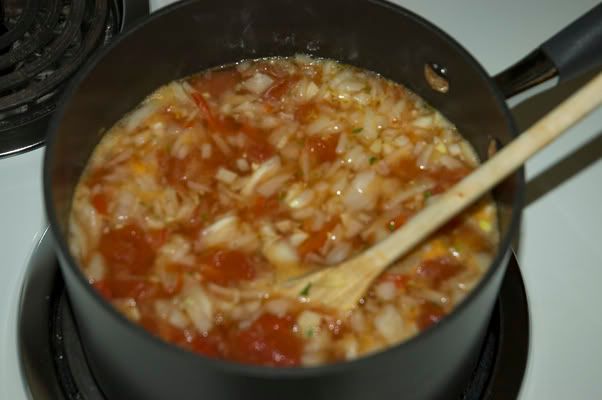
Red Pepper Soup

Rating: Easy! Fun!


This is another easy but great soup. I find it fun, because it's not very often that you get to peel the skin off of your peppers! You can use a food processor or blender to process the soup in the final stages, but I definitely recommend using a food processor if you have one. You will also want to process the soup in batches to avoid making a big mess if it spells over! The pesto is delicious, again, if you feel like adding a vegan parmesan ingredient. You can skip the pesto and it still makes a great soup. If you like your soup a little less thick, you may want to add slightly more vegetable stock.

1. Red Pepper Soup

2 medium red peppers
1 tablespoon olive oil
1 large onion, chopped
3 garlic cloves, minced
400g or about 1 3/4 cups of canned tomato with juice
3 cups vegetable stock
1 teaspoon lemon zest
3 tablespoons lemon juice
2 teaspoons sugar
salt and pepper

2. Pesto (optional)
1 1/2 cups coriander leaves, chopped
1 1/2 cups parsley, chopped
3 garlic cloves, minced
1/2 cup cashews, rinsed and chopped
1/2 cup vegan parmesan cheese
3 tablespoons olive oil


1. Rinse red peppers, cut in half, and clean out insides.
2. Set oven to Broil (500 f).
3. Place down (with outside skin facing UP) on foil on a baking sheet. Spray top of pepper halves with oil. Place in oven until the skins blister and turn black - five to ten minutes. Pay careful attention. This will allow you to peel off the outer layer of the skin.
4. Remove pepper halves, and place in an airtight container or bag and leave for five minutes or until cool. Remove the skins (you can peel them off at this point), and coarsely chop.
5. Heat oil and sauté onion and garlic over gentle heat in a large saucepan for about 3 minutes.
6. Add pepper, tomatoes (with juice) and vegetable stock.
7. Bring to a boil and simmer for about 15 minutes. Remove from heat and let cool slightly.
8. Add the lemon zest, lemon juice, sugar, salt and pepper.
9. Blend soup, in food processor or blender, in batches until smooth or almost smooth. Season to taste with salt and pepper.
10. If you choose to make the pesto, add all of the pesto ingredients to a food processor except for the oil. Process and add oil gradually until you have slightly more of a thick sauce rather than a paste.

Serve soup into bowls and garnish with pesto.


PhotobucketPhotobucketPhotobucket

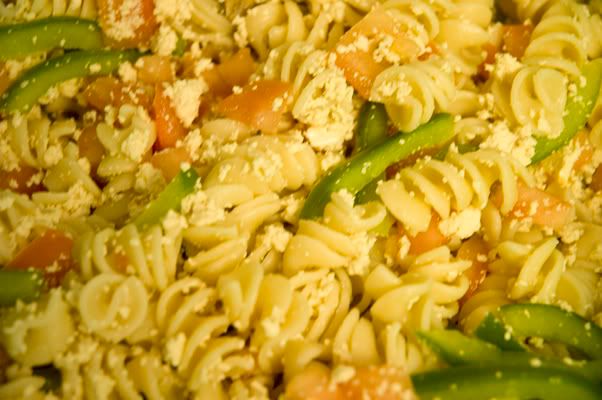
Pasta Salad

Rating: Easy! Simple! Quick!

This is a fairly simple recipe that does not involve too many main ingredients. The pasta can be anything short and thick such as rotini, penne, shells, or anything you'd like. You may enjoy experimenting with a whole wheat or gluten-free pasta aswell. I'd recommend grabbing some vegan parmesan cheese if you can from a local health food store. It's relatively inexpensive and adds a nice extra element (and blends with the crumbled tofu) to this salad, but if you want to pass it over consider it an optional ingredient!

Pasta Salad (about 3-4 generous servings)
1/2 lb pasta
6 tablespoons olive oil
3 tablespoons red wine vinegar
2 tablespoonslemon juice
1/2 teaspoon salt
1/3 teaspoon ground black pepper
1 large tomato, diced
1 medium green pepper, thinly sliced
1/2 block firm tofu, crumbled
1/4 cup basil leaves, chopped
1/4 cup parsley, chopped
1/4 cup vegan parmesan cheese, grated (OPTIONAL)


1. Prepare a large saucepan with some salted water and bring to a boil, before added in the pasta. After pasta is well cooked, drain and rinse with cold water (and drain again). Set aside to slightly dry in a colander.

2. Whisk together wet ingredients with salt and pepper in small bowl and set side.

3. Combine vegetables, tofu, pasta, and optional vegan parmesan cheese in a large bowl. Add the dressing and then toss to mix well.


Photobucket

Sunday, March 30, 2008

Mixed Olive Loaf

Rating: Easy to intermediate!

This is a fairly straightforward recipe that I have adapted from an old non-vegan olive loaf. This is a loaf-form olive bread, and not a traditional flatbread style or baguette style olive bread. This loaf is best served fresh, and may be used toasted with spreads for a bit of extra flavour. I really enjoy this recipe.


Mixed Olive Loaf
1.
3 cups flour
3 teaspoons baking powder
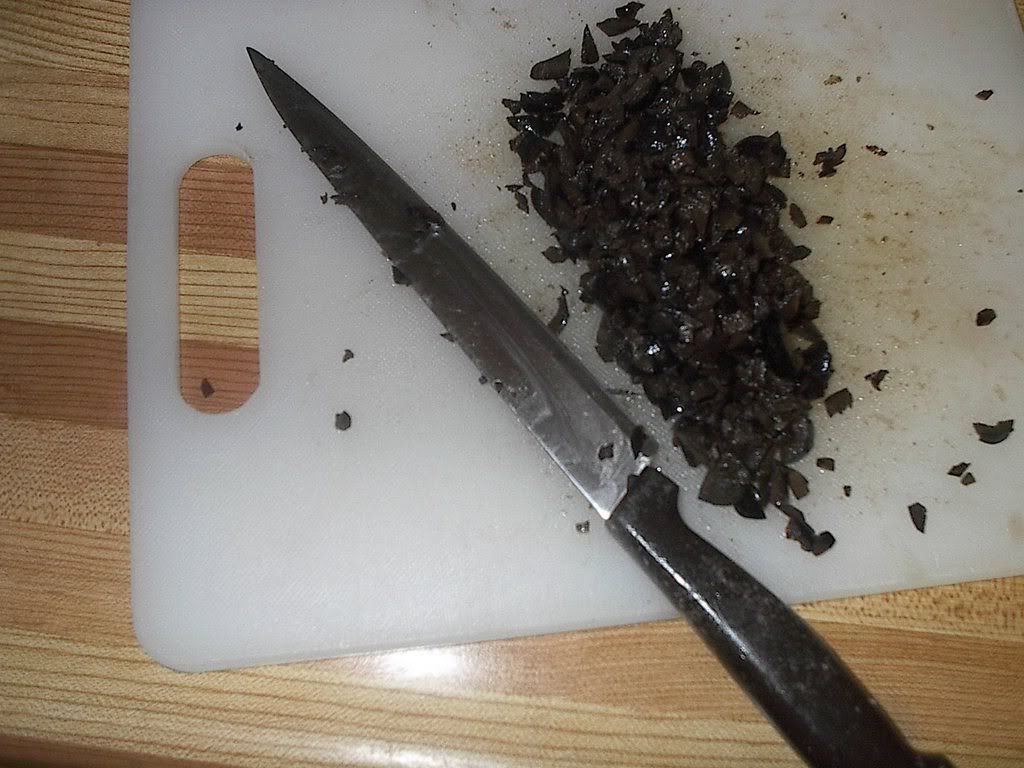
1 3/4 cups pitted and chopped mixed olives.
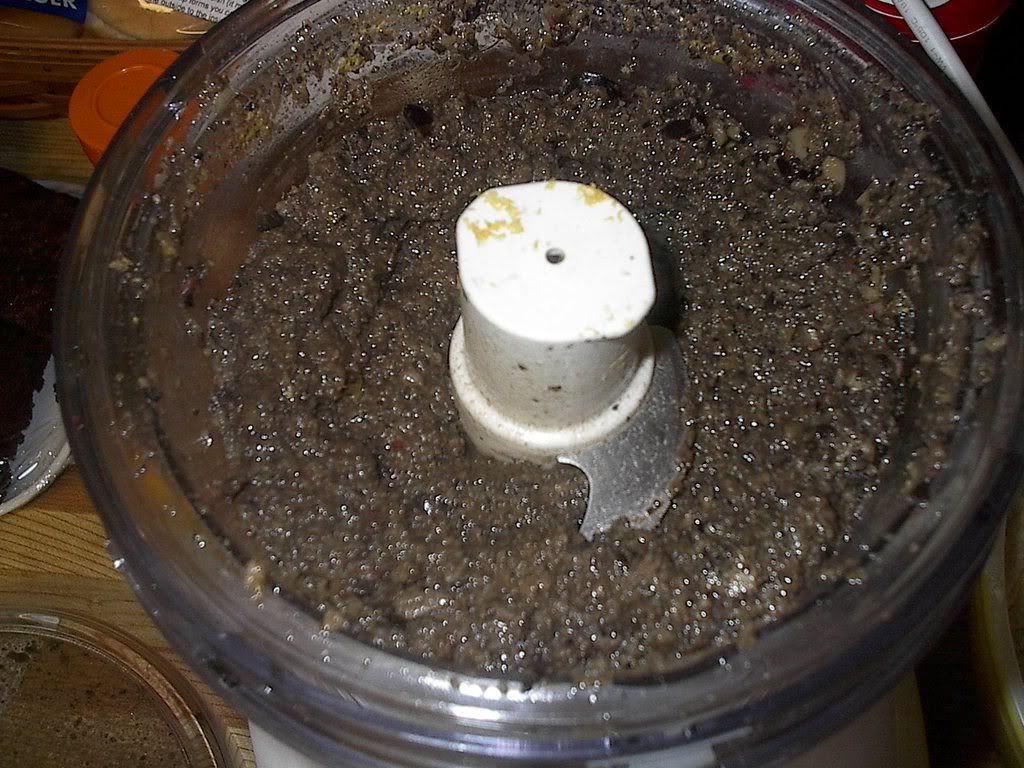
1/3 cup tapénade
6 tablespoons of unsweetened apple sauce
1/2 cup olive oil
1 cup soy creamer/or milk
1 tablespoon brown rice syrup
1/2 tablespoon sea salt

2.
Tapénade
1/2 lb pitted mix olives
2 tablespoons nutritional yeast flakes
1 garlic clove minced
2 tablespoons capers
2 tablespoons basil
1 tablespon lemon juice
2 tablespoons olive oil

1. Preheat the oven to 375 degrees Fahrenheit and lightly oil the inside of a loaf pan, or line the pan with baking parchment.
2. Prepare the tapénade. Rinse the olives (part2) if they are fresh. Place all ingredients from part 2 into a food processor until mixture becomes a thick paste. Set aside.
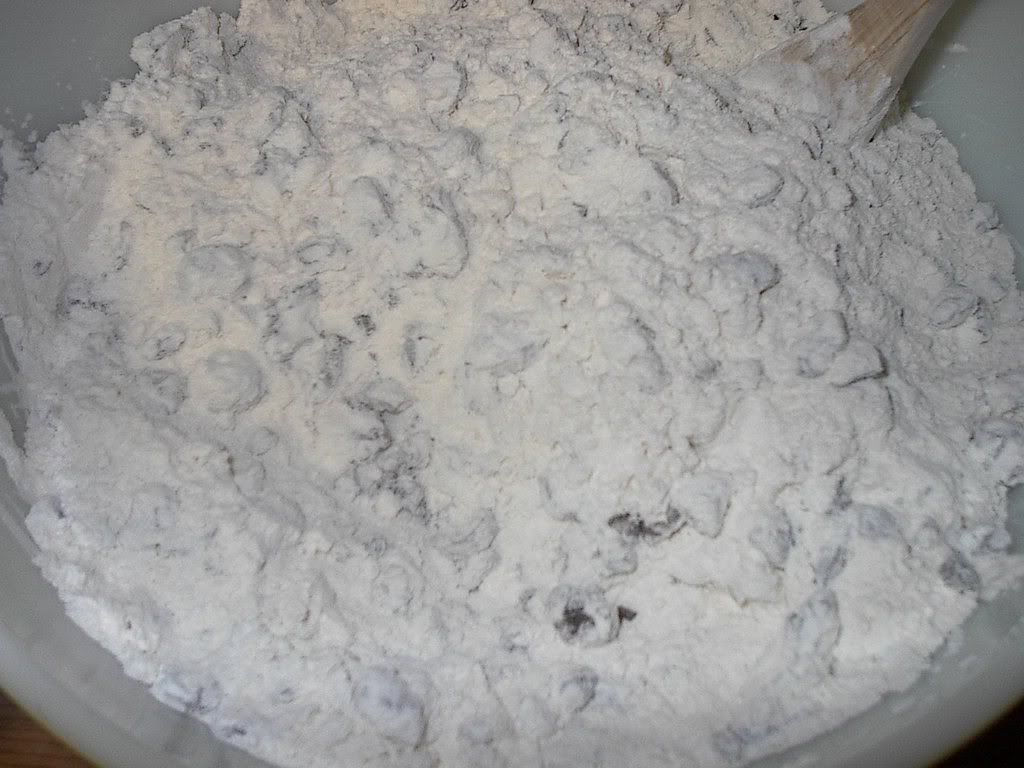
3. Add the flour and baking powder to a large bowl and mix.
4. Stir in mixed olives(part1 - you should have used the 1/2 lb for the tapénade by now) and tapénade with the flour mixture.
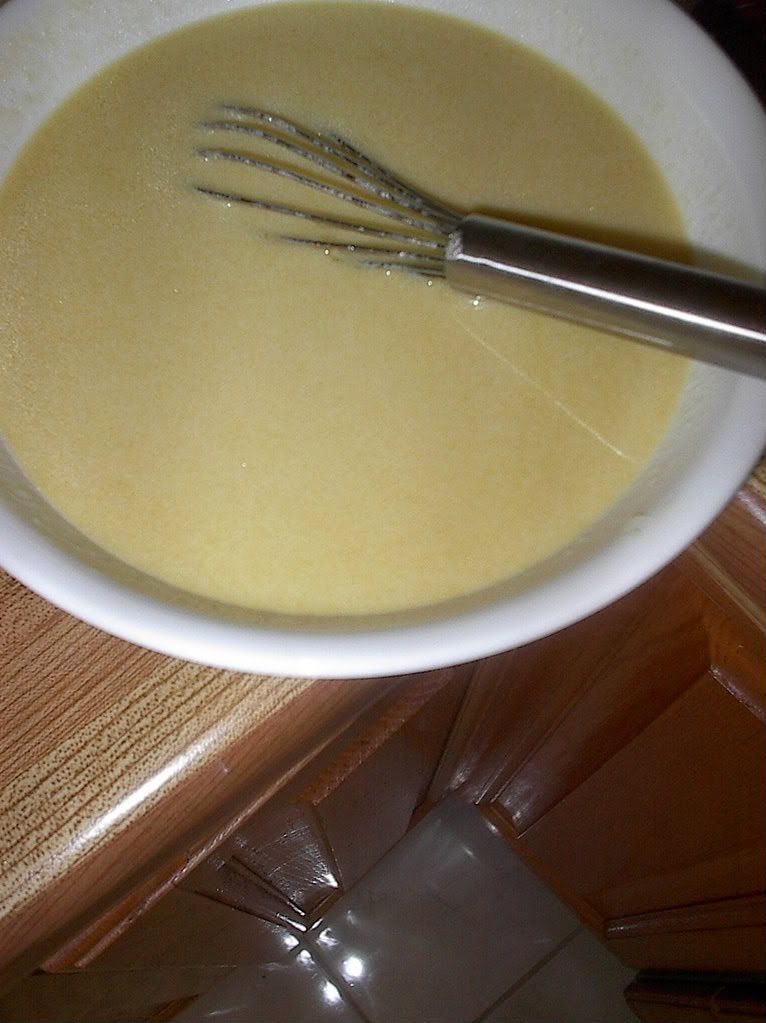
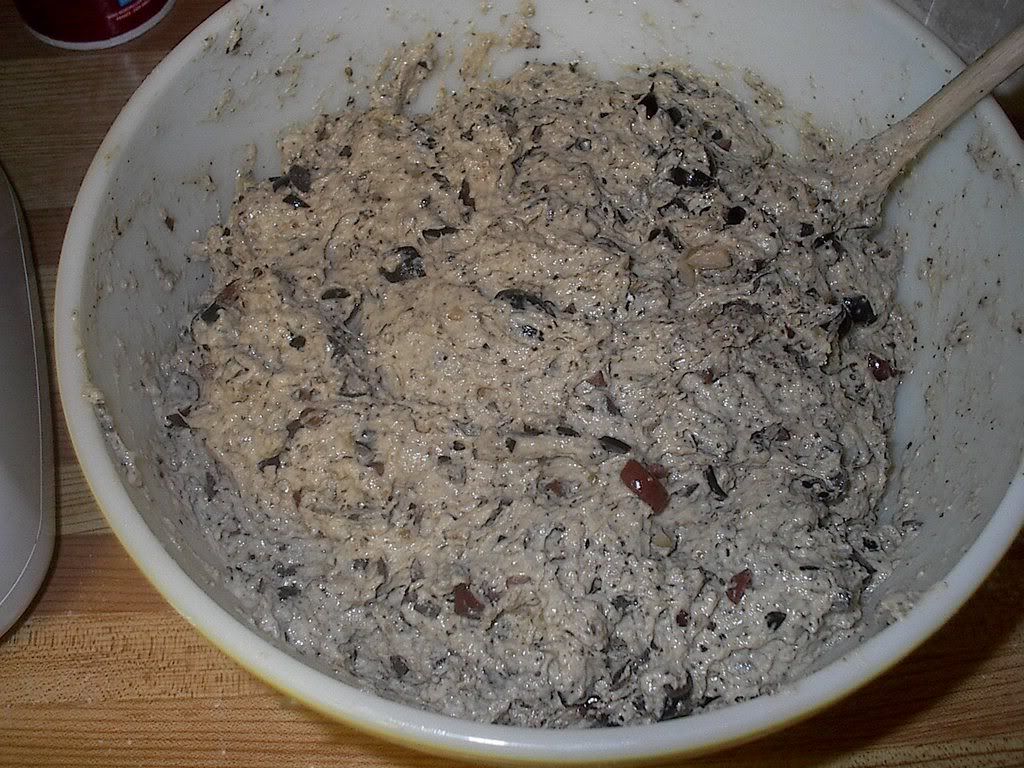
5. In a separate bowl whisk together the apple sauce, oil, soy creamer/milk, brown rice syrup, and sea salt. Add this mixture to the dry ingredients and stir until well combined. This will produce a nice batter similar to a good banana bread loaf. You may want to turn over the batter a few times to ensure that all of the flour is mixed in.
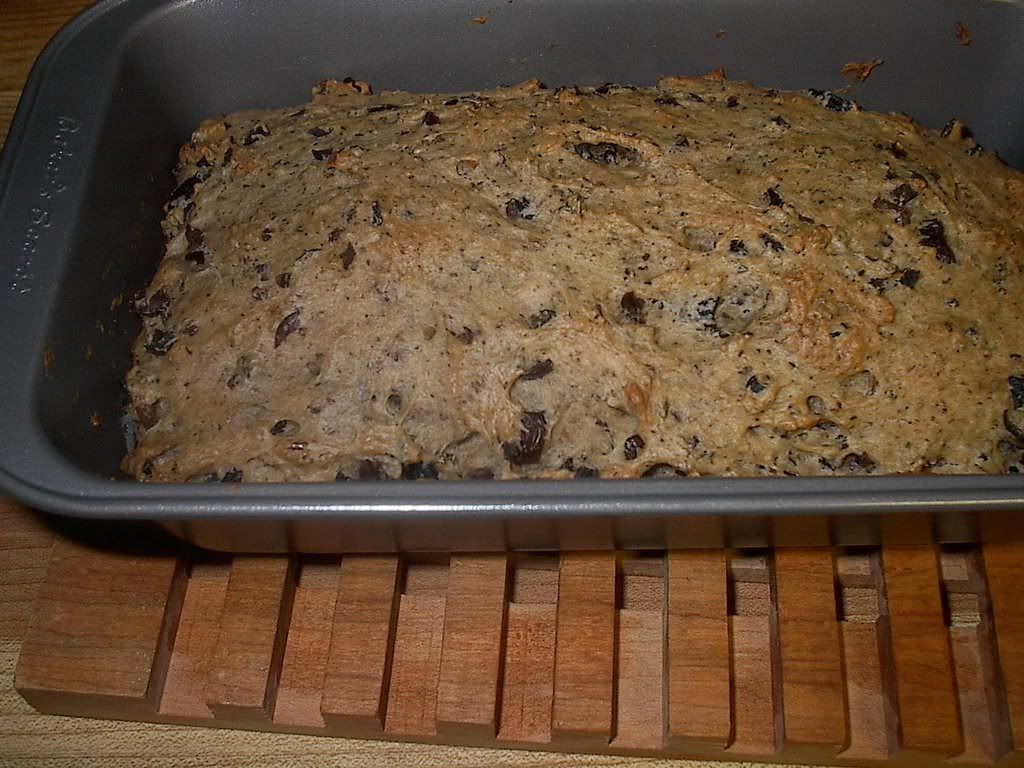
6. Bake for 75 minutes or until a toothpick comes out clean.

olive loaf olivesolive loaf tapénadeolive loaf flour mixtureolive loaf wet ingredientsolive loaf batterolive loaf bread