skip to main |
skip to sidebar
Rating: Intermediate.This is one of my friend Brandon's favourite meals that I make. I tend to make this for company, so the size is rather large. Feel free to cut down the ingredients for small serving numbers. This meal does keep well for several days and is still great re-heated and re-served.'Chicken' Fried Rice (serves 6-8 large portions)
1.
2 cups white rice*
5 Tbsp oil
2 large onions, chopped
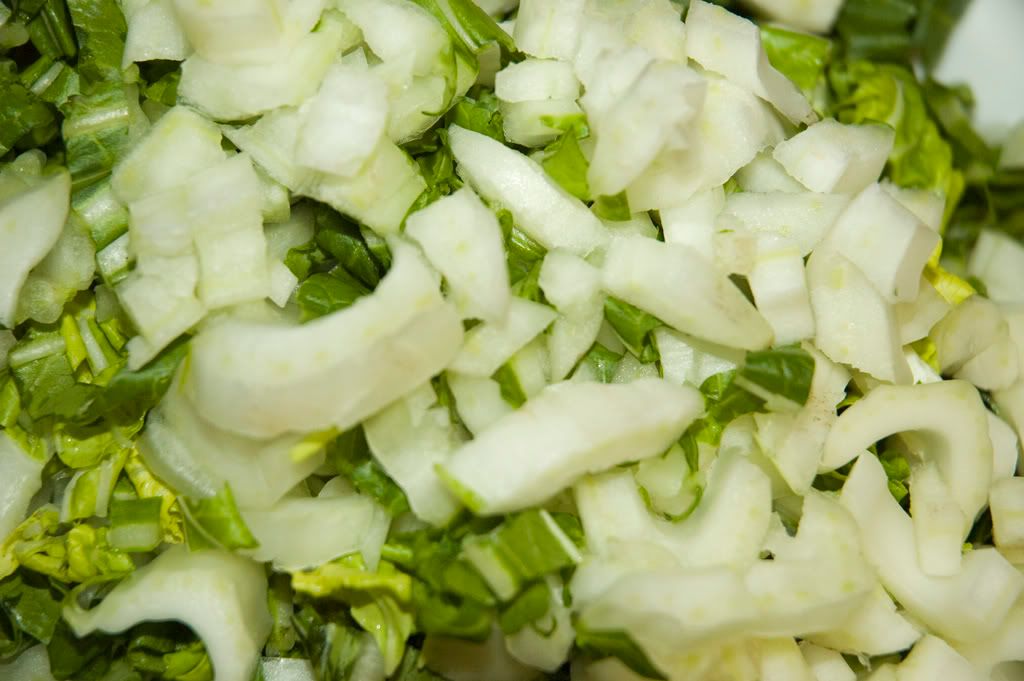
5 cups bok choy, chopped
2 cups sugar snap or snow peas, chopped
1 red bell pepper, chopped
2 cups chopped green onion
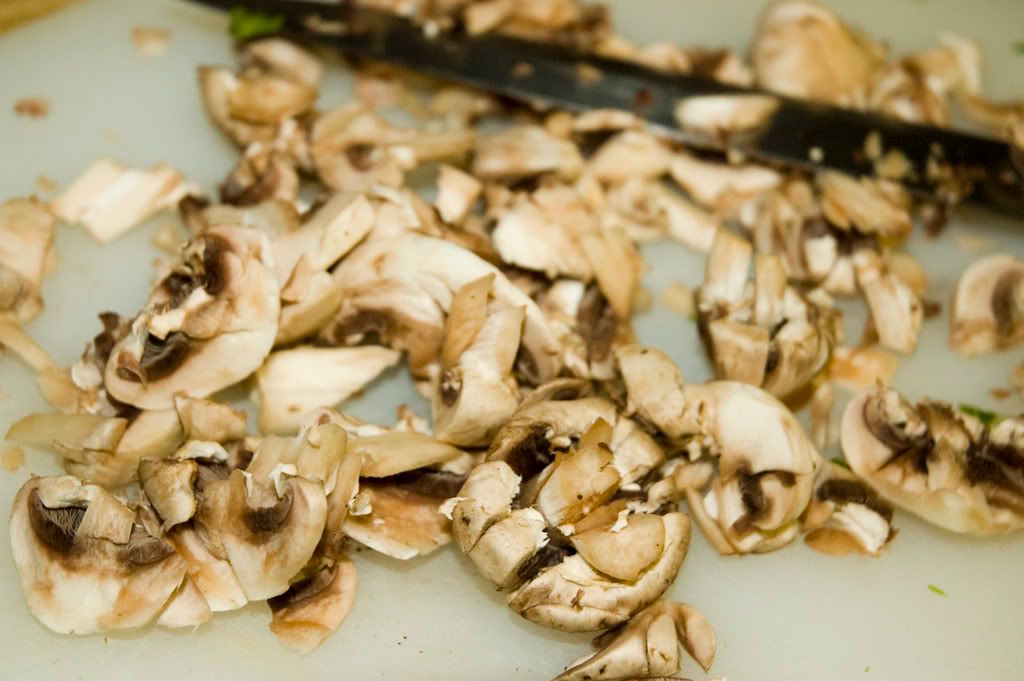
4 cups mushroom, finely chopped
1/2 cup basil
1 1/2 cups of 'chicken' seitan, roughly chopped**
*You may want to avoid using extra sticky rice, or washing the starches from white rice if you usually do this in your prep. You may even enjoy this with a parboiled rice. There is nothing wrong with using a sticky rice, but you will want to cook it well in the later stages, because the fresh stickiness will clump and not leave you with the easy mix you should be aiming for.
**You may prepare this yourself with instant wheat gluten flour (found in health food and bulk shops) or purchasing ready made 'chicken' strips found in regular supermarkets and health food shops. If you prepare it yourself you may want to spice and cook it as large strips and then chop it into smaller pieces for the dish. If you try to 'roughly chop' the seitan before it has been cooked it will be very sticky and give you quite a hard time.
2.
1 teaspoon sesame oil
1 cup soy sauce
4 Tbsp white vinegar
3 garlic cloves, minced
1 Tbsp sugar
1. Cook rice in rice cooker or saucepan and set aside.
2. Prepare sauce (using ingredients from #2) in medium sized bowl and set aside.
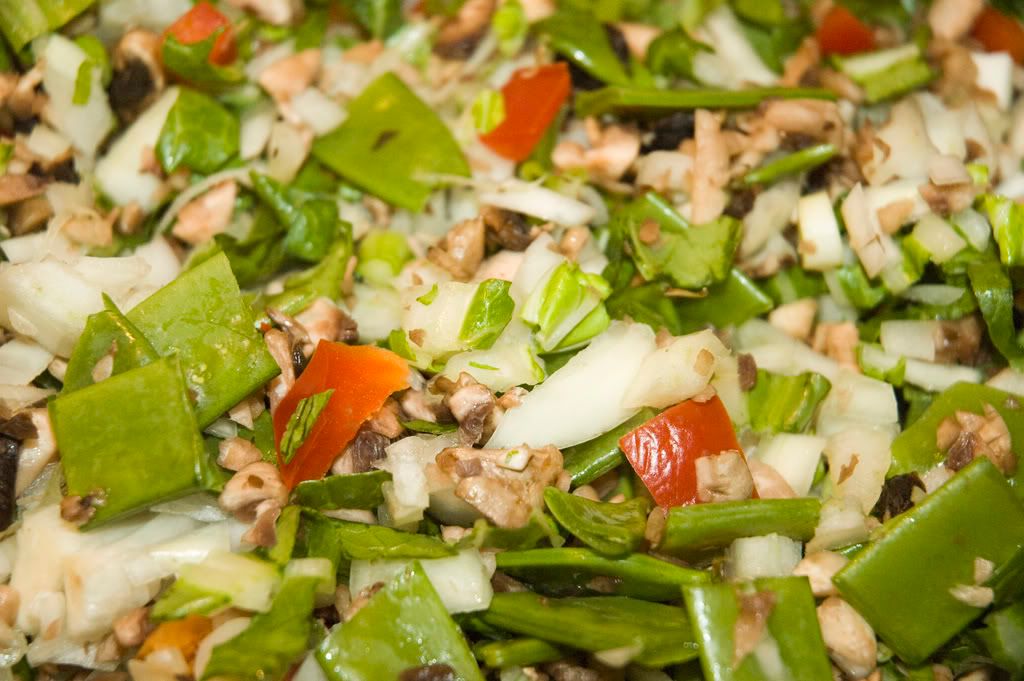
3. (Using ingredients from #1) Add 3 Tbsp of the vegetable oil, onion, and mushroom to a wok, large pan, or skillet and heat until soft for a couple minutes.
4. Add bok choy, peas, pepper, and green onions.
5. Cook on medium-low for about 5 minutes until they are beginning to crisp.
6. Mix in about half of the sauce with the vegetable and cover with a lid. Let cook for about 10-15 minutes to absorb the flavours.
7. Remove the vegetable-sauce mixture to a large bowl and set aside.
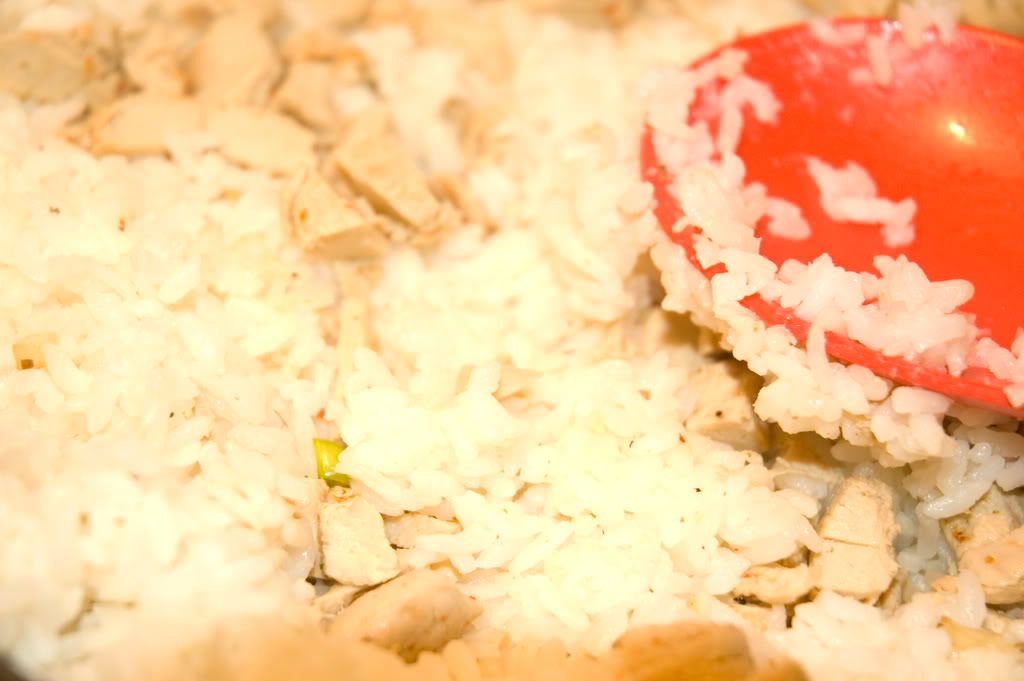
8. Add 2 Tbsp of vegetable oil to your new empty pan and cook on high, adding the rice and pushing down evenly around the pan to ensure all of the rice is further cooked. The rice may be slightly discoloured but this does not mean it is burnt. I usually add the 'chicken' in with the rice at this stage.
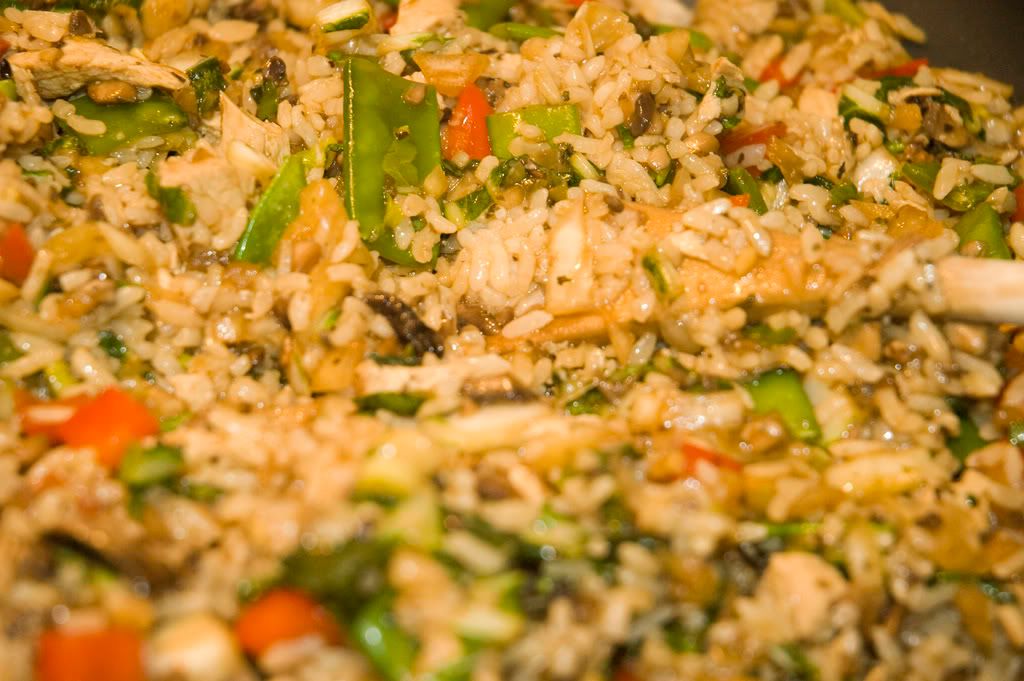
9. After about five minutes stir in vegetables with the remaining sauce and basil.
10. Cook for another several minutes to lose some of the extra moisture.
There is a lot of sauce, so mix it well and don't be afraid to let it cook (without being covered) for extra time to lose some of that moisture. Much of the moisture will be absorbed by the rice, but I find the recipe does really well after re-heating because of the additional moisture being absorbed or evaporated.
Serve warm and enjoy!
Rating: Easy to intermediate!
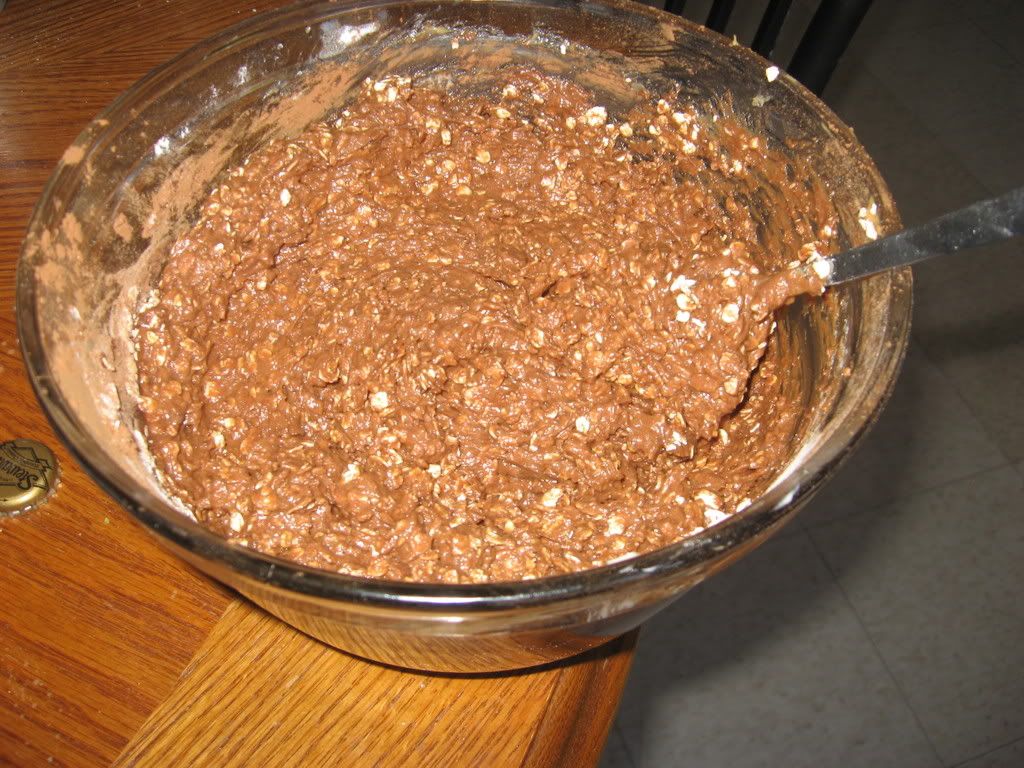
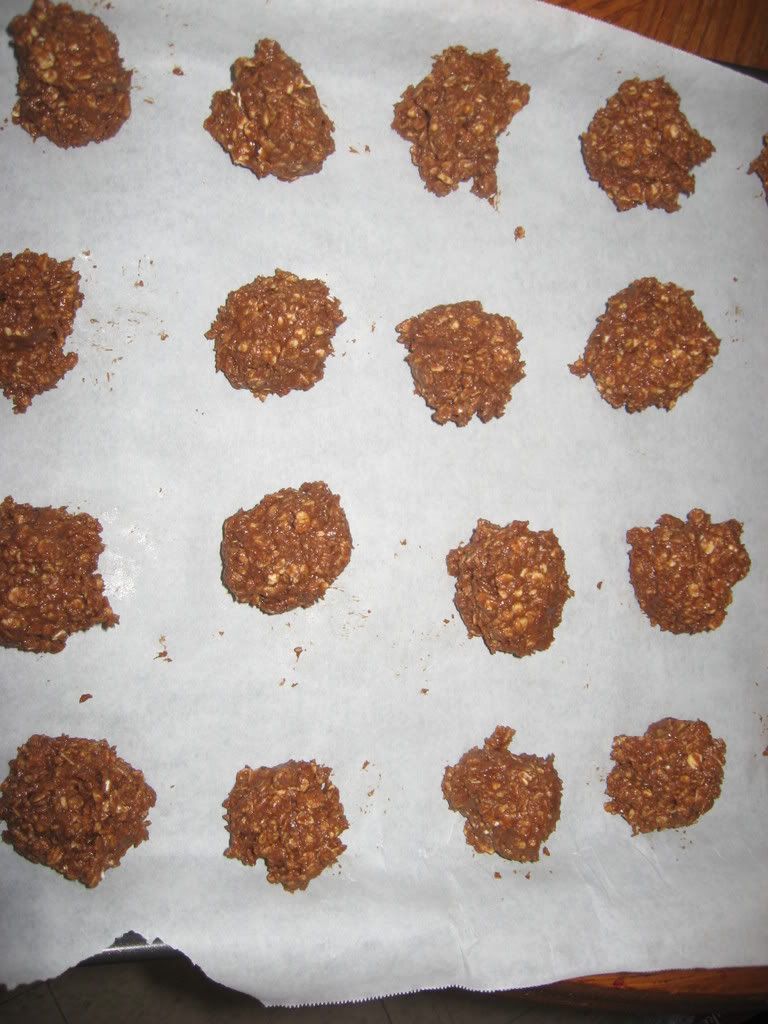
There are a few ways of doing this classic treat. You can substitute other types of crumbs in the bottom layer, or even use oats (as my good friends Melinda and Spencer did for me once as they made me a batch). Other alternatives, like oats, may leave your mixture a bit dry; however, you can experiment using another few Tbsps of soy margarine or another Tbsp of apple sauce to create a better consistency.
You can also add more chocolate to the final/top layer to create a thicker bar. The chocolate, as is, leaves you with a fairly thin and crisp top layer. You could double the chocolate in this layer, but I would recommend adding more margarine or even a small portion (try 1-2 Tbsp) of warmed soy milk to ensure you won't just end up with a heavy and thick layer of really hard chocolate - that's not what you want, trust me!
This is a great dessert. Don't be afraid to experiment with this.
Nanaimo Bars
1.
1/2 cup unsalted soy margarine
1/2 cups sugar
3 Tbsp apple sauce
1 1/2 cups prepared bread crumbs*
1 cup coconut
1/2 cup almonds, finely chopped
5 Tbsp cocoa powder
*This step is optional. Prepare the bread crumbs by mixing them with a sweetener. Original Nanaimo Bars use graham crumbs, but honey is not a vegan ingredient. To get that added sweet-crumb taste: mix about 1/4 cup (or to taste) of corn syrup or brown rice syrup with the crumbs. You may need to do a bit of hand mixing.
You can use home made bread crumbs, or use any similar consistency 'crumbs' that you can find. You can also find them in some varieties in health or bulk stores. Just check the ingredients as some 'plain' crumbs may contain egg and dairy.
2.
1/2 cup unsalted soy margarine
2 1/2 Tbsp soy creamer/milk
2 Tbsp corn starch
2 teaspoons vanilla extract
2 cups icing sugar
3.
1/2 cup chocolate*
2 Tbsp unsalted soy margarine
*Read the introduction to this recipe for comments on this step.
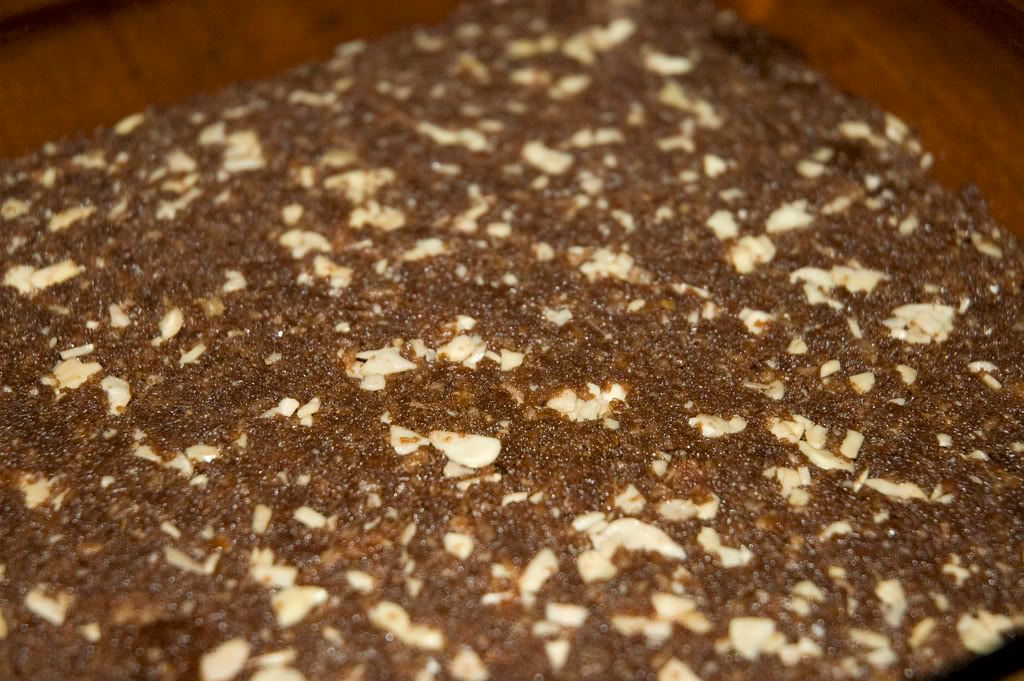
1. (Using ingredients from #1) Melt margarine, applesauce, and sugar together in a double boiler. 2. Add crumbs and cocoa to the pan, mixing thoroughly to absorb all of the cocoa powder.
3. Take pan off the of the heat and stir in the coconut and nuts. If you want the coconut to be more melted in with the mixture then do this step with the saucepan still over the element.
4. Press the mixture firmly into an ungreased 8x8 sized pan.
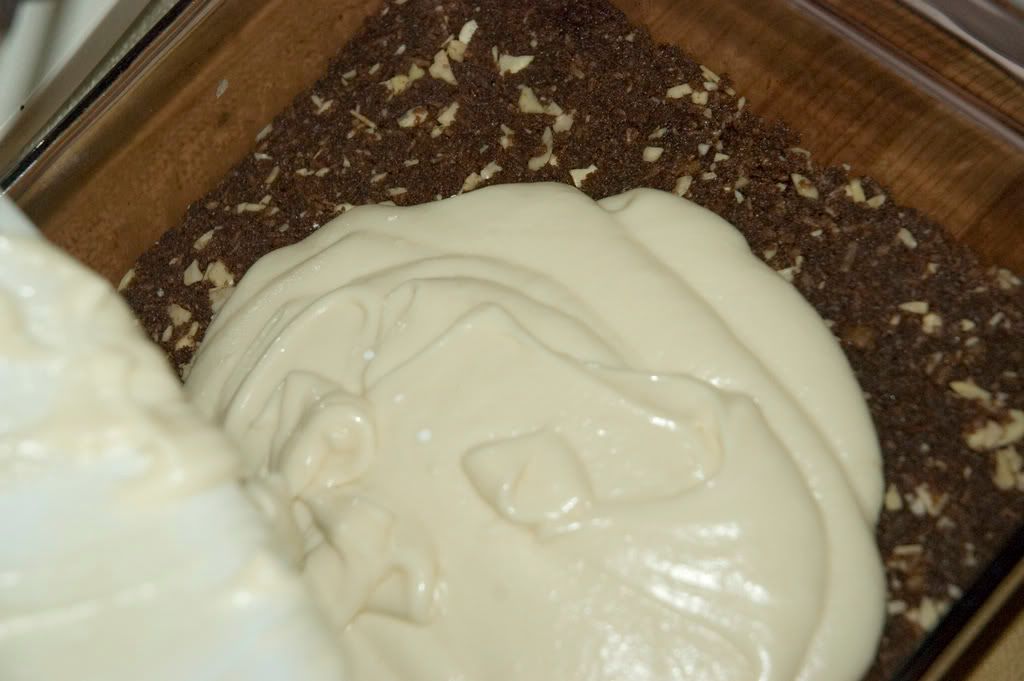
5. (Using ingredients from #2) In a medium sized bowl, cream together the margarine, corn starch, soy creamer/milk, and icing sugar. Add the vanilla and mix well.
6. Pour 'custard' layer into the pan over the first layer and spread until even. At this stage you may want to consider refrigerating the two layers for a short amount of time to help prevent the chocolate layer from bleeding into your 'custard' layer. This will also make it easier to spread the chocolate; however, this is still optional and not completely necessary.
7. (Using ingredients from #3) Melt the chocolate in a double boiler or in a regular pan over low heat, mixing in the margarine (and optional soy milk if you desire). Take pan off of the heat. Let the mixture cool down slightly (tepid and still liquid enough to pour), and pour over the second layer.
Refrigerate to chill and then enjoy!

Rating: Easy.You're right! I love soups! This is one of my favourites that I have made and experimented with. It is hearty soup and great for when you want a bit more substance in a soup or when you feel a bit under the weather. This soup is wonderful served fresh or saved - for the flavours to absorb a bit longer.
This soup can be done two ways. You can keep to the instructions, as I have most vegetables finely chopped or you can put the soup in a food processor for a few seconds before the final stage of adding the noodles.
Hearty Vegetable Soup with Noodles (serves six or more)
2 Tbsp oil
1 large onion, well chopped
5 large mushrooms, finely chopped
2 medium or large carrots, sliced then roughly chopped
2 large radishes, sliced then roughly chopped
2 celery stalks, well sliced
1 green onion BUNCH, sliced
1/4-1/2 red onion, sliced separated and roughly chopped
3/4-1 LB red potatoes, diced
4 1/2 cups vegetable stock
1 ginger root, minced
4 Tbsp coriander or to taste*
salt and pepper to taste
1-2 cups of vermicelli noodles, cooked then chopped
*I end up adding extra coriander, but it will be hard to assess the potency of your spices until the soup has set. You may want to refrain from adding too much until after it has simmered to cook and set.
1. Prep vegetables and set aside.
2. Prep the vegetable stock in an appropriate saucepan (for 4 1/2 cups) and set aside.
3. Add the onions and mushroom to oil and cook in large saucepan on medium-low, about 4 minutes until softened.
4. Add the vegetable stock to the large saucepan with the onions and mushrooms.
5. Add all the vegetables including potatoes, bring to a boil OR if you want the potatoes to be extra soft and won't be processing the soup then you may simmer the potatoes for a while before adding this second batch of vegetables.
6. After mixture is boiling, add ginger and spices, quickly cover and reduce to a simmer. You may let it simmer anywhere from 15-25 minutes, but keep in mind you may not want some of the vegetables to become too soft. You may also want to simmer for another 10 minutes with the noodles, so use your discretion. Check the soup around 15 minutes, especially the potato softness, and be prepared to let it simmer longer if necessary. Add more spices to taste if necessary.
7. Process in food processor if desired, then pour back into saucepan.
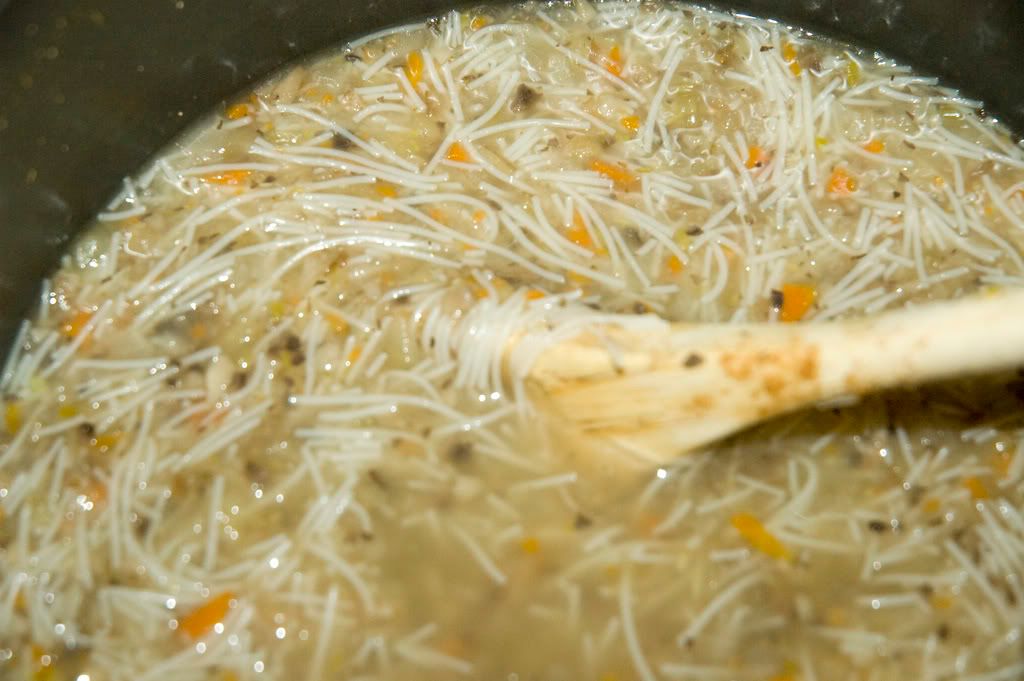
8. Add the noodles, and simmer for another 10+ minutes if desired.
Now serve fresh or let the soup settle for a couple hours and reheat later! This soup makes good leftovers for a few days if desired! Delicious.

Rating: Easy! Fun! This is another easy but great soup. I find it fun, because it's not very often that you get to peel the skin off of your peppers! You can use a food processor or blender to process the soup in the final stages, but I definitely recommend using a food processor if you have one. You will also want to process the soup in batches to avoid making a big mess if it spells over! The pesto is delicious, again, if you feel like adding a vegan parmesan ingredient. You can skip the pesto and it still makes a great soup. If you like your soup a little less thick, you may want to add slightly more vegetable stock.1. Red Pepper Soup
2 medium red peppers
1 tablespoon olive oil
1 large onion, chopped
3 garlic cloves, minced
400g or about 1 3/4 cups of canned tomato with juice
3 cups vegetable stock
1 teaspoon lemon zest
3 tablespoons lemon juice
2 teaspoons sugar
salt and pepper
2. Pesto (optional)
1 1/2 cups coriander leaves, chopped
1 1/2 cups parsley, chopped
3 garlic cloves, minced
1/2 cup cashews, rinsed and chopped
1/2 cup vegan parmesan cheese
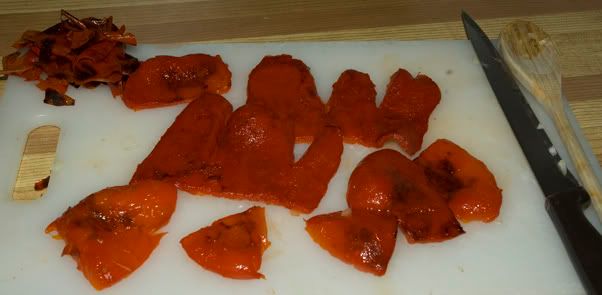
3 tablespoons olive oil1. Rinse red peppers, cut in half, and clean out insides.
2. Set oven to Broil (500 f).
3. Place down (with outside skin facing UP) on foil on a baking sheet. Spray top of pepper halves with oil. Place in oven until the skins blister and turn black - five to ten minutes. Pay careful attention. This will allow you to peel off the outer layer of the skin.
4. Remove pepper halves, and place in an airtight container or bag and leave for five minutes or until cool. Remove the skins (you can peel them off at this point), and coarsely chop.
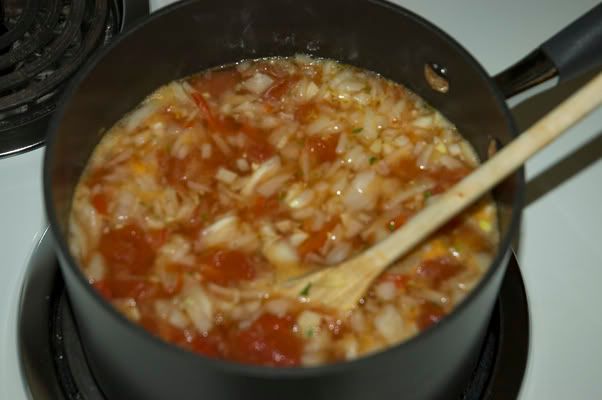
5. Heat oil and sauté onion and garlic over gentle heat in a large saucepan for about 3 minutes.
6. Add pepper, tomatoes (with juice) and vegetable stock.
7. Bring to a boil and simmer for about 15 minutes. Remove from heat and let cool slightly.
8. Add the lemon zest, lemon juice, sugar, salt and pepper.
9. Blend soup, in food processor or blender, in batches until smooth or almost smooth. Season to taste with salt and pepper.
10. If you choose to make the pesto, add all of the pesto ingredients to a food processor except for the oil. Process and add oil gradually until you have slightly more of a thick sauce rather than a paste.
Serve soup into bowls and garnish with pesto.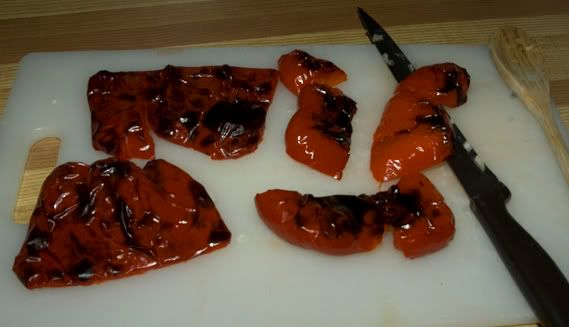

Rating: Easy! Simple! Quick!
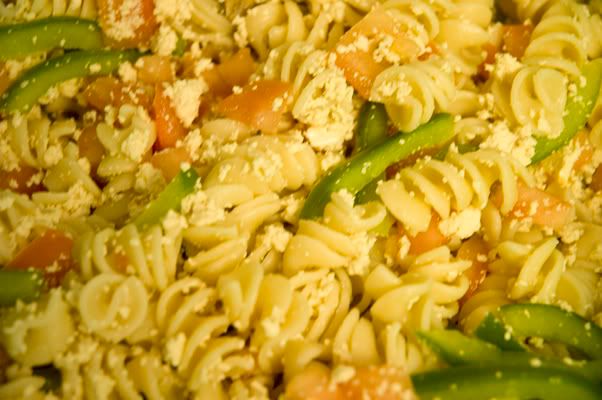
This is a fairly simple recipe that does not involve too many main ingredients. The pasta can be anything short and thick such as rotini, penne, shells, or anything you'd like. You may enjoy experimenting with a whole wheat or gluten-free pasta aswell. I'd recommend grabbing some vegan parmesan cheese if you can from a local health food store. It's relatively inexpensive and adds a nice extra element (and blends with the crumbled tofu) to this salad, but if you want to pass it over consider it an optional ingredient!
Pasta Salad (about 3-4 generous servings)
1/2 lb pasta
6 tablespoons olive oil
3 tablespoons red wine vinegar
2 tablespoonslemon juice
1/2 teaspoon salt
1/3 teaspoon ground black pepper
1 large tomato, diced
1 medium green pepper, thinly sliced
1/2 block firm tofu, crumbled
1/4 cup basil leaves, chopped
1/4 cup parsley, chopped
1/4 cup vegan parmesan cheese, grated (OPTIONAL)1. Prepare a large saucepan with some salted water and bring to a boil, before added in the pasta. After pasta is well cooked, drain and rinse with cold water (and drain again). Set aside to slightly dry in a colander.
2. Whisk together wet ingredients with salt and pepper in small bowl and set side.
3. Combine vegetables, tofu, pasta, and optional vegan parmesan cheese in a large bowl. Add the dressing and then toss to mix well.