Sunday, February 24, 2008

Buttered Croissants!

Rating: Intermediate, and overnight prep!


I promise that the next few recipes from me will have shorter prep times, so you can enjoy them much sooner. I also promise that this recipe is worth the wait, as with most baking the wait time to rise is not wait time spent that is without its worth! Pick up a Saul Alinsky book, and let the time fly; or don't in case the book becomes your priority! He's a far more captivating writer than me, I assure you. Back on point: this is a butter pastry to begin with, but commonly what we see in restaurants and grocery stores is a further buttered version: a buttered croissant. I'll announce the last step, and if you would prefer a less buttery, a less oily, but a dryer and more crisp croissant then you can omit the last stage; otherwise, check your refrigerator to first make sure you have enough soy margarine! You will end up using about 2 whole cups! Also, while you're out buying extra soy margarine (ha!), pick up some dairy-free chocolate to melt for a few chocolate-filled croissants and perhaps some animal-free jelly to make a few of them jelly-filled!


Croissant (makes 24-30)

3 tablespoons flour
1 1/2 cups soy margarine
4 cups unbleached flour
1/2 tablespoon sea salt
2 tablespoons cane sugar
2 packages of yeast
1/4 cup warm water
1 1/2 cups soy milk, hot but not boiling
1/2 cup soy creamer, warmed*

3/4 cup canola oil
1/2 cup soy margarine


*You may replace the soy creamer with additional soy milk, but try and improvise and thicken the 1/2 cup of extra soy milk with oil, 1/2 tablespoon of soy margarine, or even some arrowroot. The goal is to give it a thicker milk consistency.


1. Have soy margarine ready and put aside until room temperature.

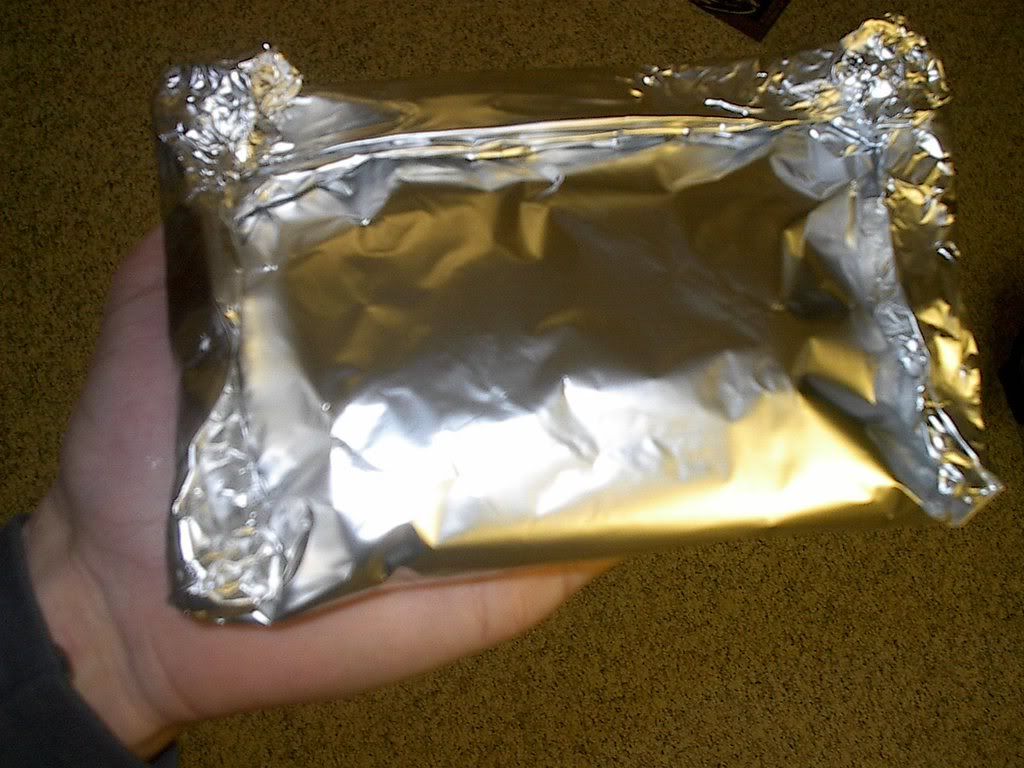
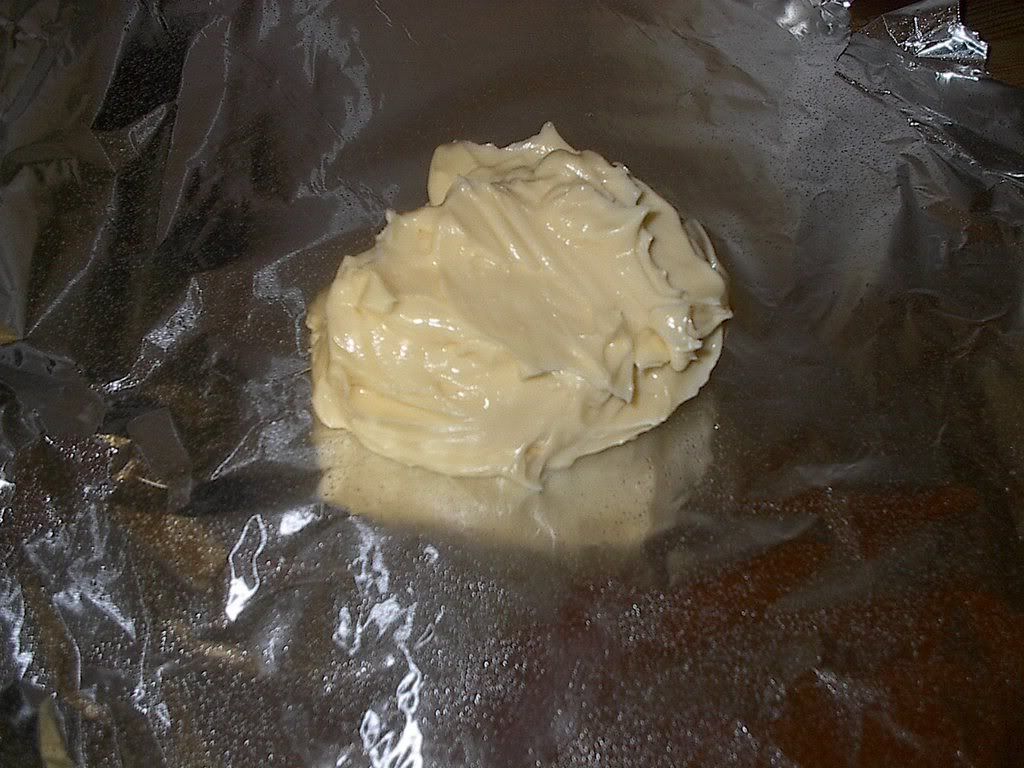
2. Prepare a large foil rectangle to use as a work surface. Add the soy margarine to a small bowl, then slowly blend in the 3 tablespoons of flour. Drop the combination down on the foil in a mass - don't spread it. Using a spatula or another utensil, shape the soy margarine-flour mixture into a 6" brick. Fold over the sides of the foil to wrap the brick until it is fully enclosed. Refrigerate for 3 hours. While you wait, prepare the dough.


3. Add yeast to warm water and set aside for a few minutes, then slowly add the warmed soy milk and soy creamer and mix. In a large mixing bowl, blend 2 cups of flour with the salt and sugar. Add the yeast-milk mixture to the mixing bowl, and stir with a wooden spoon until well combined to a batter-like consistency. Now slowly stir in additional flour 1/4 cup at a time, then kneed for about 5 minutes until soft and no longer sticky.


4. Slightly oil the mixing bowl around the dough, and plastic wrap the top. Refrigerate for 1 hour.


5. Set aside the brick of soy margarine (this may still be quite soft, that's ohkay) and the dough until they are about room temperature. If the soy margarine becomes too oily and begins to melt rather than soften, put it back in the refrigerator for a small amount of time to regain consistency.

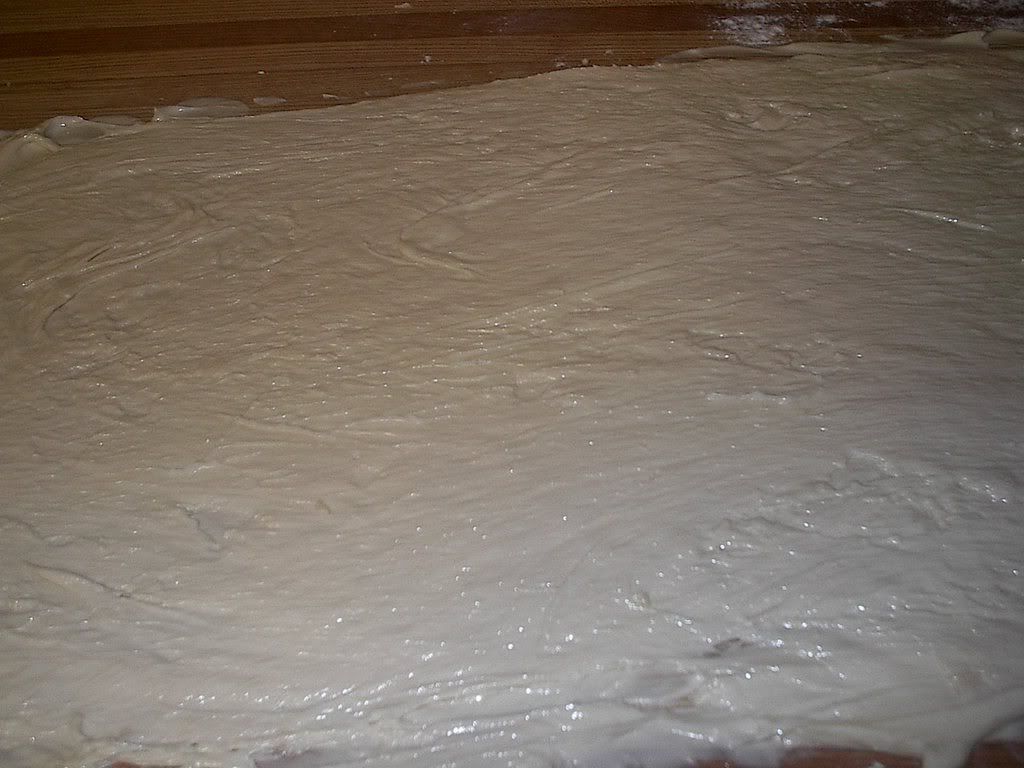
6. Press the dough out into a 10" square on a flowered counter top or work surface using your hands (try your best not to overwork the dough or it will become too stiff). Unwrap the brick of soy margarine and place diagonally on the 10" square of dough. Bring each point of dough into the centre, so the edges overlap about 1". Using a rolling pin, roll out the neatly wrapped dough package into an approximately 8"x18" rectangle. You will have some soy margarine seep out, but don't worry; however, if it is too runny and you are losing a lot you may want to refrigerate the dough for a few minutes before you keep rolling. This is a critical step, as you are now creating the style of the dough.

7. After rolling out your rectangle, fold the length into thirds - as you would a letter. Turn the folded dough vertically, then roll again into a rectangle. Fold both ends to the middle, then close over to stack four layers - as you would a book. Soak an old tea towel or cloth in cold water and ring dry. Wrap the dough package in the towel, and then refrigerate for 2 hours.

8. Place the dough, once again, on a floured work surface and unwrap the package. Refold the dough into thirds - as you did letter style. Soak your cloth again in cold water, and ring out. Wrap around the dough, once again, but place in a sealed plastic bag to retain moisture. Do not substitute with tupperware unless you have an extremely large container, as the dough will rise and open the seal. Refrigerate the bag of dough for 6 hours or overnight.

9. Place the dough on a floured work surface and roll out into a 10" x 38" rectangle. Try not to sell yourself short on the size, because it will create a thickness of 1/4" that you want to aim for to achieve a better texture and size. I recommend using a pizza cutter to cut the dough.

10. Cut the rectangle horizontally down the middle to leave you with two 5" wide rectangles. Now, vertically, divide the dough into 1/7s (for each of the two 5" rectangles) squares. I will attach a rough diagram - see below. Now cut every small square in half diagonally to create triangles. If you cut it this way, you will have 28 triangles in total. You can rework the math and sizing of your tiles before you cut the triangles if you want smaller or larger croissants; however, keep in mind that these small triangles will double in size after rolled and before being baked.

Photobucket

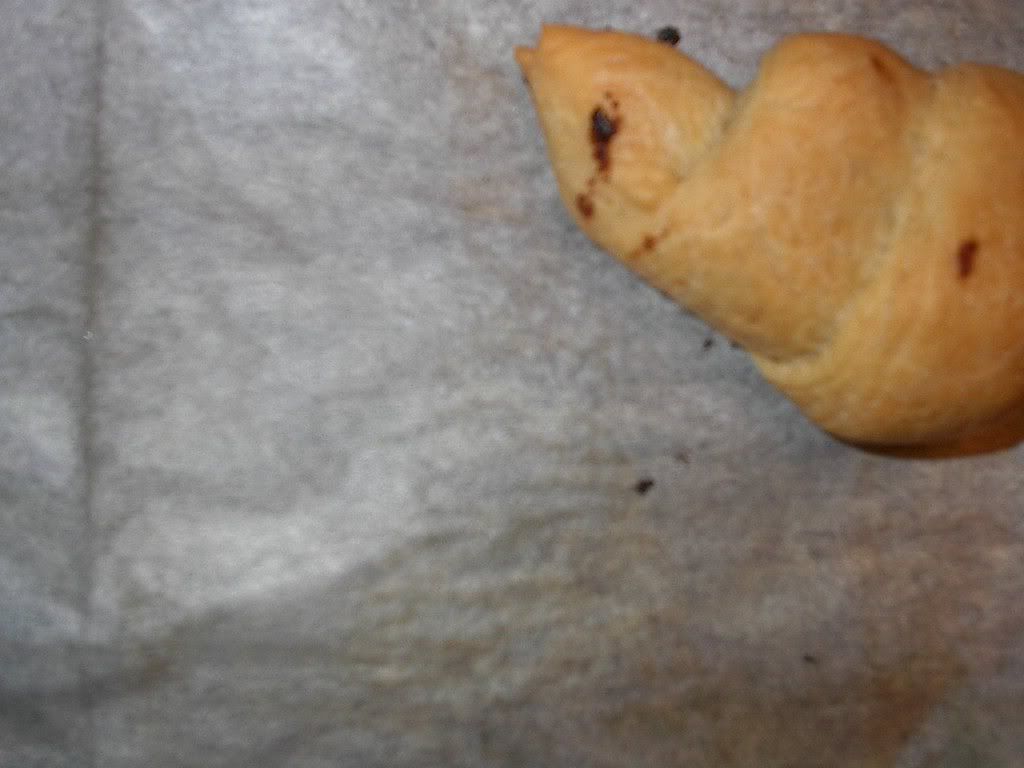
11. Separate the triangles and place on baking sheets topped with parchment. Place the sheets in the refrigerator for 20 minutes to chill. If you want to have a filling of chocolate, jelly, etc., then have that ready now. Roll (not roll out, but roll in by hand) the dough into a croissant shape. Start by rolling from the bottom to the point. If you are using a filling place the filling near the bottom, don't overfill as it will seep out and crust your pastry.

12. Leave your croissants on the baking sheet(s) to rise for 2 hours, they should nearly double.

13. Pour oil into a small bowl, and lightly brush the croissants.

13. Preheat the oven to 425 Fahrenheit. Bake for 22 minutes, then cool on a wire rack.

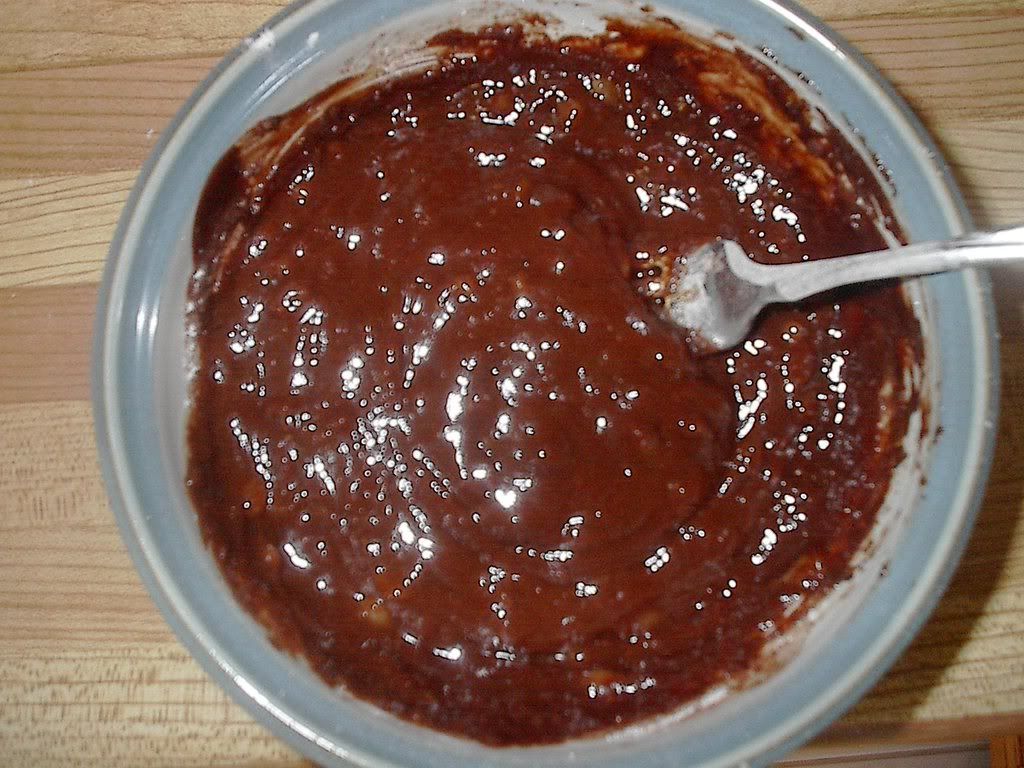
*14. Melt 1/2 cup soy margarine in small bowl and thoroughly brush all croissants with the margarine, then leave to dry. You can omit this step, but I highly recommend doing this for taste and texture.

The skin will be a bit harder as it's still drying from the butter. Store the croissants in airtight tupperware and as the skin absorbs they will become a lot softer and flakier! :)

PhotobucketPhotobucketPhotobucketPhotobucket PhotobucketPhotobucket

Tuesday, February 19, 2008

Triple Chocolate and Nut Cake

Rating: Intermediate to difficult and lengthy prep times! (Deliciousity level is high!)


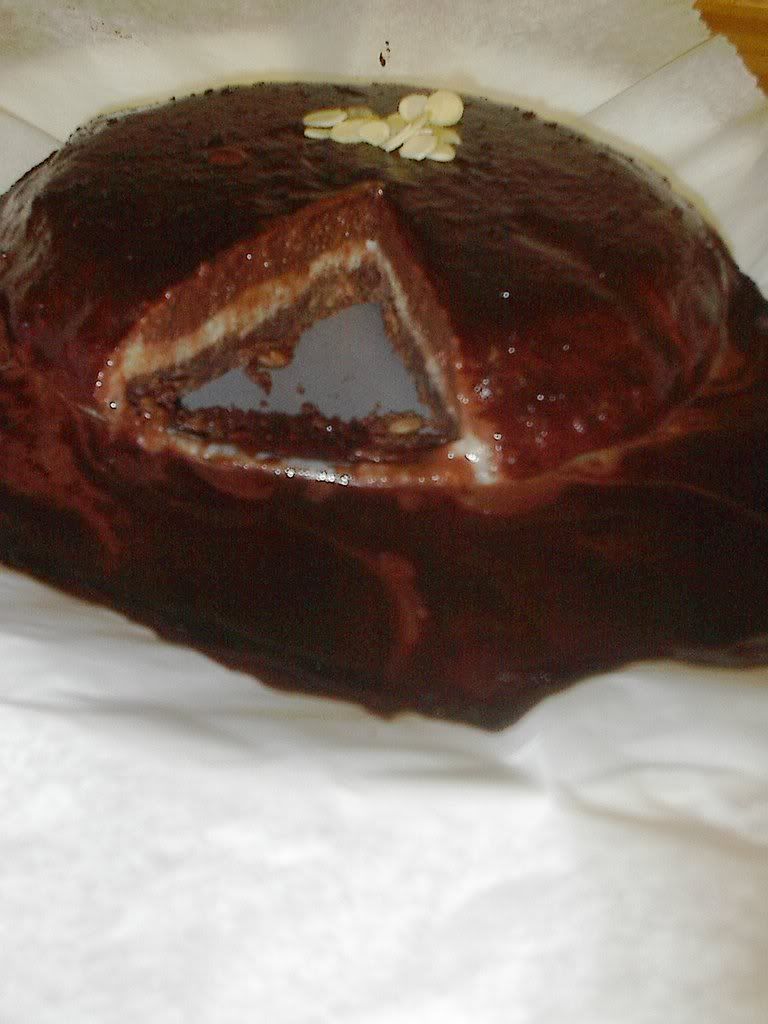
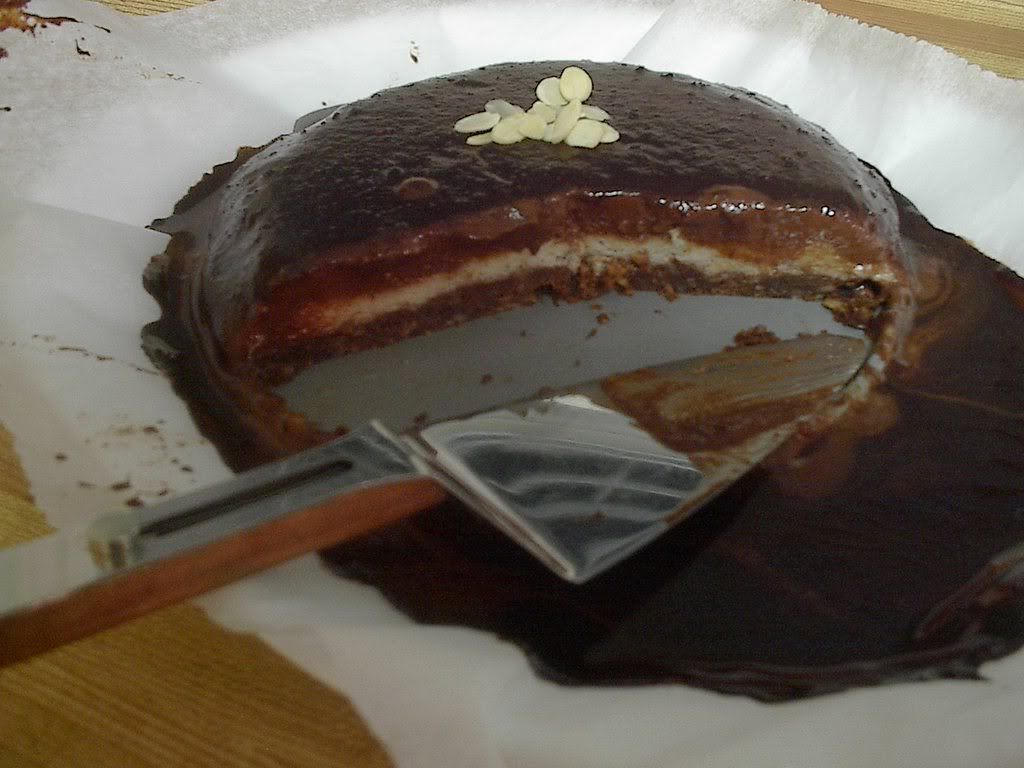
I will start off by telling you that it's necessary to make this the day before consuming. Each layer needs to be frozen or chilled sufficiently before stacking, and this creates most of the time needed to produce this richly decadent chocolate cake; a non-crust foundation of chocolate brownie layer, a spread of nut (I used cashew) cream, a delicious layer of chocolate mousse, and a thin layer of chilled chocolate sauce. This is one of many OG(2) (as I'd like to say: Oh Gourmet! Original Gangsta') recipes we will be presenting for you; either in boldly original format or assumed over multiple variations of old and uninspired or non-vegan creations turned delicious, inspired, and our own.

Triple Chocolate and Nut Cake (with a hint of banana)

1.
Chocolate-Brownie Layer
1/8 cup bittersweet or semisweet chocolate, chopped
4 tablespoons unsalted non-dairy margarine
1/2 cup mashed banana
2 tablespoons cane sugar
2 tablespoons brown sugar
1/3 cup all-purpose flour
1/3 cup chopped almonds or walnuts

2.
Cashew Cream
2 teaspoons agar flakes
1 tablespoon water
2 cups mashed banana*
1/4 cup cane sugar
1 cup soy creamer or soy milk
1/4 cup cashew paste**

*These ingredients need to be sifted through a wire sieve. It takes effort to strain banana because of the fibres, so I am recommending attempting applesauce or egg replacers for this step - at your discretion as it will give a subtle change in taste. You would be substituting in approximately 12-15 tablespoons of applesauce.

**Rinse whole cashews under water, and process in a food processor a long with a few tablespoons of water.

3.
Chocolate Mousse
3 tablespoons cane sugar
2 tablespoons water
1 1/2 cups mashed banana
1/2 cup bitter or semisweet chocolate, melted and cooled
3/4 cup soy creamer or soy milk

4.
Chocolate Icing
1 teaspoon agar flakes
1/4 cup and 1 tablespoon water
1 cup cane sugar
3/4 cup cocoa powder
3/4 cup soy creamer or soy milk
1 teaspoon arrowroot powder

1. Preheat your oven to 350 degrees Fahrenheit. Starting with the chocolate brownie layer, melt the chocolate over a double boiler. Add the margarine and mix until smooth. Mix in the banana and sugars. Stir in the flour, and then the nuts. Spread the batter in a lightly oiled 6-inch (otherwise, 8-inch will work) springform pan.

Bake until the cake is springy to touch, approximately 15 minutes. Cool completely on wire / cooling rack.

2. Begin this step by preparing the cashew paste in a food processor -this should only take a minute or two, and then set aside.

Add agar flakes to water in small bowl and set aside. Whisk mashed banana and sugar in a separate bowl. Add the soy creamer to a small saucepan and bring to a boil. Combine the banana-sugar mixture, the agar, and the soy creamer together in the heated saucepan. Stir over a low heat until the mixture thickens. Whisk in the cashew paste.

Pour and strain mixture through a wire sieve into a bowl. This will require either small pressure to the wires, or occassionally rinsing of the wires if you have chosen bananas because of the fibres that will clump. I have not done this step with applesauce, but I would imagine this would be easier with applesauce or egg replacer -let me know if you try this.

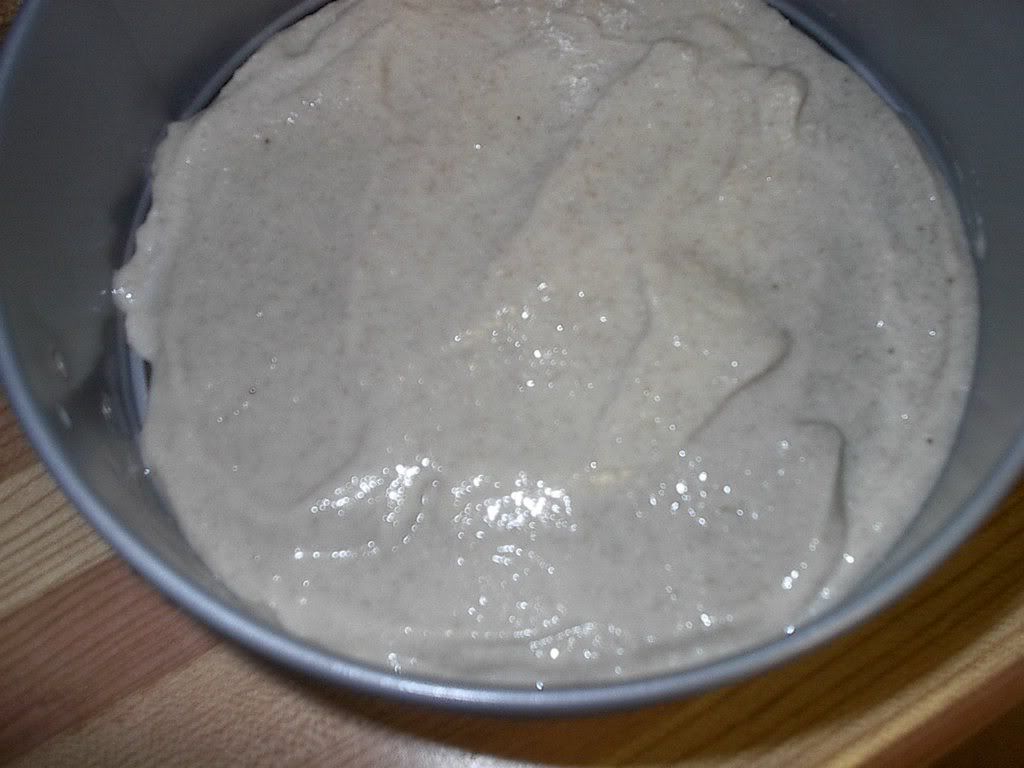
Refrigerate until mixture partially sets to a somewhat thicker consistency, then pour into the cake pan over the brownie layer and smooth the top over. Freeze until the cream layer is firm. Approximately 2 hours.

3. Add the sugar and water to a small saucepan and bring to a boil. Thoroughly beat the mashed banana mixture with a whisk or fork, and then pour the sugar-water syrup into the banana and mix thoroughly until temperature cools.

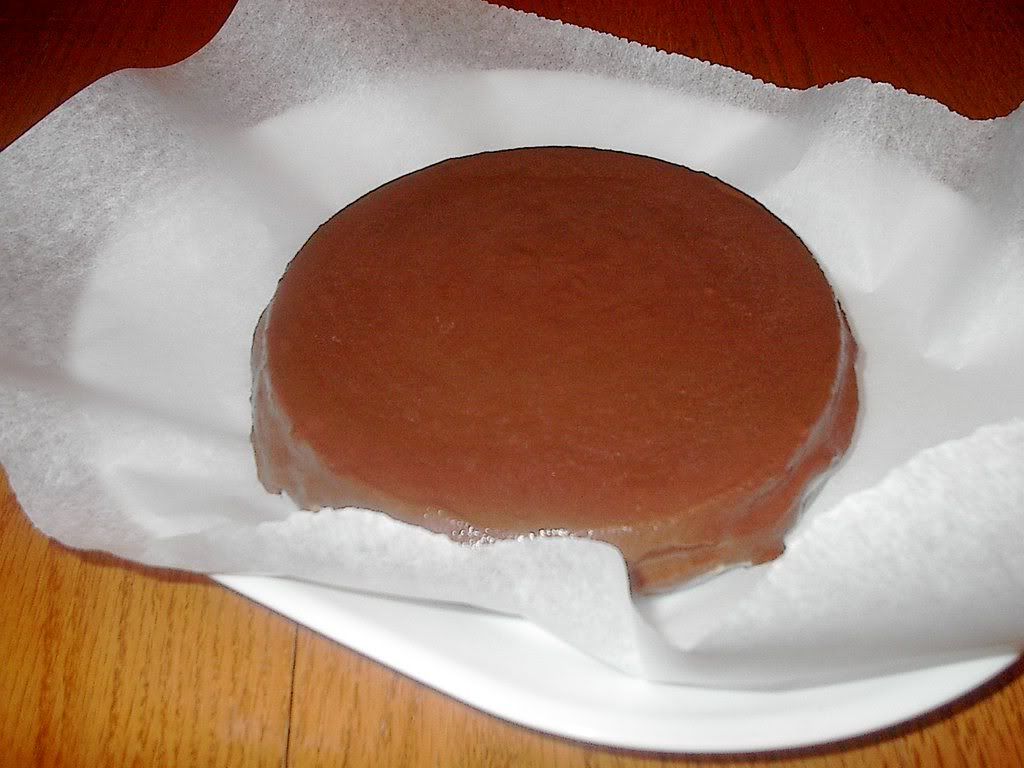
Have melted chocolate prepared. Whisk the soy creamer or milk until frothy and light. Mix 1/3 of that creamer into the warm melted chocolate, then using a spatula fold in the banana mixture, then the rest of the creamer. Pour into the cake pan over the cashew layer and spread evenly. Cover and freeze for approximately 4 hours until firm.

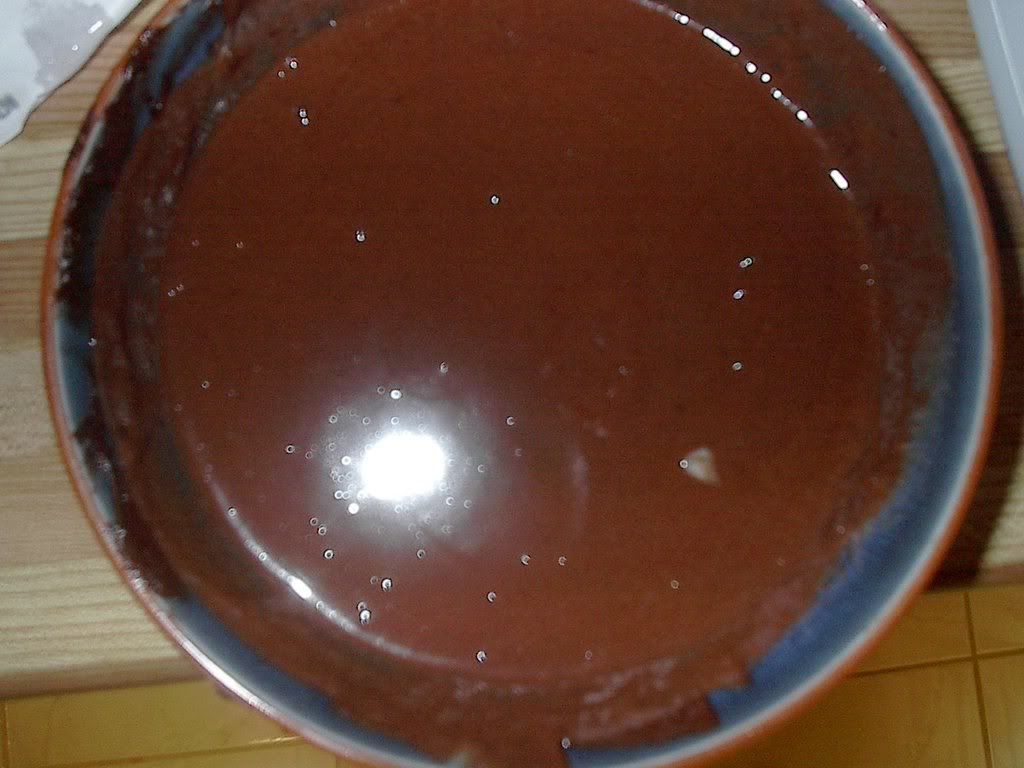
4. Add agar flakes to water in small bowl and set aside. Combine the sugar, cocoa, creamer, and 1/4 cup water in a saucepan and bring to a boil, stirring constantly.
Reduce the heat to medium-low and cook for 3-5 minutes. Remove from heat and add the agar, stirring well to dissolve the flakes. Pour into a bowl and let cool significantly.

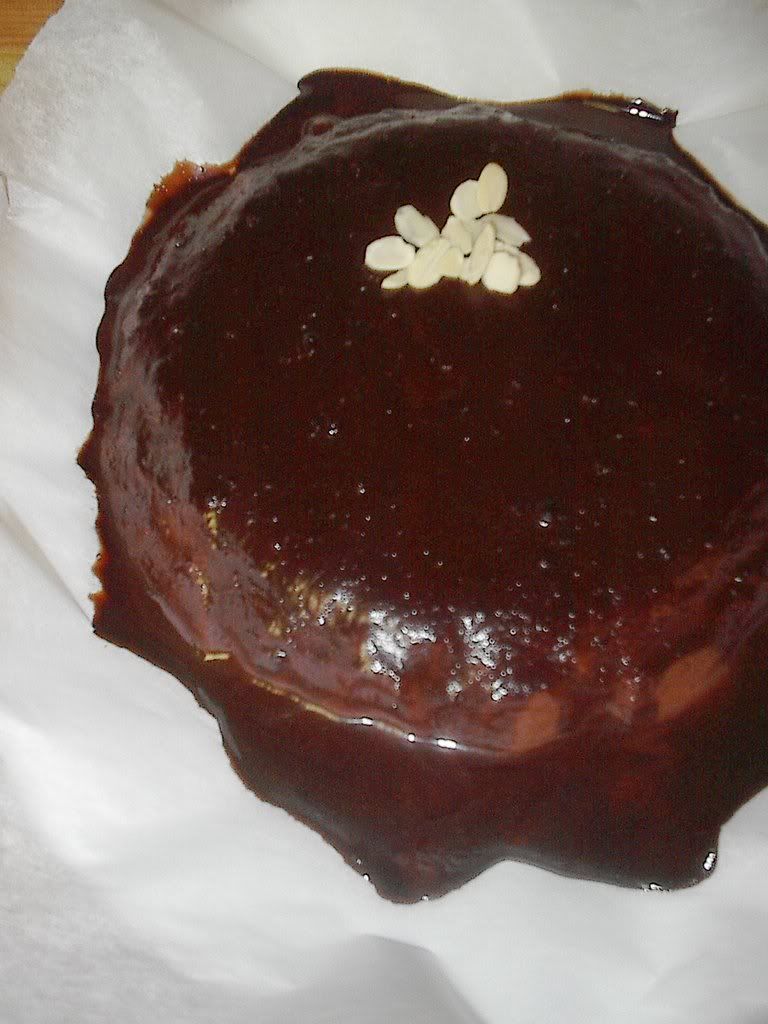
Remove walls of springform pan -carving around the circumference if necessary, and place cake on a sheet of parchment. Make sure the chocolate icing is near room temperature, if it is too hot it will bleed into the mousse layer of your cake. Evenly pour chocolate icing mixture over the cake, letting it run down the sides to coat the outer layers. Smooth if necessary.

Garnish with whole almond slices or other nuts of your choice. Sprinkled cocoa powder may also enhance the presentation of your final layer.

Freeze cake for up to 2 days to set icing. I recommend freezing the cake overnight, then thawing for 5 hours in the refrigerator before serving (otherwise your mousse will hold too much frozen water and have an unwelcome icy taste).

This is a small 6-8" springform pan cake. It will be finished quickly, but if you need to refreeze it remember to thaw and chill in a refrigerator for hours again just before consumption. If you are feeling daring, try doubling some of the ingredient quantities for layers to hold a thicker and higher level cake -this will hold as long as you remember to freeze with sufficient time. Don't cheat!

To maximize enjoyment: serve with non-dairy icecream! Enjoy!


Monday, February 4, 2008

Mocha Cupcakes with Espresso Frosting

Rating: Easy as pie!

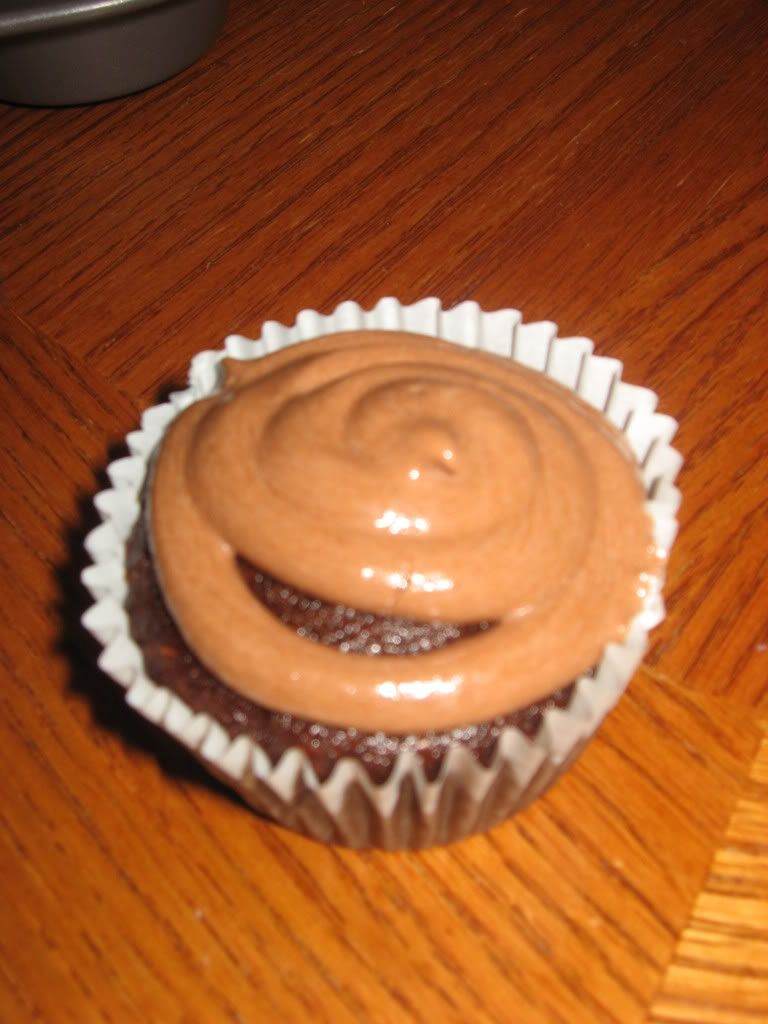
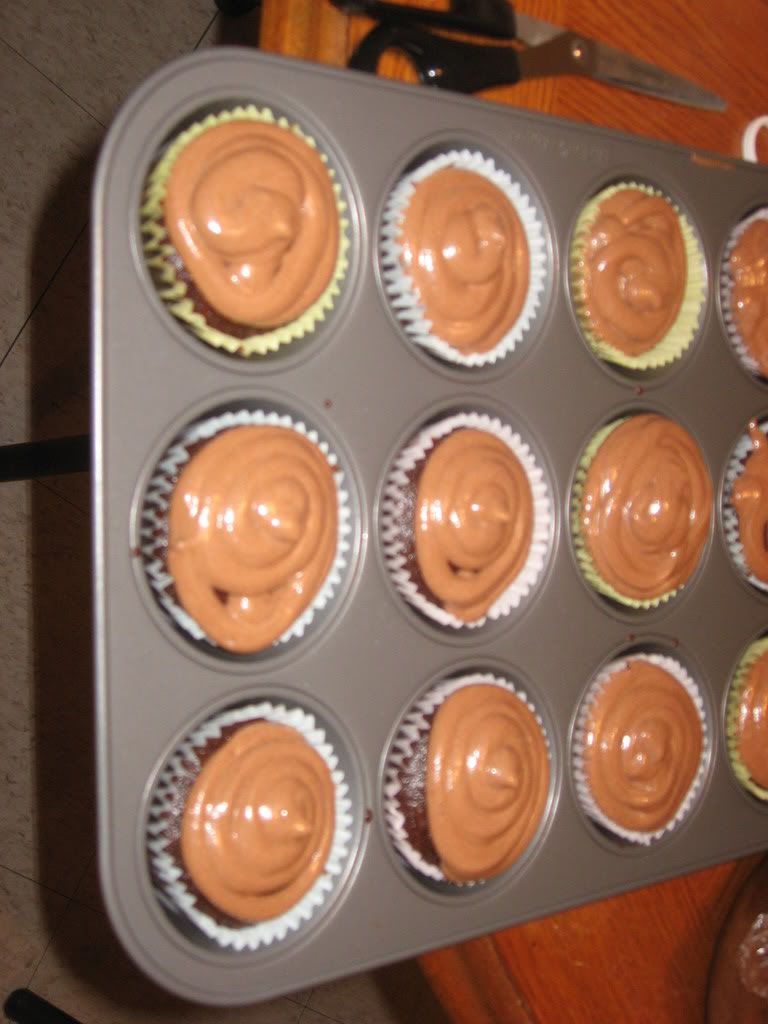
These moist cupcakes will satisfy your sweet tooth, and the recipe makes more than enough to share. Cupcakes are a perennial favourite, and this recipe is foolproof and I figured it would make a good first post. These cupcakes can last up to a week refrigerated, but they'll rarely go that long uneaten. I frosted this batch with a makeshift piping bag without a tip, but if you've got the proper tools, it'll probably look even better. Garnishing with chocolate shavings or chocolate covered espresso beans will give your cupcakes the edge it needs to convince people that you're a baking king or queen.

Mocha Cupcakes (makes 24)
2 cups brown sugar
1 cup unbleached white flour
3/4 cup whole wheat flour
3/4 cup cocoa
1 tsp baking soda
1 tsp baking powder
pinch of salt

1/2 cup chocolate almond milk
1/2 cup soy milk
1/2 cup vegetable oil
2 tsp vanilla
2 tbsp white vinegar

1 cup boiling water
1 tbsp ground espresso

Chocolate covered espresso beans to garnish!

Espresso Frosting
1 cup Fleischmann's unsalted margarine, soft
3 cups icing sugar
2 oz (1/4 cup) cooled espresso


Preheat oven to 350 degrees Farenheit. line your muffin tins. Mix dry ingredients in a large mixing bowl. Add milks, oil, vanilla and vinegar. Using a hand mixer, beat on high for approximately 1-2 minutes. Stir espresso in boiling water until dissolved. Add the espresso/water to last ingredients, and stir with a wooden spoon until blended. Fill cupcake liners approximately 2/3-3/4 full. Bake for 20 minutes, or until a toothpick comes out clean when you poke them.

To assemble frosting:
Cream together margarine and espresso with a hand mixer on high. Add 2 cups of icing sugar, and blend again. Add remaining sugar, blend on high speed until light and fluffy. You may find it easier to put it in the fridge or the freezer to harden a little before you use it. Make sure that the cupcakes are completely cool before frosting. Refrigerate until time to serve!


Saturday, February 2, 2008

Indian Mushroom Soup - Heat Up Your Winter!

Rating: Easy, and not very time consuming!

I'll start off with a soup, because it's a nice way to start any day or any multi-course meal. This is a well spiced soup, but it's fairly mild. Personally, I don't handle extremely hot spices very well! So, don't be worried about that if it's a concern. This is a well spiced soup, but not too hot. It's extremely flavorful and is a definite delight at varying degrees of thickness.

Indian Mushroom Soup
2 tablespoons olive oil
1 onion, finely chopped
1 full-size carrot (or 4-6 babies), finely chopped
2 stalks celery, finely chopped
3 gloves garlic, minced
1/2 teaspoon turmeric
1/4 teaspoon cayenne pepper
1 teaspoon cumin
2 teaspoons coriander

2 bay leaves
3 cups flat field mushrooms, coarsely chopped with stalks removed
*4 cups vegetable stock
2 tablespoons finely chopped fresh cilantro
1/2 cup non-dairy yogurt or soygurt

Heat the oil in a large saucepan. Add the onion, carrot, celery, garlic, spices and bay leaves. Cook on low heat for about 5 minutes, or until the vegetables are soft. While the vegetables are cooking, prepare a medium saucepan with the vegetable stock. Add the mushrooms to the other vegetables and continue cooking, while stirring occasionally, on low heat for about another 8 minutes. Pour in stock and bring to a boil. *If you desire, you may add less stock to have a slightly thicker end product - I would only suggest 1/2 cup less. Simmer for about 15 minutes until the mushrooms are nicely cooked. Remove the saucepan from heat and let cool. Remove and discard the bay leaves from the mix.

The mixture will still have a decent amount of heat to it. For this reason I don't recommend using a blender. If you don't have a food processor let the mixture cool as much as possible and separate it into batches to blend. The heat and pressure will cause a large mess! Use a food processor if available, but you may still want to process in a couple batches depending on the size of your processor. Process soup until smooth. Return mixture to saucepan and stir in the chopped cilantro. Pour your soup into bowls with a ladle and serve with a dollop of soygurt and garnish with a cilantro leaf if available. If your soup is not very thick, or you have too heavy a dollop of your soygurt it will sink (like mine, ha!) and won't make a great visual garnish. It will still give you a few spoonfuls of added creamy deliciousness! If you are keen on the soygurt garnish, add less stock as noted. Enjoy!

PhotobucketPhotobucketPhotobucketPhotobucketPhotobucket

Introduction

Oh Gourmet! is a vegan food blog operated by Jonathan and Sabrina. We are creating this to share with and support the vegetarian community, and for non-vegetarians alike to see how delicious and simple it can be to make a dish cruelty-free. We are aiming to create more charming, interesting, and gourmet dishes that would not typically be made in home kitchens home at leisure. We have also entertained the thought of turning our project into a small catering business. Any recipe requests for the blog, catering inquiries, or any general questions can be emailed to me at: jon@ohgourmet.net

Mission Statement
The mission of Oh Gourmet! is to fulfill and entice the palate of vegetarians and non-vegetarians alike to enjoy compassionate dining.