I promise that the next few recipes from me will have shorter prep times, so you can enjoy them much sooner. I also promise that this recipe is worth the wait, as with most baking the wait time to rise is not wait time spent that is without its worth! Pick up a Saul Alinsky book, and let the time fly; or don't in case the book becomes your priority! He's a far more captivating writer than me, I assure you. Back on point: this is a butter pastry to begin with, but commonly what we see in restaurants and grocery stores is a further buttered version: a buttered croissant. I'll announce the last step, and if you would prefer a less buttery, a less oily, but a dryer and more crisp croissant then you can omit the last stage; otherwise, check your refrigerator to first make sure you have enough soy margarine! You will end up using about 2 whole cups! Also, while you're out buying extra soy margarine (ha!), pick up some dairy-free chocolate to melt for a few chocolate-filled croissants and perhaps some animal-free jelly to make a few of them jelly-filled!
Croissant (makes 24-30)
3 tablespoons flour
1 1/2 cups soy margarine
4 cups unbleached flour
1/2 tablespoon sea salt
2 tablespoons cane sugar
2 packages of yeast
1/4 cup warm water
1 1/2 cups soy milk, hot but not boiling
1/2 cup soy creamer, warmed*
3/4 cup canola oil
1/2 cup soy margarine
*You may replace the soy creamer with additional soy milk, but try and improvise and thicken the 1/2 cup of extra soy milk with oil, 1/2 tablespoon of soy margarine, or even some arrowroot. The goal is to give it a thicker milk consistency.
1. Have soy margarine ready and put aside until room temperature.
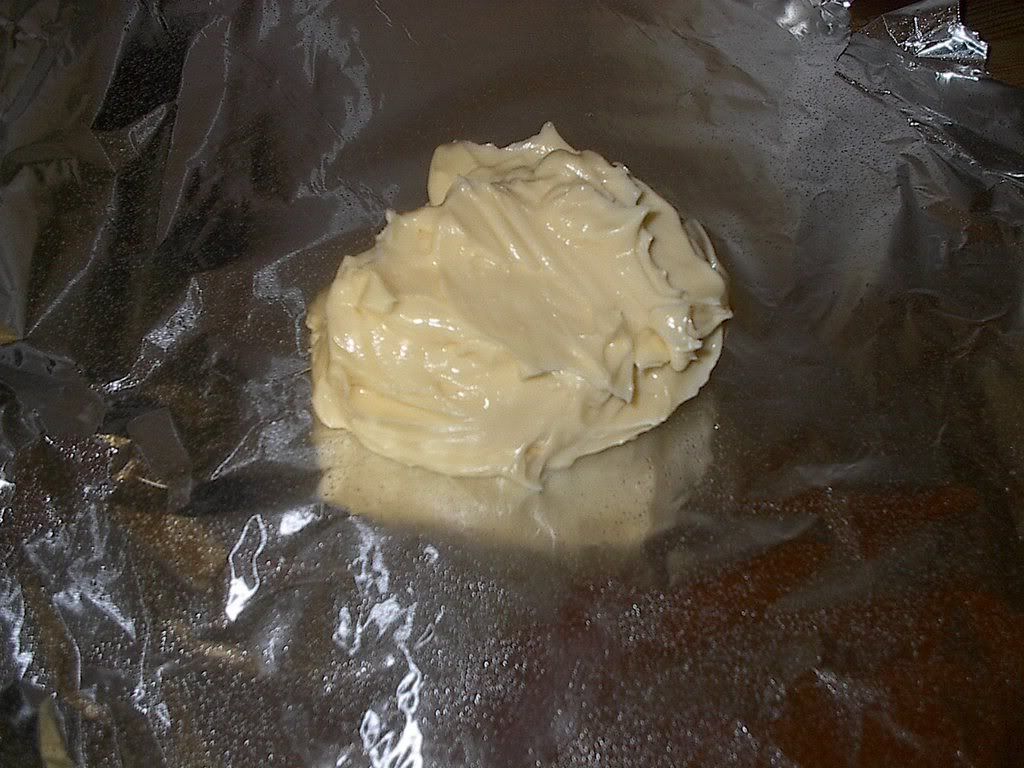
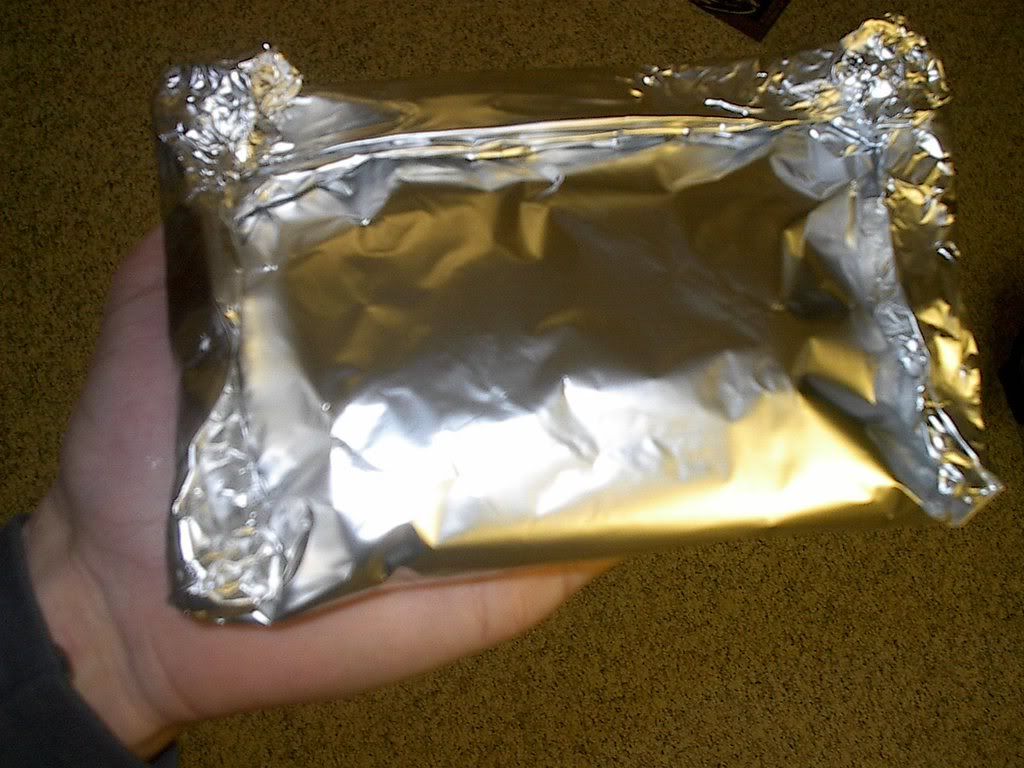
2. Prepare a large foil rectangle to use as a work surface. Add the soy margarine to a small bowl, then slowly blend in the 3 tablespoons of flour. Drop the combination down on the foil in a mass - don't spread it. Using a spatula or another utensil, shape the soy margarine-flour mixture into a 6" brick. Fold over the sides of the foil to wrap the brick until it is fully enclosed. Refrigerate for 3 hours. While you wait, prepare the dough.
3. Add yeast to warm water and set aside for a few minutes, then slowly add the warmed soy milk and soy creamer and mix. In a large mixing bowl, blend 2 cups of flour with the salt and sugar. Add the yeast-milk mixture to the mixing bowl, and stir with a wooden spoon until well combined to a batter-like consistency. Now slowly stir in additional flour 1/4 cup at a time, then kneed for about 5 minutes until soft and no longer sticky.
4. Slightly oil the mixing bowl around the dough, and plastic wrap the top. Refrigerate for 1 hour.
5. Set aside the brick of soy margarine (this may still be quite soft, that's ohkay) and the dough until they are about room temperature. If the soy margarine becomes too oily and begins to melt rather than soften, put it back in the refrigerator for a small amount of time to regain consistency.
6. Press the dough out into a 10" square on a flowered counter top or work surface using your hands (try your best not to overwork the dough or it will become too stiff). Unwrap the brick of soy margarine and place diagonally on the 10" square of dough. Bring each point of dough into the centre, so the edges overlap about 1". Using a rolling pin, roll out the neatly wrapped dough package into an approximately 8"x18" rectangle. You will have some soy margarine seep out, but don't worry; however, if it is too runny and you are losing a lot you may want to refrigerate the dough for a few minutes before you keep rolling. This is a critical step, as you are now creating the style of the dough.
7. After rolling out your rectangle, fold the length into thirds - as you would a letter. Turn the folded dough vertically, then roll again into a rectangle. Fold both ends to the middle, then close over to stack four layers - as you would a book. Soak an old tea towel or cloth in cold water and ring dry. Wrap the dough package in the towel, and then refrigerate for 2 hours.
8. Place the dough, once again, on a floured work surface and unwrap the package. Refold the dough into thirds - as you did letter style. Soak your cloth again in cold water, and ring out. Wrap around the dough, once again, but place in a sealed plastic bag to retain moisture. Do not substitute with tupperware unless you have an extremely large container, as the dough will rise and open the seal. Refrigerate the bag of dough for 6 hours or overnight.
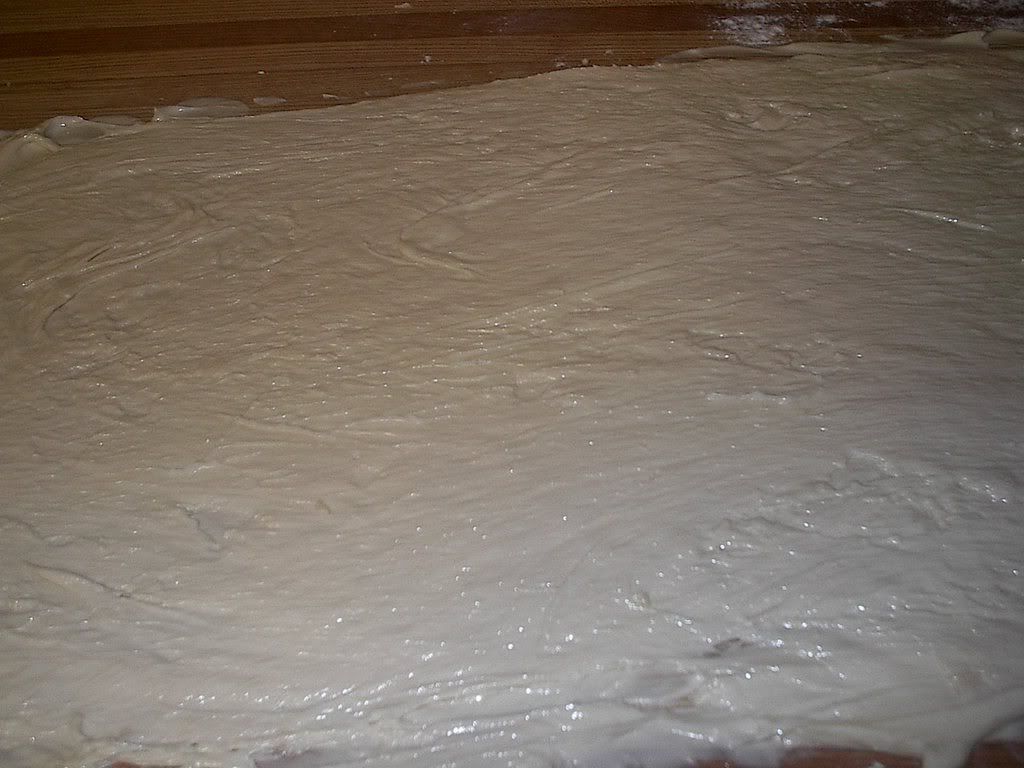
9. Place the dough on a floured work surface and roll out into a 10" x 38" rectangle. Try not to sell yourself short on the size, because it will create a thickness of 1/4" that you want to aim for to achieve a better texture and size. I recommend using a pizza cutter to cut the dough.
10. Cut the rectangle horizontally down the middle to leave you with two 5" wide rectangles. Now, vertically, divide the dough into 1/7s (for each of the two 5" rectangles) squares. I will attach a rough diagram - see below. Now cut every small square in half diagonally to create triangles. If you cut it this way, you will have 28 triangles in total. You can rework the math and sizing of your tiles before you cut the triangles if you want smaller or larger croissants; however, keep in mind that these small triangles will double in size after rolled and before being baked.
11. Separate the triangles and place on baking sheets topped with parchment. Place the sheets in the refrigerator for 20 minutes to chill. If you want to have a filling of chocolate, jelly, etc., then have that ready now. Roll (not roll out, but roll in by hand) the dough into a croissant shape. Start by rolling from the bottom to the point. If you are using a filling place the filling near the bottom, don't overfill as it will seep out and crust your pastry.
12. Leave your croissants on the baking sheet(s) to rise for 2 hours, they should nearly double.
13. Pour oil into a small bowl, and lightly brush the croissants.
13. Preheat the oven to 425 Fahrenheit. Bake for 22 minutes, then cool on a wire rack.
*14. Melt 1/2 cup soy margarine in small bowl and thoroughly brush all croissants with the margarine, then leave to dry. You can omit this step, but I highly recommend doing this for taste and texture.
The skin will be a bit harder as it's still drying from the butter. Store the croissants in airtight tupperware and as the skin absorbs they will become a lot softer and flakier! :)


2 comments:
You. Are. Amazing.
I don't know when I'll find the time to do this, but I am fully impressed that vegan croissants are make-able, in my own house!
This looks mads complicated dough. I got a lil lost with the dough folding and rolling and re-folding...
Thanks! It's really not that difficult as it is time consuming. I have made these more than once, and tried to give you the most practical input as I can for you to skip some of the trial and error stages and minimize any disappointment that I had in my first attempt.
The folding is to help press and distribute the butter throughout the dough, and help layer it for the end texture. If you fold it slightly different, I am sure that it won't be the end of the world.
If you need any additional help give me a shout.
:)
Post a Comment